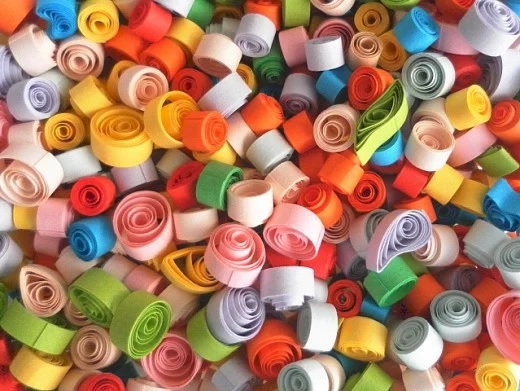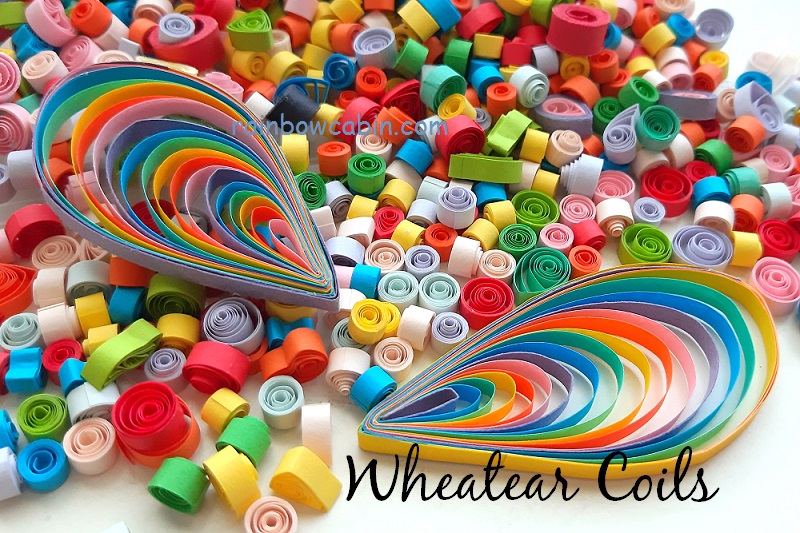
Many paper quilling shapes are made with Wheatear Coil techniques. Wheatears are loose closed coils. Unlike other small closed coils used in paper quilling, each loop in a Wheatear coil is fixed in place with glue to prevent the centres of the coil from falling out. The coils are usually much bigger and longer than other closed coils. Wheatears are popularly used for making flower stalks, leaves and long strips of grass in paper quilling crafts.
If you are new to paper quilling art, the following links will help you get started:
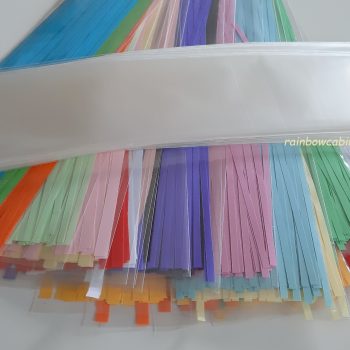
This paper quilling tutorial teaches you how to make closed coils using different Wheatear coil techniques. A wide range of quilling supplies for this tutorial can be purchased at RainbowCabin.com.


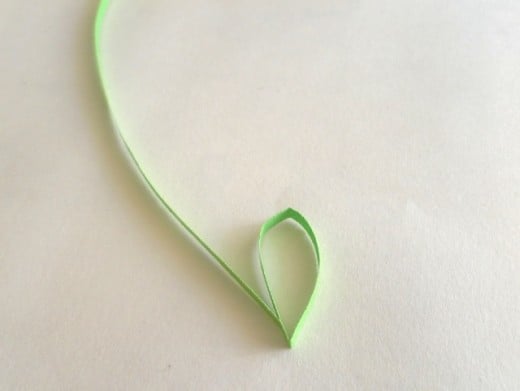
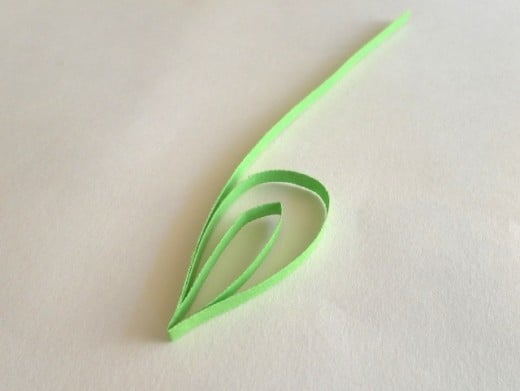
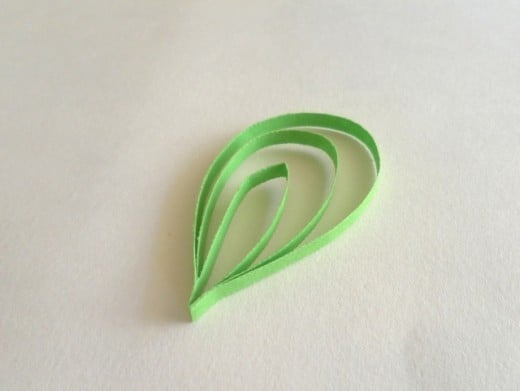
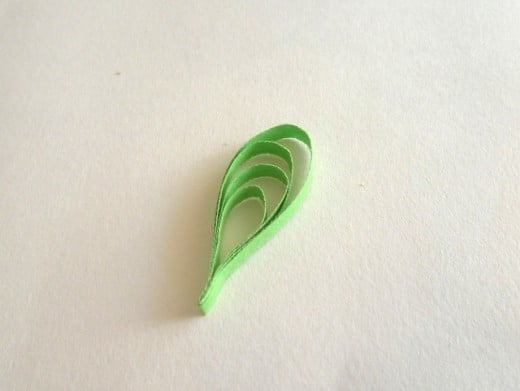
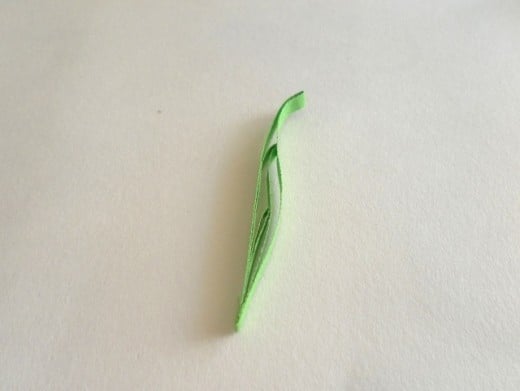
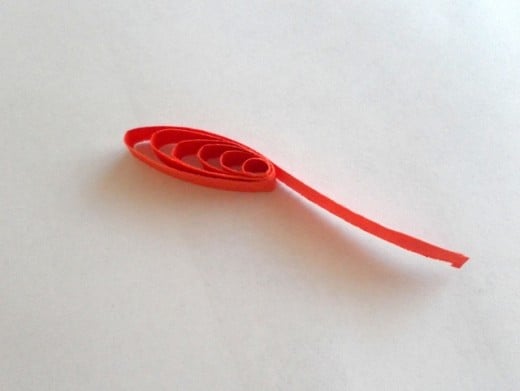
If you are deft with your fingers, it is very easy to make the coils. If not, the worst you can end up are badly shaped coils plus a sticky mess with the glue! To make a Wheatear coil, take a strip of quilling paper. Make a small loop at one end of the strip. Apply a little glue at the end and fold the long end over the small loop to make a slightly larger loop. Slightly pinch the glued end with your fingers. Apply glue again and bring the quilling paper strip over the smaller loops. Continue to make more loops until you are satisfy with the size of the coil. You might have to add more paper strips to make a bigger coil.
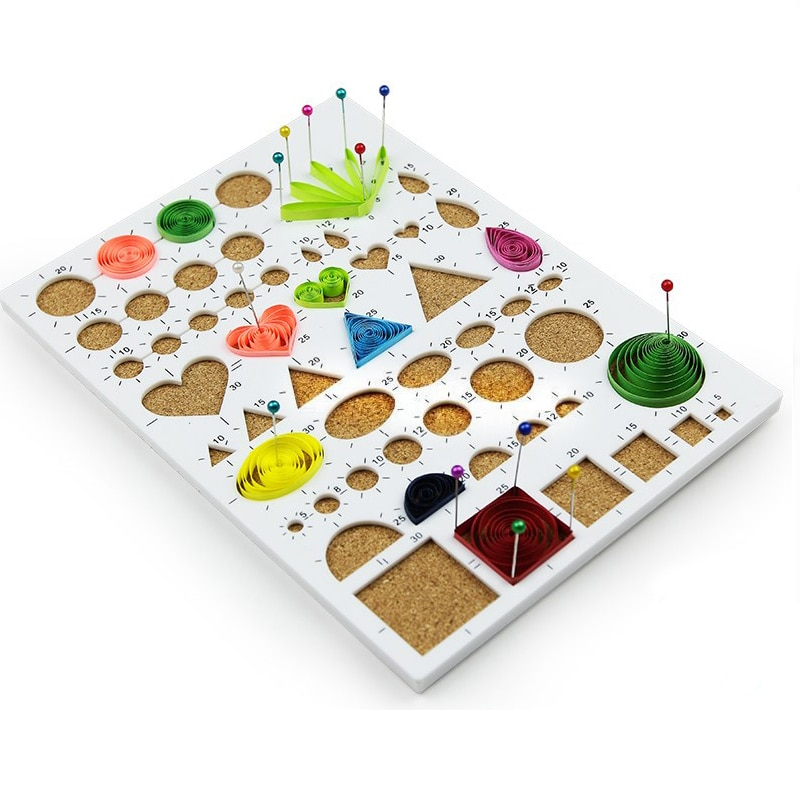
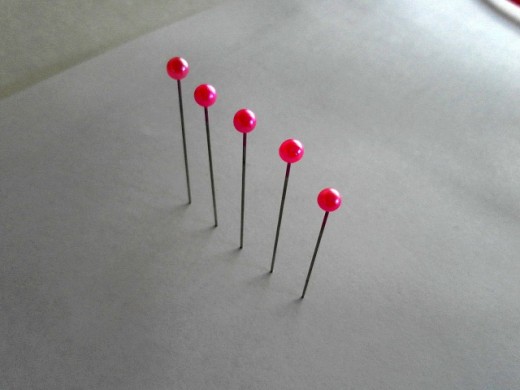
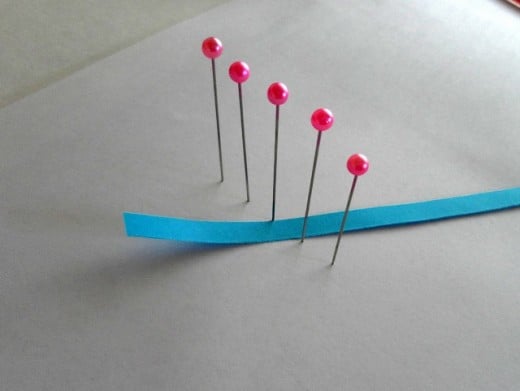
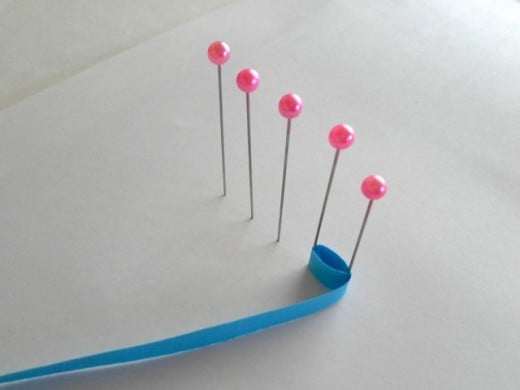
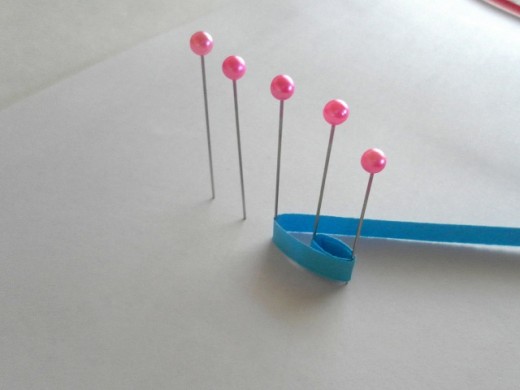
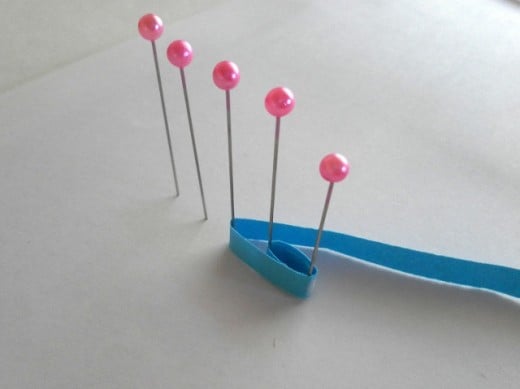
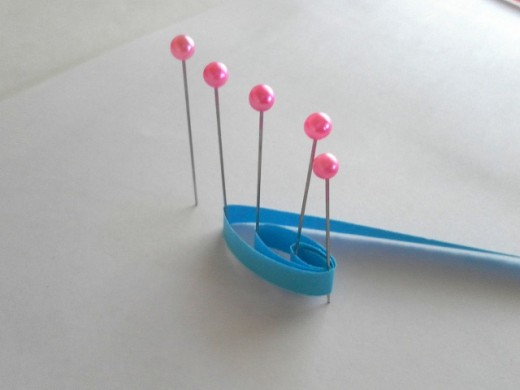
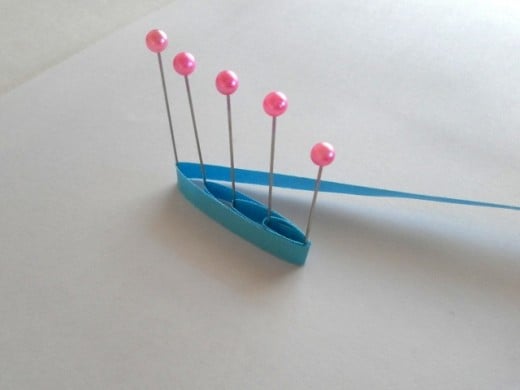
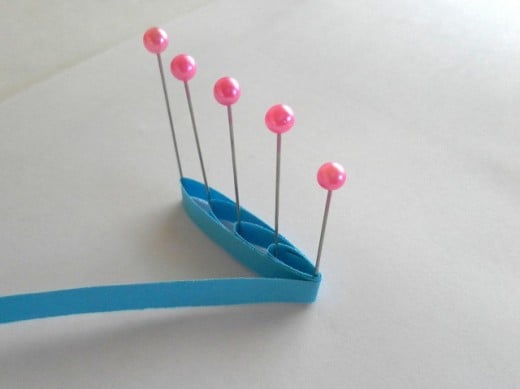
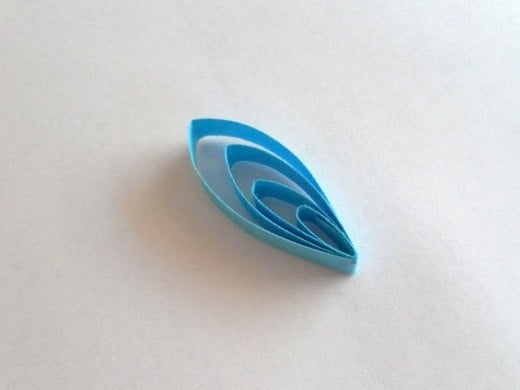
Insert five pins into a quilling board and align the pins in a straight line. Wrap a strip of quilling paper around the first and second pins, and glue the paper to secure the loop. Next, wrap the quilling paper around the third pin and apply a small amount of glue on the paper that is wrapped around the first pin. Repeat and continue looping with the fourth and fifth pins. Bring the paper to the first pin and apply glue. Trim off the excess bit of paper. Remove the pins. Pinch the Wheatear coil with your fingers to form the shape you require. This method is the same as making a straight husking.
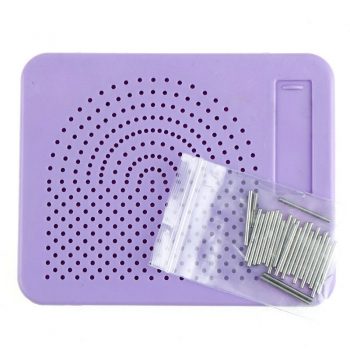
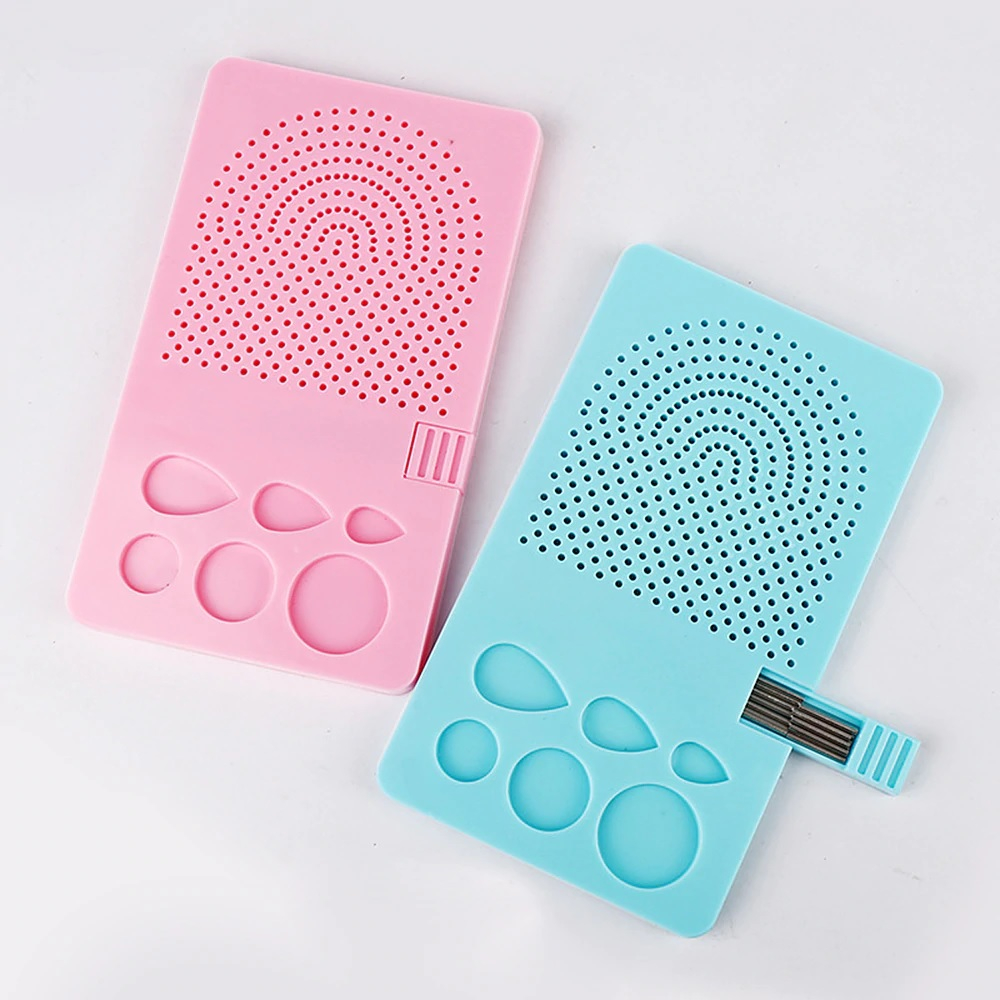
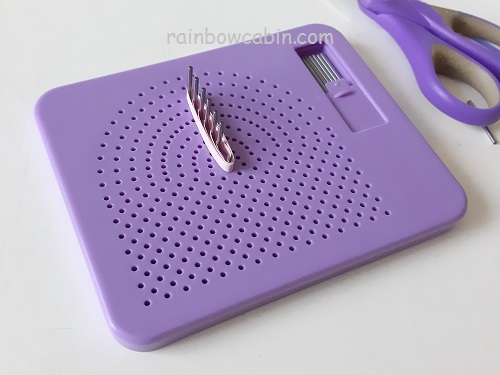
To make better looking wheatear coils, get a grid board like this below! It comes with all the pins and a little compartment for storing the pins.
Instructions on making huskings are available in the following tutorial:
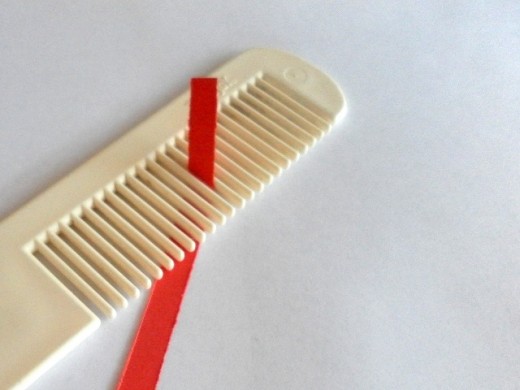
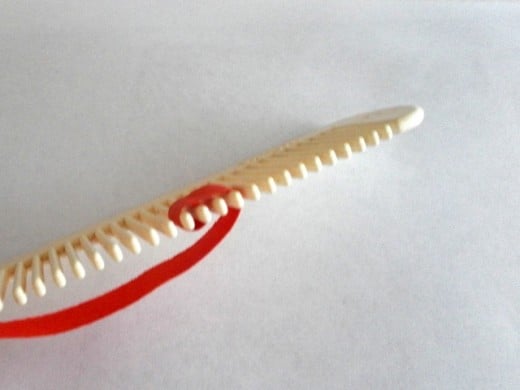
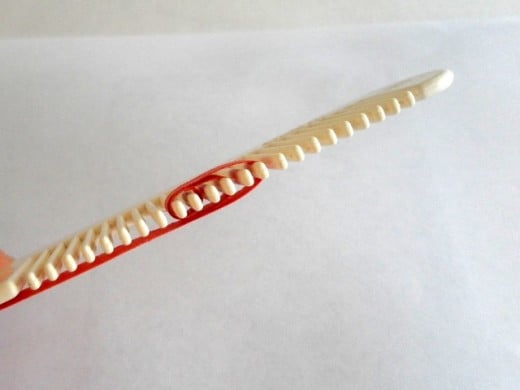
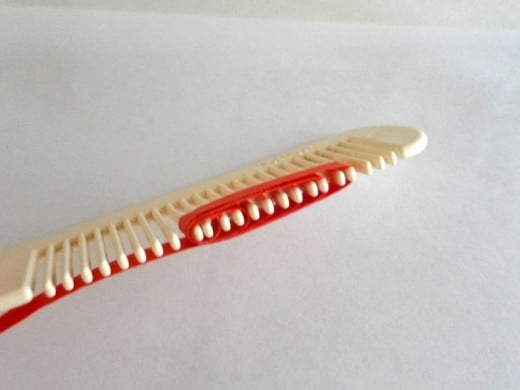
A quilling comb (an afro comb or normal comb can be used) works in the same way as the quilling board and pins method mentioned above. Wrap a strip of quilling paper around the prongs of the comb in the same way as with the pins on the quilling board.
The comb method is very useful in making many beautiful paper quilling coils. If you want to know more about how to make other coils using a quilling comb, a full tutorial with detailed instructions is found here:

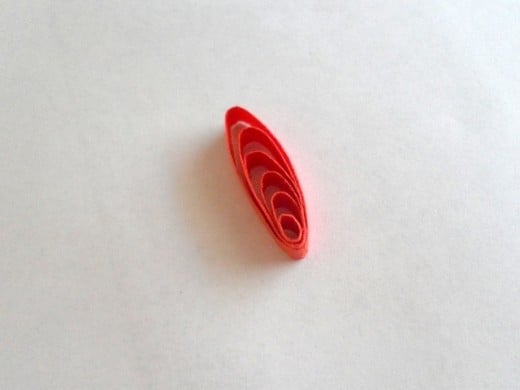
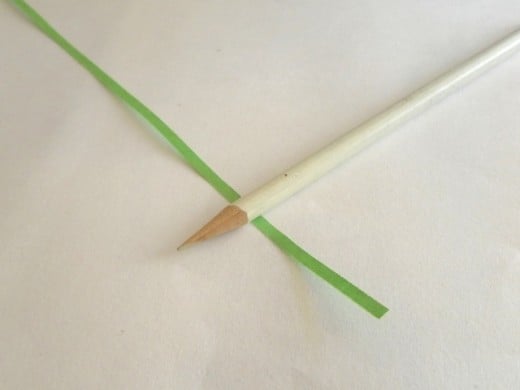
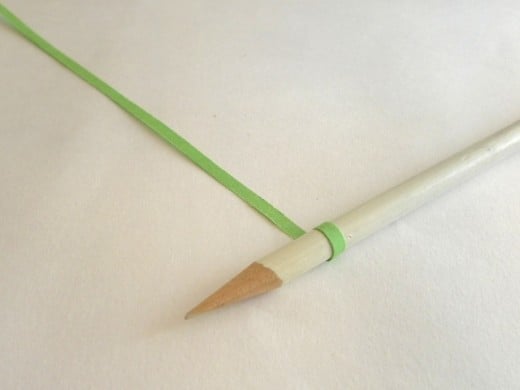
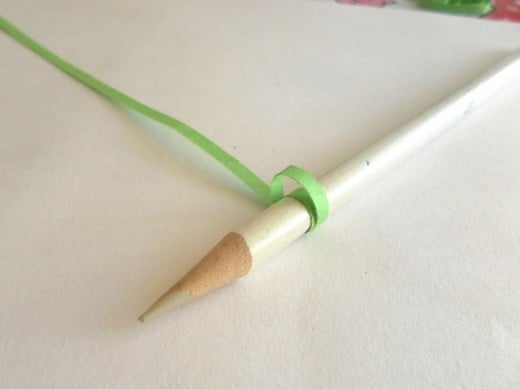
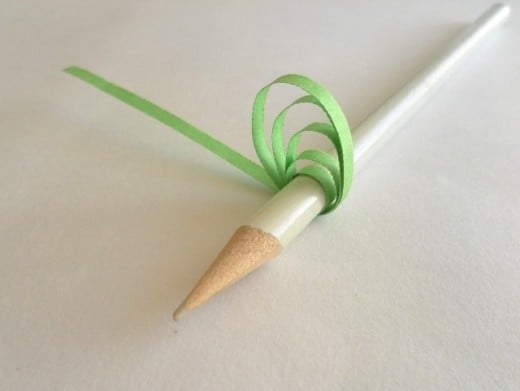
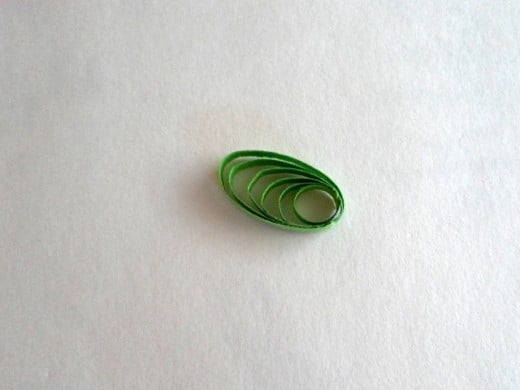
The pencil method is used in making Wheatear coils that are round in shape rather than teardrop shaped. Wrap a strip of quilling paper around a pencil and glue the end to secure the first loop. Make a slightly bigger loop over the first loop and glue where the loop touches the paper again. Continue wrapping and looping until you get the coil size you want. Glue to secure the loops and trim off the excess end of the paper. If desired, this Wheatear coil can be shaped by pinching the coil with the fingers.
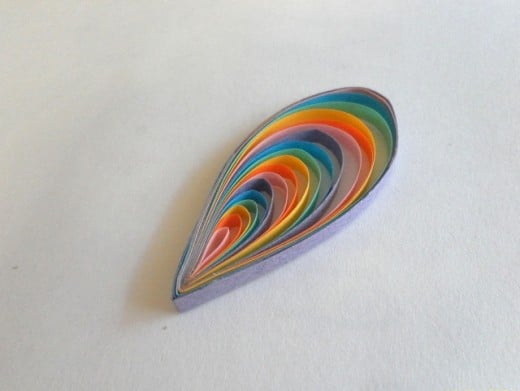
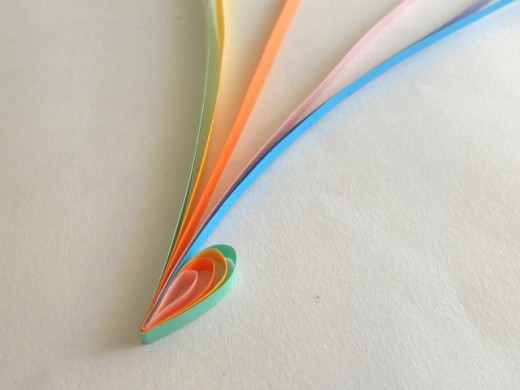
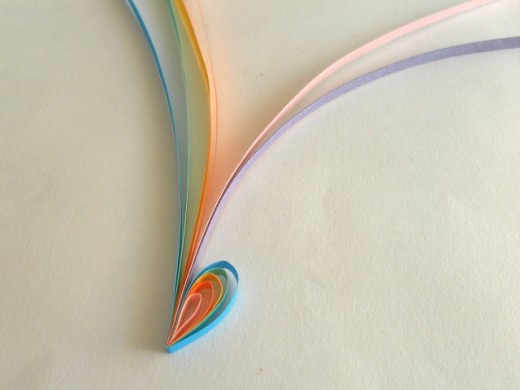
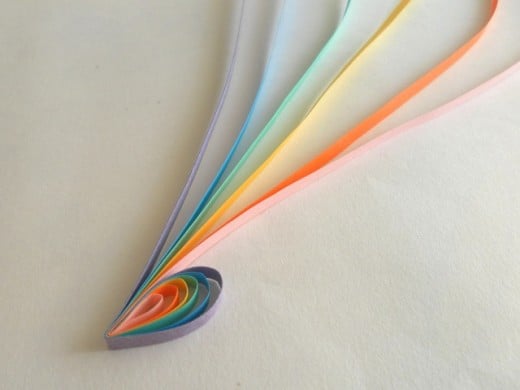
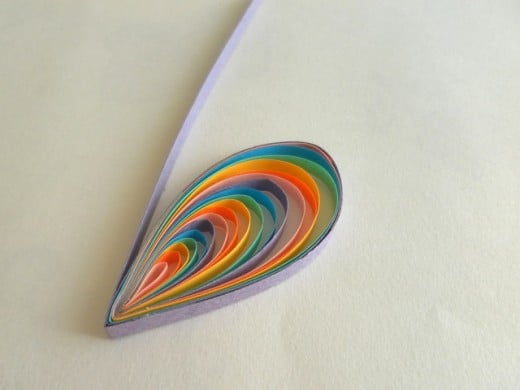
Let’s have a bit of fun and make a rainbow coil. You can use any of the methods mentioned above to make this coil. In this example, I used my fingers to make the loops!
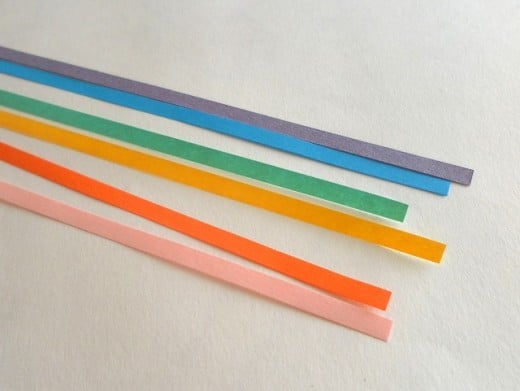
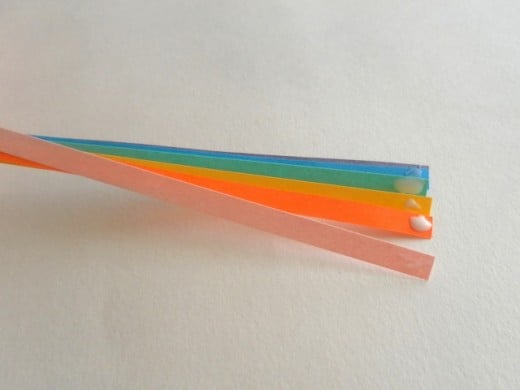
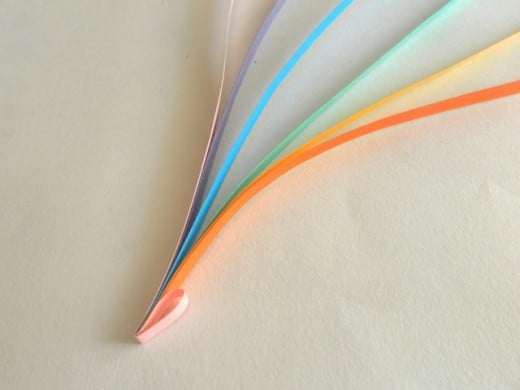
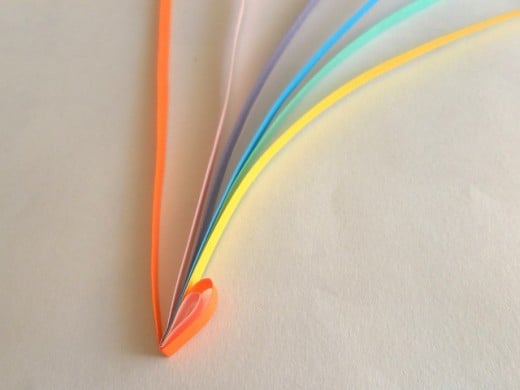
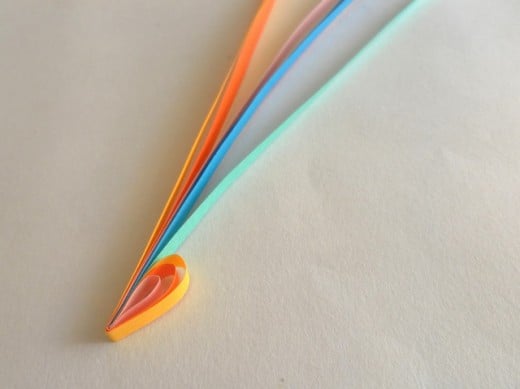
Take six or seven strips of quilling paper of different colours. Align the ends of the papers together, apply a little bit of glue and stick them all together. Begin with one strip of paper to make a small loop. Then make another bigger loop around the first loop with the next strip of paper that is closest to the small loop. Keep making a loop with a different coloured strip of paper and you will get a rainbow coloured Wheatear coil! You will need an extra strip of paper to do the last loop if the coil is big.

If you want to get ideas on how to make more quilled flowers, butterflies and other objects, free paper quilling tutorials are here:
Paper Quilling Huskings for Flowers and Designs
How to Make Huskings Flower Petals
Paper Quilled Earrings and Quilled Jewelry
How to Make Your Own Quilled Paper Jewelry
How to Make Quilled Fringed Flowers
Paper Quilling: How to Make Fringed Flowers for Quilled Designs Projects
How To Make Paper Quilled Honeycomb Coils
Wheatear Coil Techniques, Shapes and Designs
How to Make Quilled Butterflies
Paper Quilling: How to Make Quilled Butterflies and Flowers
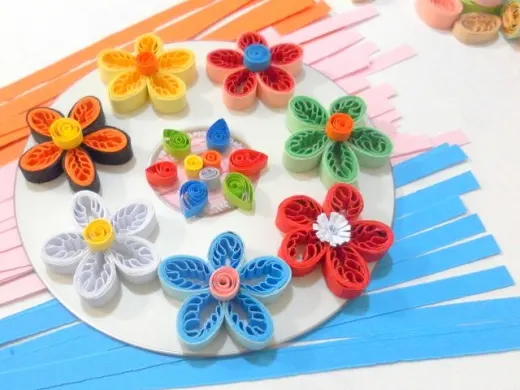
Multi Coloured Paper Quilled Fringed Flowers
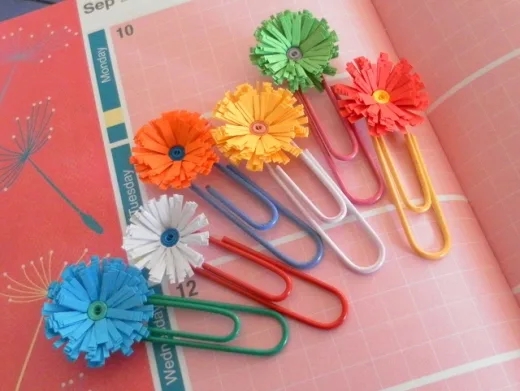
Fringed Flowers on Paper Clips
Make A 3D Paper Quilled Flower Pot
How to Make Miniature Flowers, Pots, and Vases With Paper Quilling
How To Do Paper Quilling With A Comb
Paper Quilling Comb Patterns and Designs
Paper Quilling Comb Techniques: How to Make Shapes and Designs
How to Make Heart-Shaped Crafts and Designs for Valentine’s Day
How To Make A Quilled Yin-Yang Symbol
Christmas Gift Tags With Paper Quilling
9 Paper Quilling Craft Ideas and Projects You Want Now
Wheatear Coil Techniques © 2013 lady rain
About the author

Lady Rain lives in Australia and enjoys writing about travels, paper quilling crafts and historical events.