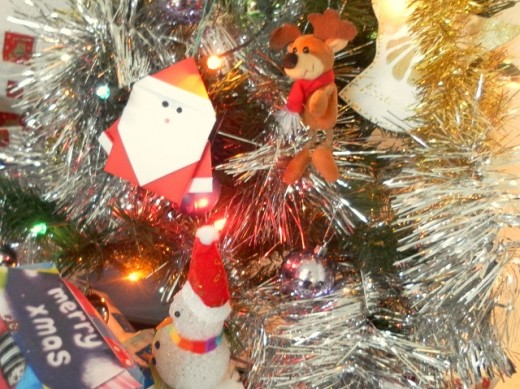
This tutorial teaches you how to make an Origami Santa Claus. It is a great paper folding activity for kids (and adults, too!) to work on during Christmas holidays. You can use origami paper or red wrapping paper to make the origami santa. Origami craft papers are available in craft stores or Japanese products stores. They are also available online, so remember to check them out here.
Let’s Begin..
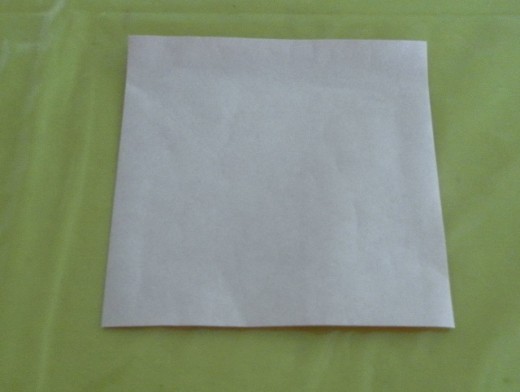
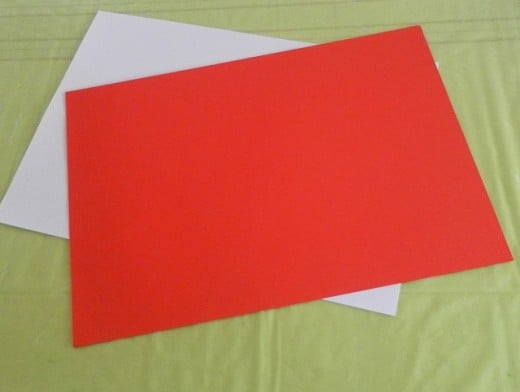
For this origami craft activity, one side of the paper needs to be red colour and the other side is plain white. The origami instructions below can be used to make different sizes of origami design embellishments and ornaments.
Small Origami Santa Claus
The size of the paper for making a small santa claus embellishment is 7.5cm by 7.5cm (or a quarter of a standard size origami paper). The small santa can be used on a gift tag, gift wrapping or handmade Christmas card.
Large Santa Claus
To make an origami santa claus ornament for the Christmas tree, two sheets of A4 size paper is required and they need to be cut into squares of 21cm by 21cm.
Just follow the step-by-step instructions below on how to fold the origami santa.
Step-by-step instructions for Origami Santa Claus
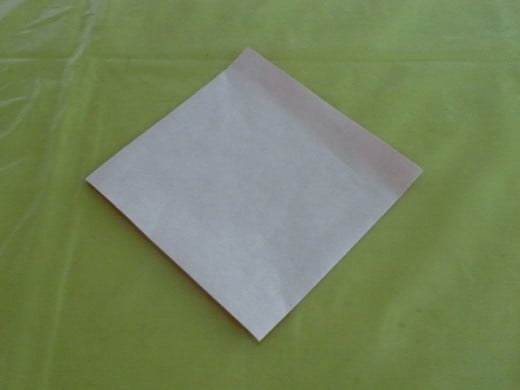
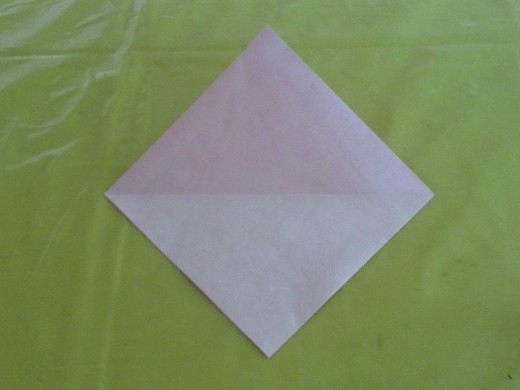
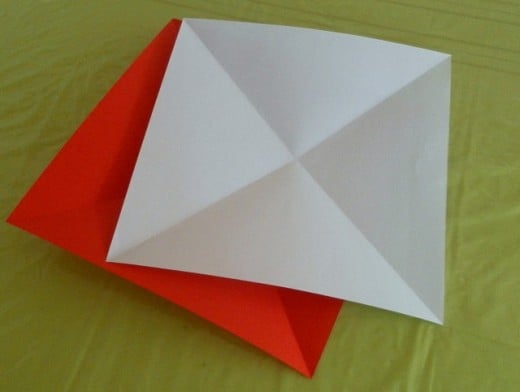
You will need one sheet of red origami paper.Turn the origami paper over. The other side of the paper should be white colour.Position the origami paper this way with the white side facing up.Fold the paper in half from bottom to top.Unfold the paper and you will see a horizontal crease line.Fold in half again from right to left.
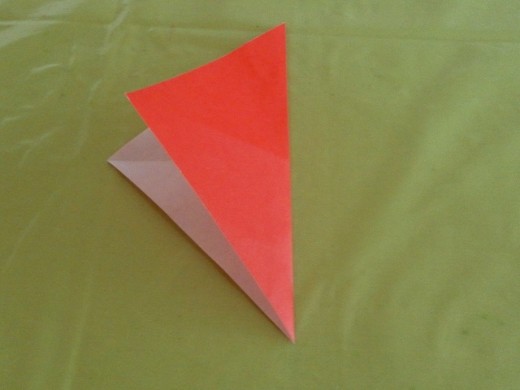
Unfold the paper…
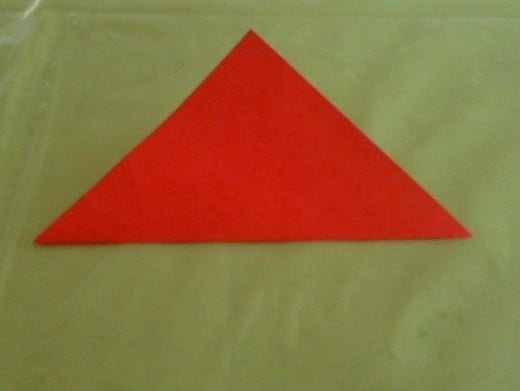
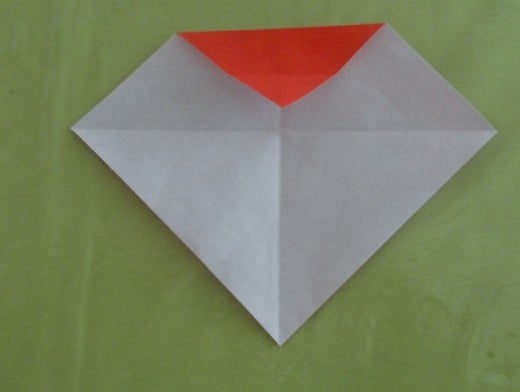
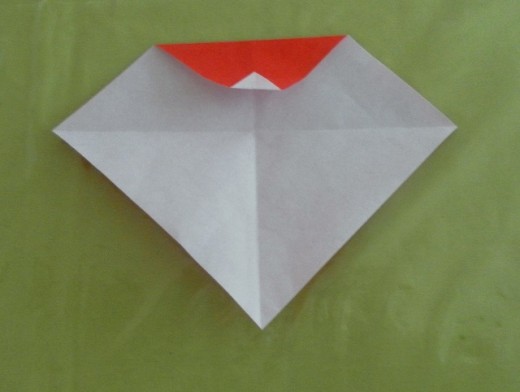
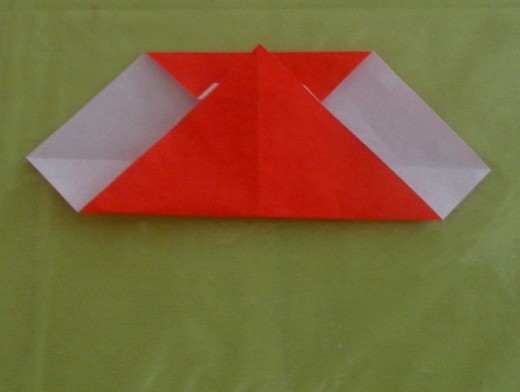
Now you should have a vertical crease line and a horizontal crease line intersecting each otherFold the top corner of the paper toward the centre of the paper where the crease lines meet.Fold the top flap in half to meet the top edge of the paper.
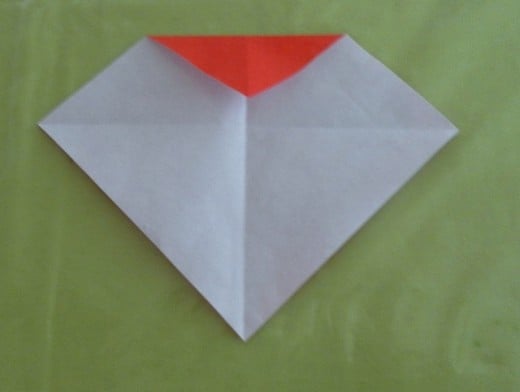
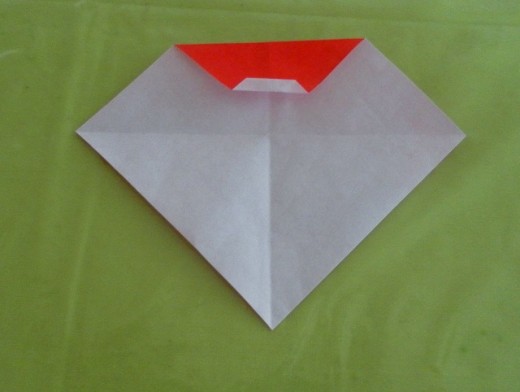
Unfold the paper again…
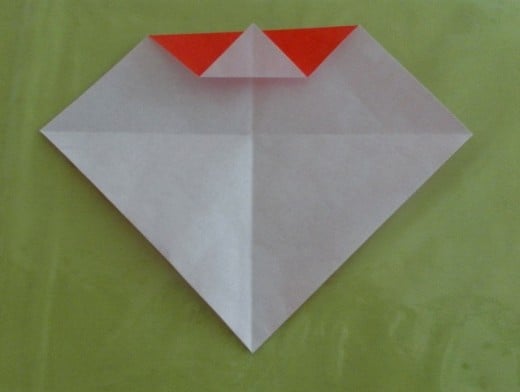
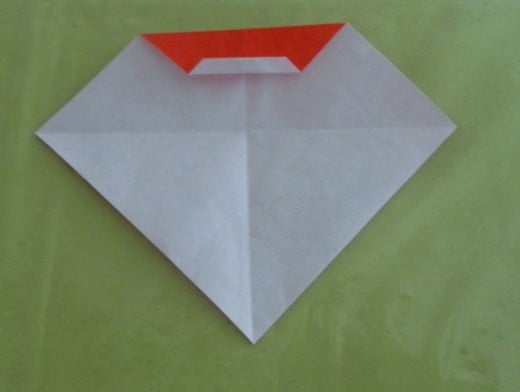
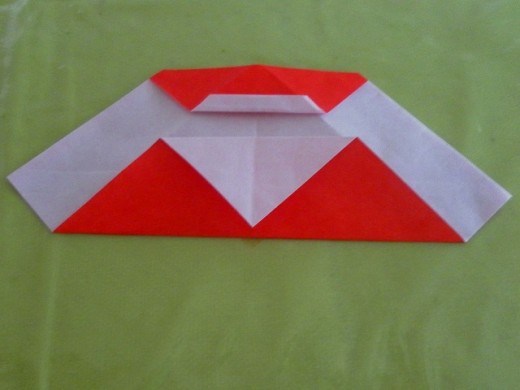
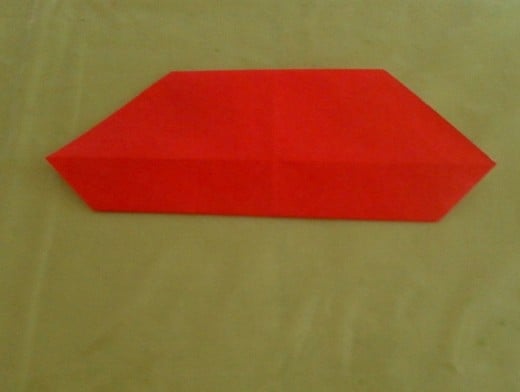
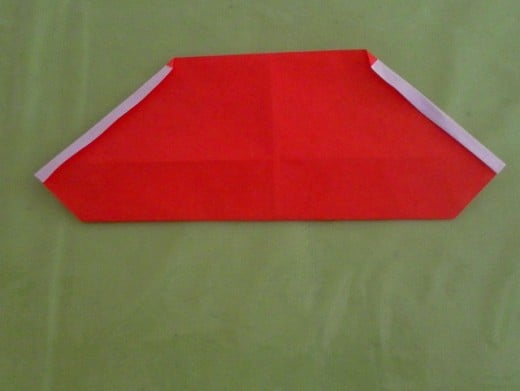
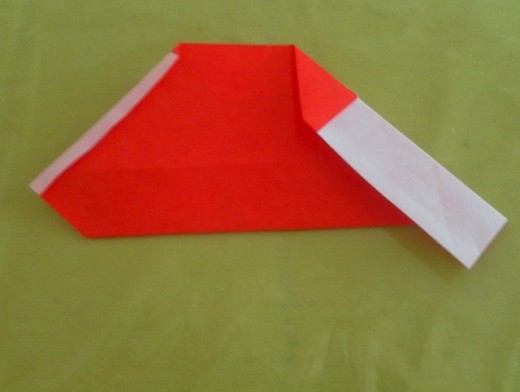
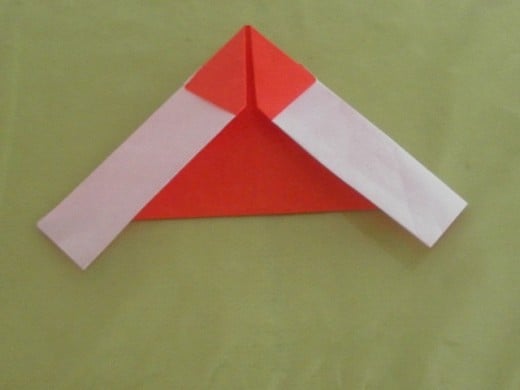
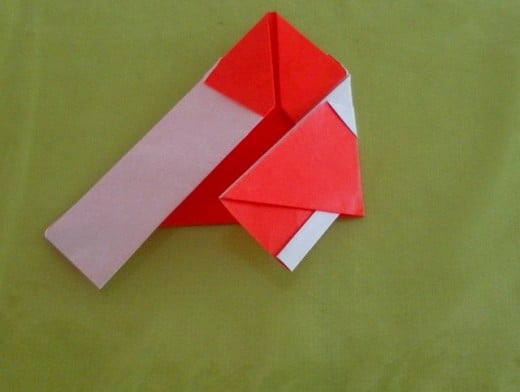
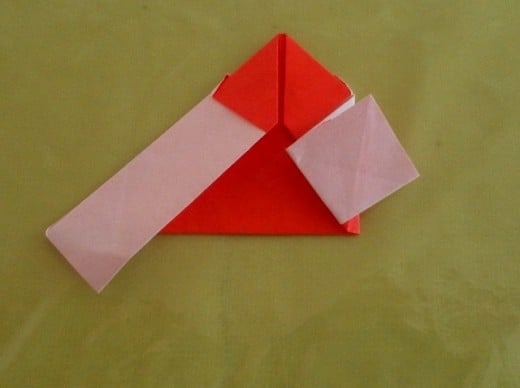
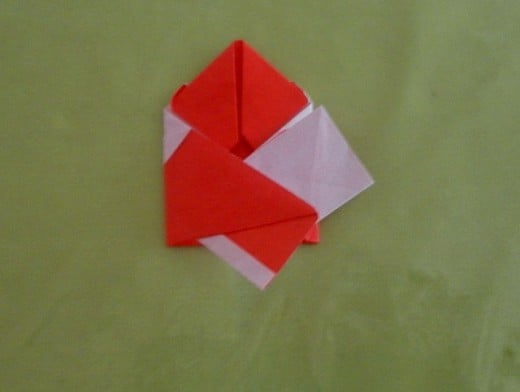
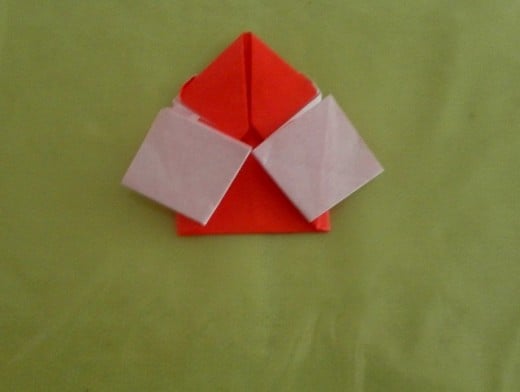
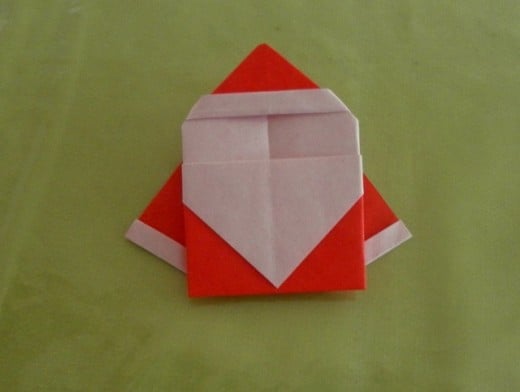
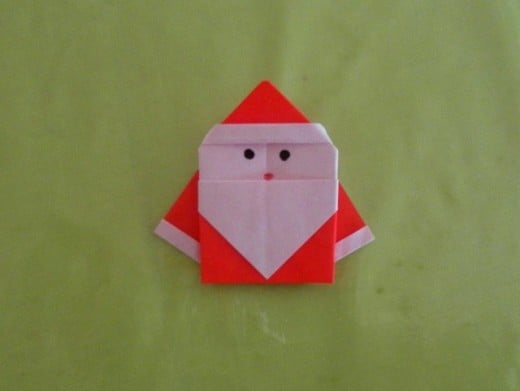
There is now a crease line on the top red flap.Fold the corner so that it touches the red crease line.Next fold upwards the folded edge so that the edge meets the red crease line.Fold upwards along the crease line.Now bring the bottom flap of the paper up to the top edge and press down on the bottom edge to make a fold.Fold down the flap and align the corner to the bottom folded edgeTurn the paper over.Make a small fold of about 2-3mm along the left and right edges of the paper.Fold the right edge down as shown.Do the same for the left side. Press the paper down and the top of both sides should meet along the vertical crease line in the centre.Fold the right side of the paper with about two-thirds of it to the left. Fold the bottom flap about halfway up.Repeat with the left side of the paper.The finished work should look something like this.Turn the folded paper over and you see a faceless santa looking at you!Use a black marker to draw the eyes and a red marker for the mouth. There’s your little origami santa. Isn’t he cute?
Origami Santa Embellishment
The cute little origami santa can be used to decorate handmade gift tags or as embellishments on gift wrappings.
Santa origami on a gift tag.
Starry Starry Night!
Make Your Own Origami Lucky Stars This is a popular paper strip folding activity. It is one of the easiest origami to learn and it is addictive too. Teach the children how to make origami stars and they will be busy for hours and hours.
Instructions for Santa Christmas Ornament
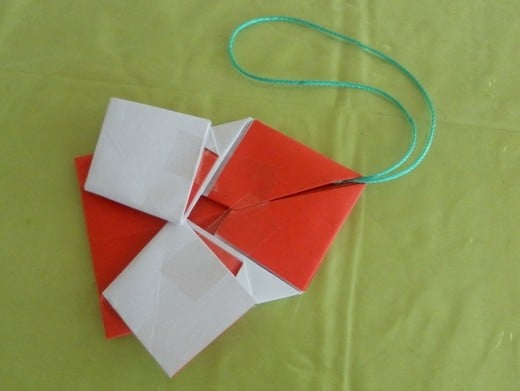
For making the origami Santa Christmas as an ornament, use two sheets of A4 paper – a red paper and a white paper. Trim the sheets of paper to squares and lay one sheet on top of the other. Make the Santa Christmas ornament with the origami instructions above.
Finally, finish off by using sticky tape to hold the paper down on the back, so that the ornament stays in place. Attach a piece of string at the top of the ornament for hanging on the Christmas tree.
To make a Santa ornament for the Christmas tree, use 2 sheets of A4 paper, one red and one white.Cut the papers to squares, align the two sheets together and follow the folding instructions outlined above.Use sticky tape to hold the paper down. Attach a string to the origami ornament for hanging.Origami Santa Claus Ornament
Looking for the Best Pampering Christmas Gifts?
Visit Braulio & Co for their beautiful range of all-natural handmade soaps and skin care products.
Chocolate Chip Monster Cookies Recipe Monster cookies are back this Christmas. Why not make some of these huge cookies and give them to your family and friends?
Decorating Christmas Spritz Cookies Spritz cookies are quick and easy to make. They make great gifts for family and friends during Christmas and festive seasons.
Make Origami Toothpick Holders How do you store toothpicks in your purse and wallet? Why not learn to make your own paper toothpick holders with these origami instructions.
Origami Lucky Stars This is a popular paper strip folding activity. It is one of the easiest origami to learn and it is addictive too. Teach the children how to make origami stars and they will be busy for hours and hours.