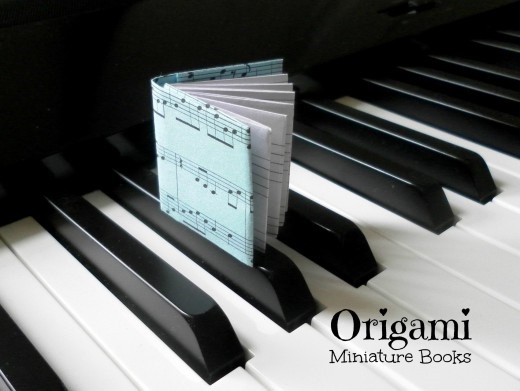
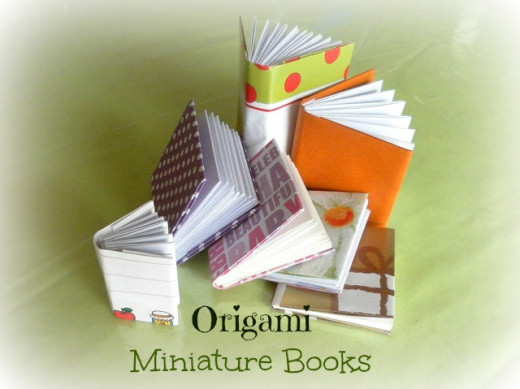
Miniature sculptures, replicas and bonsai plants are cute to look at but they do require a bit of skills and knowledge to produce. Fortunately, there’s a fun and easy way to make miniature models and that’s with paper and origami. Many adults and children enjoy paper folding and origami, and it is a popular art form. This tutorial will show you how to make origami miniature books.
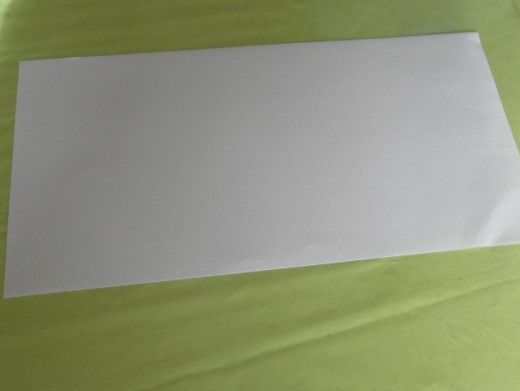
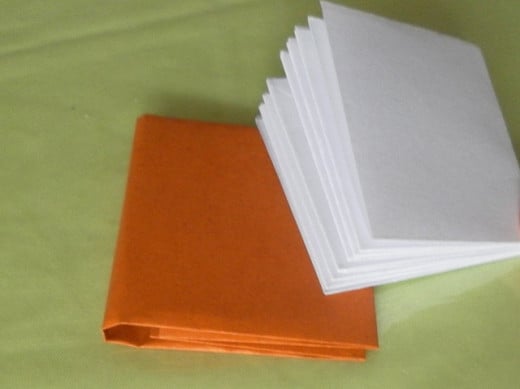
For this project, you will need a sheet of origami paper measuring 15cm by 7.5cm for making the book cover. Scrapbooking paper can be used if you prefer a thicker material for the book cover. To make the pages for the origami book, I used a sheet of A4 paper trimmed to 15cm in width and 30cm in length.
Follow the step-by-step instructions and pictures below to start making your first origami mini book. We begin with making the pages for the miniature book. In this tutorial, you will end up with a little twelve-page book. You can increase the length of the paper to add more pages to make a thicker book, or trim off the excess paper for a thinner book.Photo
Folding instructions to make origami miniature books
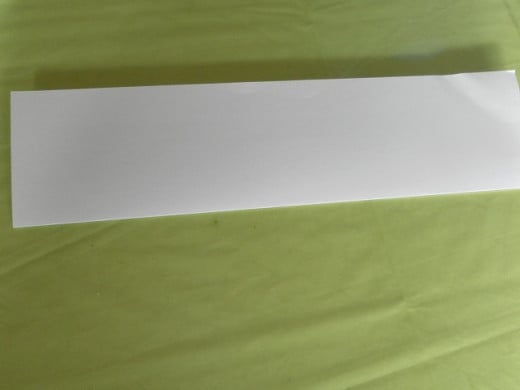
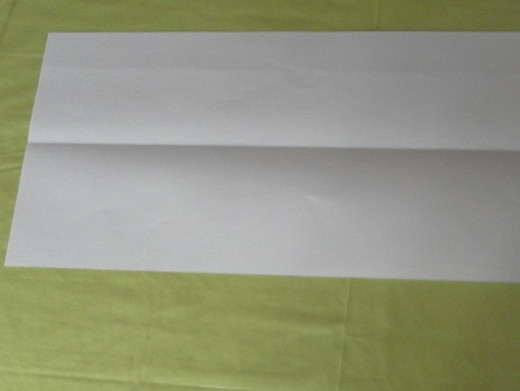
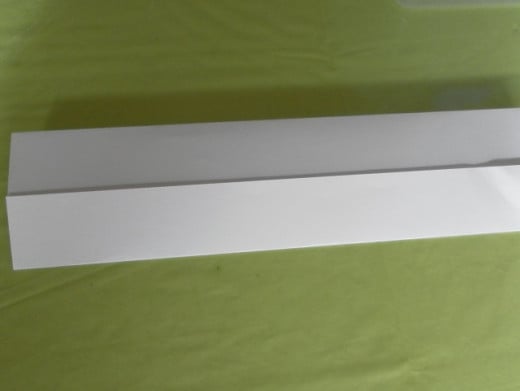
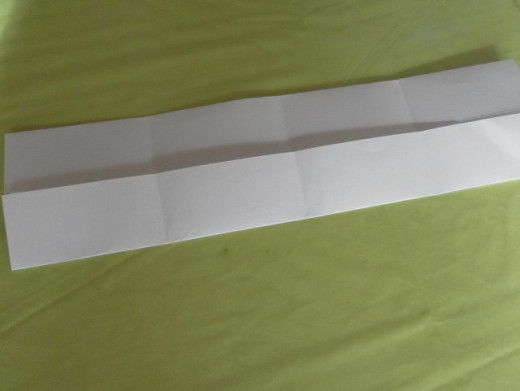
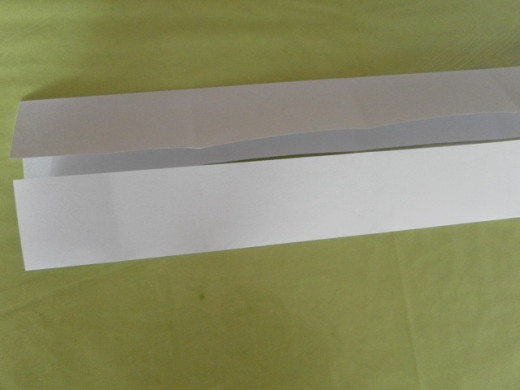
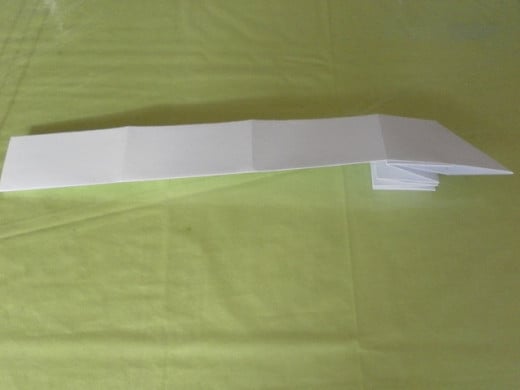
For folding the pages, use an A4 paper trimmed to 30cm by 15cm. For more pages, use a longer paper, or shorter paper for less pages.First, we need to make a few lines on the paper as a guide for the folds. It’s a tedious task but necessary! Fold the paper in half to make a horizontal crease line.Unfold the paper. Take note of the horizontal line!Fold the top and bottom edges of the paper to align with the horizontal crease line. Fold the paper in half from left to right to make a vertical crease line.Unfold to reveal the vertical crease line in the middle.Bring the left and right flaps of the paper to the centre so that their edges align with the centre crease line.Unfold the paper. Now, there are three vertical crease lines.Fold the left edge to align with the first vertical line on the left.Unfold the paper. Yet another vertical crease line!Next, unfold the whole paper.Using a cutter or a pair of scissors, starting from the first vertical crease line on the left, make a cut along the middle horizontal crease line all the way to the other end of the paper.
Folding the pages..
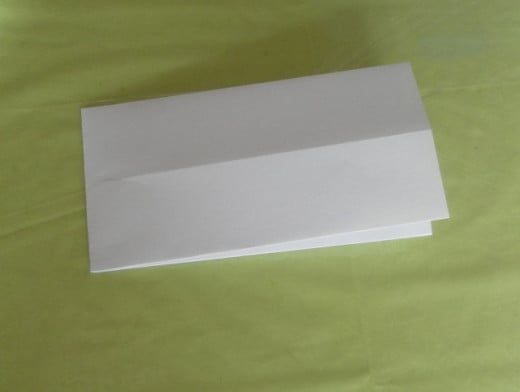
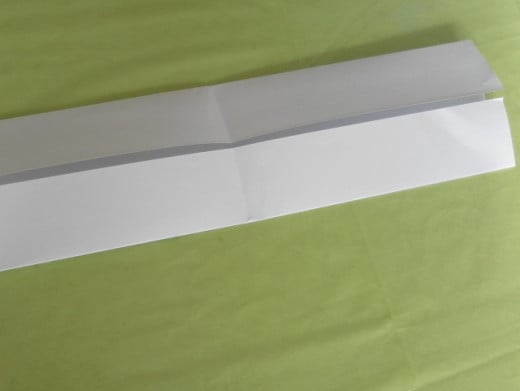
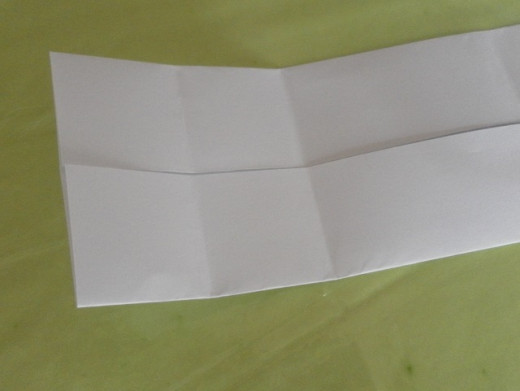
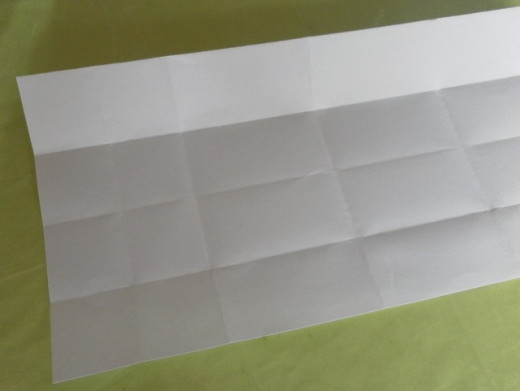
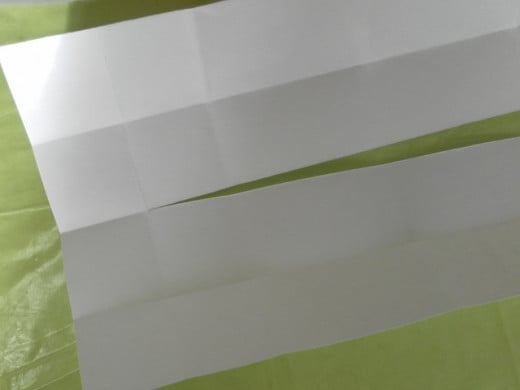
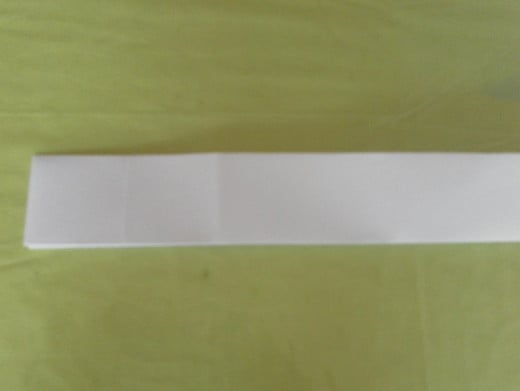
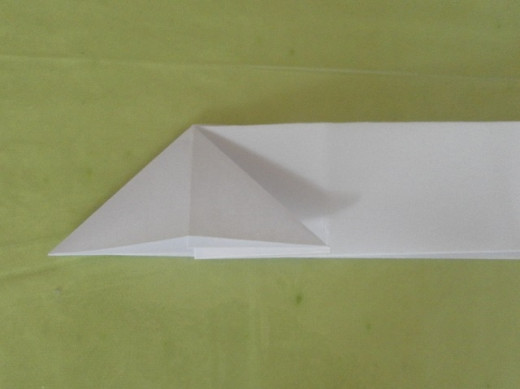
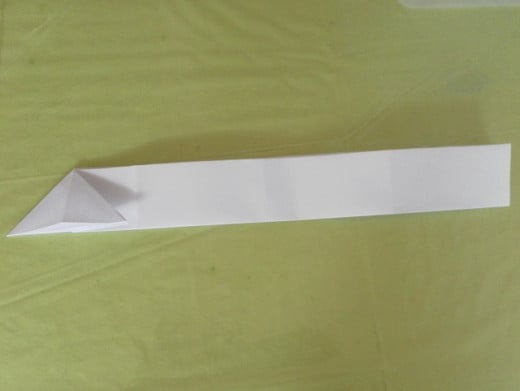
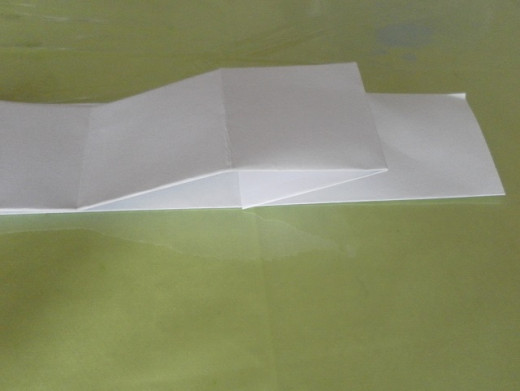
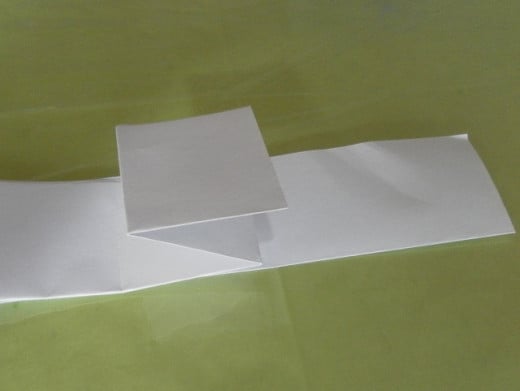
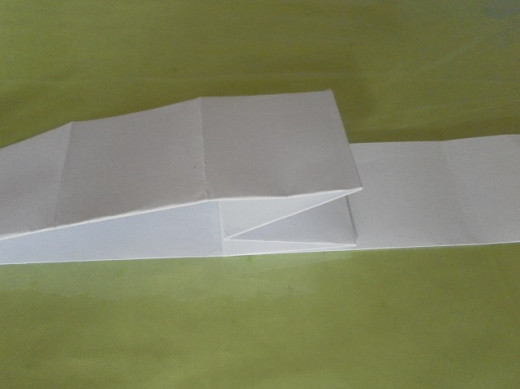
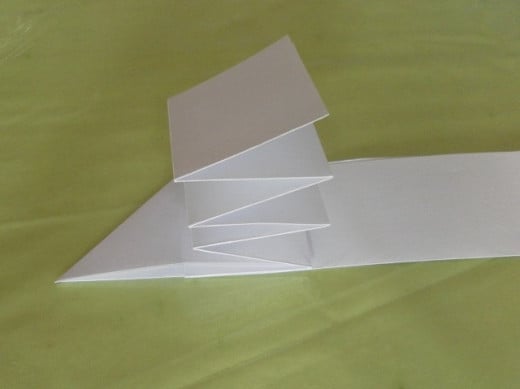
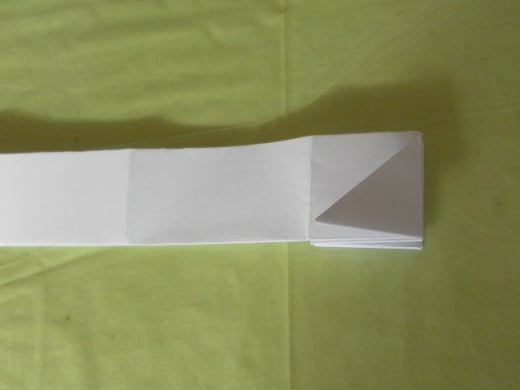
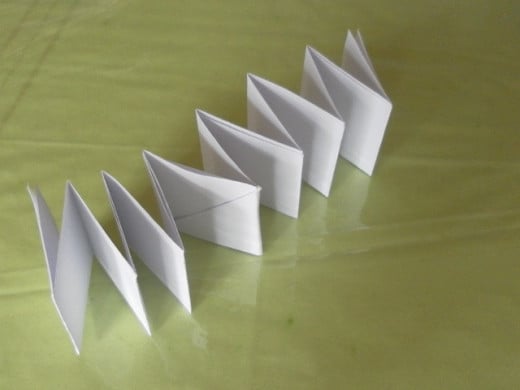
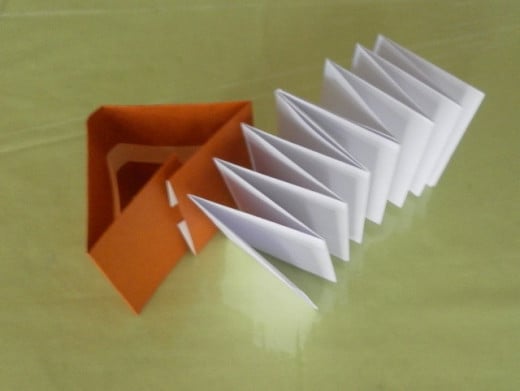
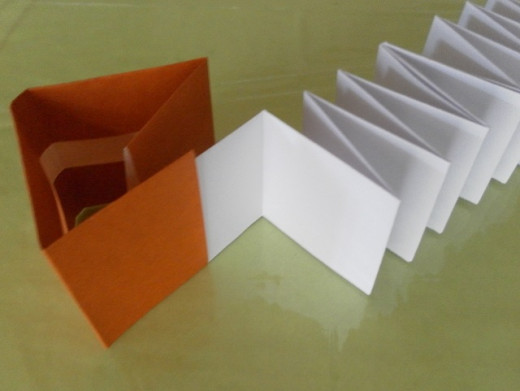
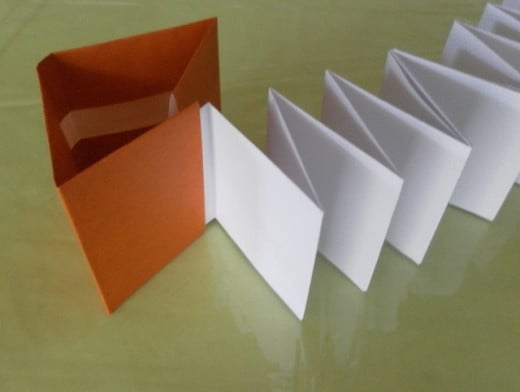
Now, we can begin to fold the pages! Follow the crease lines and fold the top and bottom flaps to the centre again.Fold the paper in half again with the top half over the bottom half.Fold the left side of the paper along the first vertical crease line.Open up the fold to make a triangle shape.The folded paper should look something like this with the triangle on one end.Start folding small squares from the other (right) end of the top flap of the paper, using the vertical crease lines as guides.Continue folding the top flap in an accordion-like manner (one fold up, one fold down and so on).Continue folding the accordion…Until you reach the left corner with the little triangle.Turn the paper over.Fold the triangle over to the left. Then continue to fold the paper to make the accordion folds....until the paper looks like this. This will be pages for your miniature book. The next step is to make a cover for the book.
Making the book cover is a lot easier than folding the pages, but once you get the hang of it, you’ll be able to make lots of origami miniature books without looking at these instructions.
Here are the steps on how to make the book cover
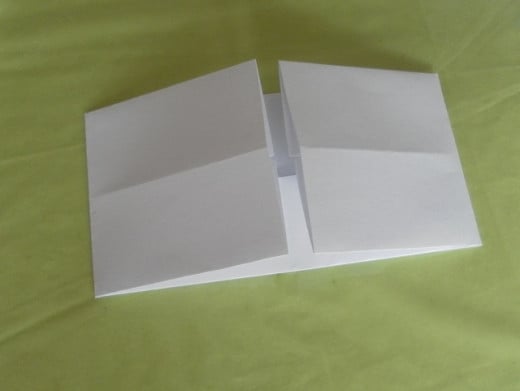
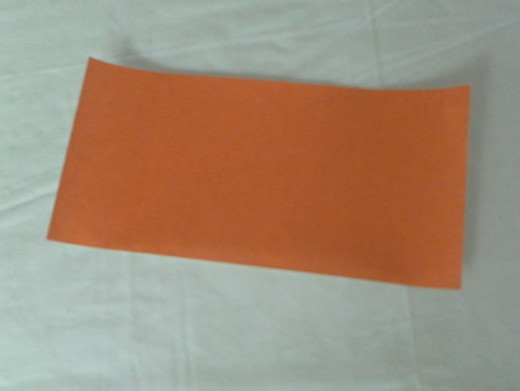
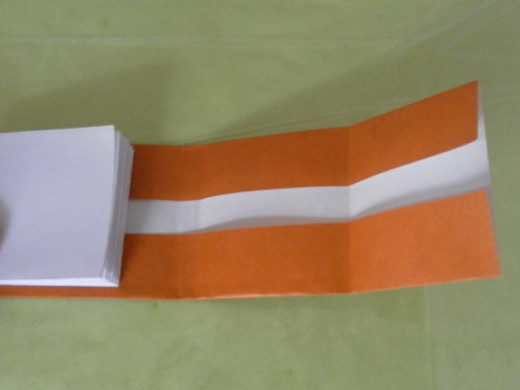
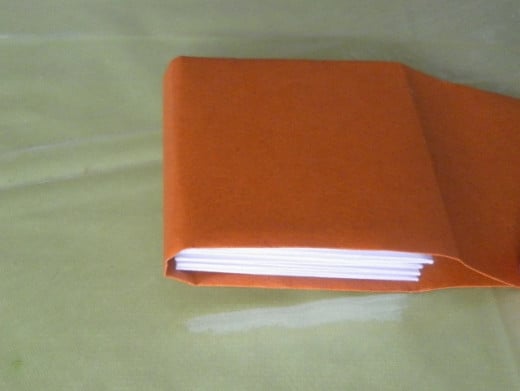
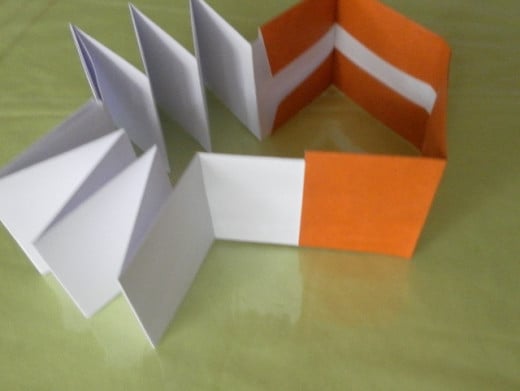
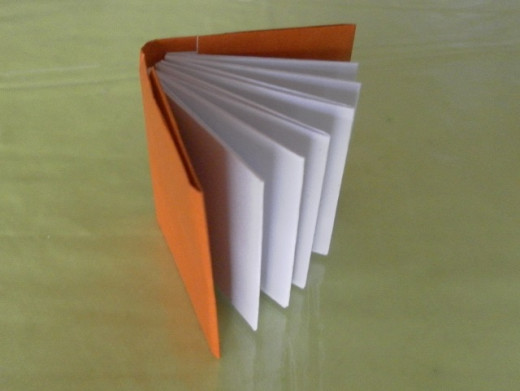
Use a sheet of origami paper, scrapbook paper or wrapping paper (whatever!) to make the origami book cover. The paper measures around 15cm by 7.5cm.Turn the origami paper over and fold the top and bottom flaps towards the centre. Use the folded pages as a guide to make the right size for the cover. The height of the book cover should be a one or two mm taller than the height of the pagesWrap the cover over the pages and fold both ends of the paper inwards to make the front and back covers.The cover is now ready.Place the pages in front of the book cover.Insert the first page of the folded pages in between the folds of the front cover.Push the flap all the way into the front cover.Similarly, take the last page and insert it into the back cover.Insert it all the way into the back cover.Gather all the pages together and arrange them into the book cover to make the origami book. Yay! An origami book!
You can use different paper sizes to make bigger or smaller books, or add more pages to make thicker origami miniature books.
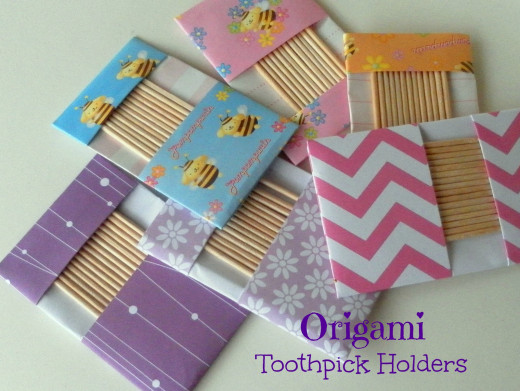
How To Make Origami Toothpick Holders You’ll never know when you’ll need a toothpick or two! Make your own paper toothpick holders with these origami instructions.
How to Make Origami Santa Claus Make your own Santa Claus embellishment and Christmas ornament with these origami instructions.
How To Make Origami Lucky Stars This is a popular paper strip folding activity. It is one of the easiest origami to learn and it is addictive too. Teach the children how to make origami stars and they will be busy for hours and hours.