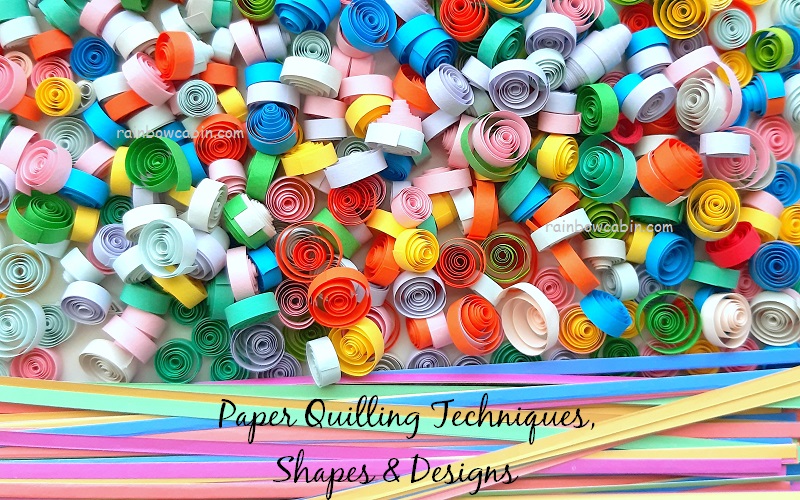
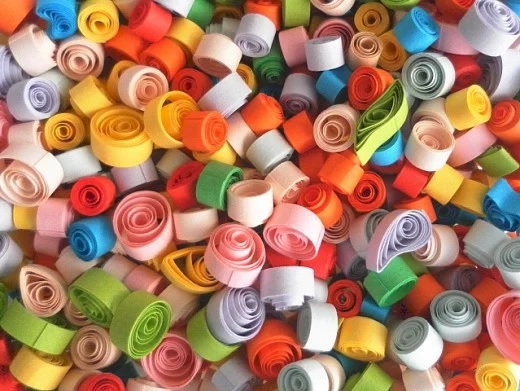
This tutorial is about the basic techniques in paper quilling. Paper quilling is also known as paper filigree. It is a technique of rolling narrow strips of paper into coils that are used to form different patterns and designs.
This form of art has originated in England in the thirteenth century. Quilling art was first used in Europe as decorations until the late nineteenth century – mostly found in churches, religious items and furniture.
In recent years, paper quilling has become a hobby for both adults and children around the world. Quilling materials are readily available in craft shops and online stores like rainbowcabin.com.

The art of paper quilling is easy to learn. The best thing about quilling is that only few items are required to get started with this paper craft. Do you enjoy paper crafts and diy handicrafts? If you have not learn paper quilling, why not give this craft a go? You could come up with a lot of beautiful designs in paper quilling.
There are specific tools and materials for paper quilling. Below is a list of the tools and materials required in paper quilling craft. You can also click on the pictures for more information on each item.
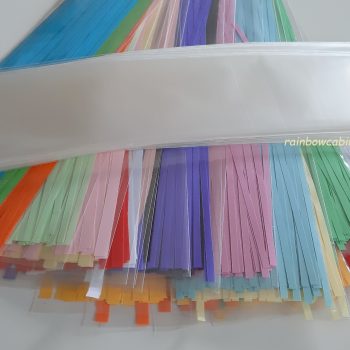
You can buy quilling paper strips at rainbowcabin.com – they have a wide range of paper quilling supplies at affordable prices. Quilling papers usually come in many colours and have widths of 3mm, 5mm, 7mm and 10mm.
A slotted tool for winding strips of quilling paper into a coil. If you do not have a quilling tool, you can use a toothpick or a satay stick. It is a little bit tricky with a toothpick! The quilling tool is best if you are a beginner.
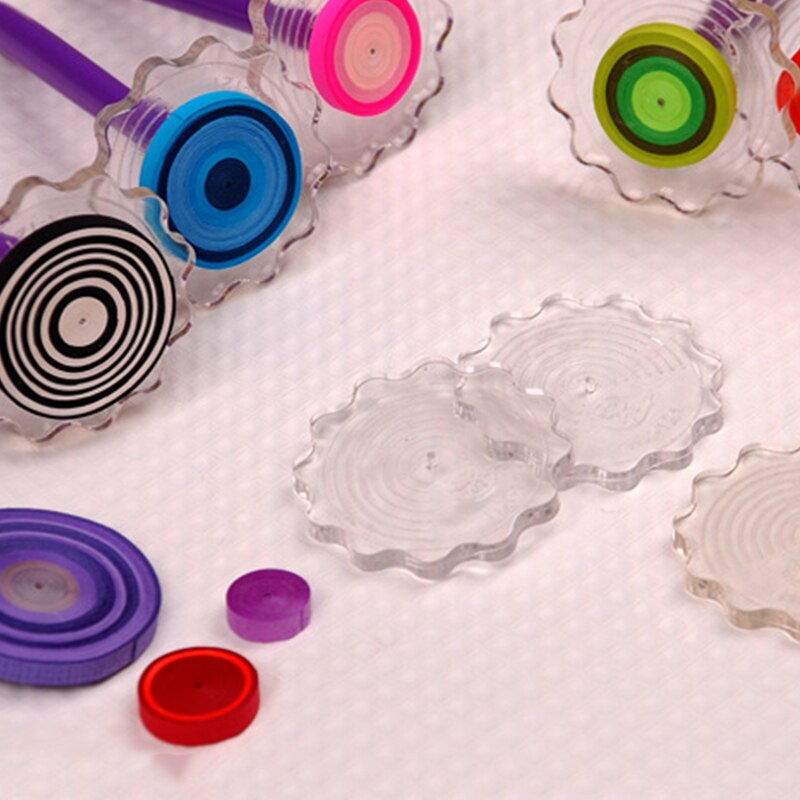
A coiling guide prevents paper quilling strips from slipping off the slotted quilling tool. It helps to make evenly quilled loops.
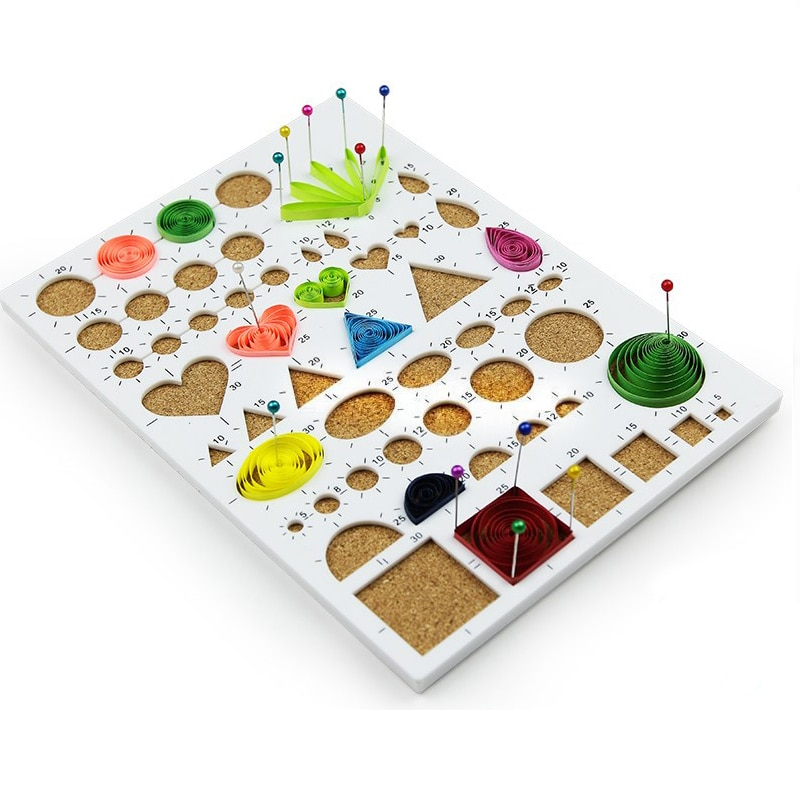
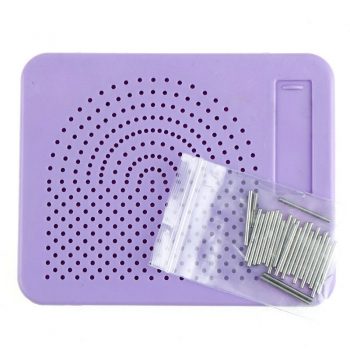
For making many coils of the same size, the paper quilling template board is a great tool to have. The circle templates on the quilling board help to hold each coil to the correct size and measurement. The quilling template board is a useful tool for making closed coils of the same size quickly.
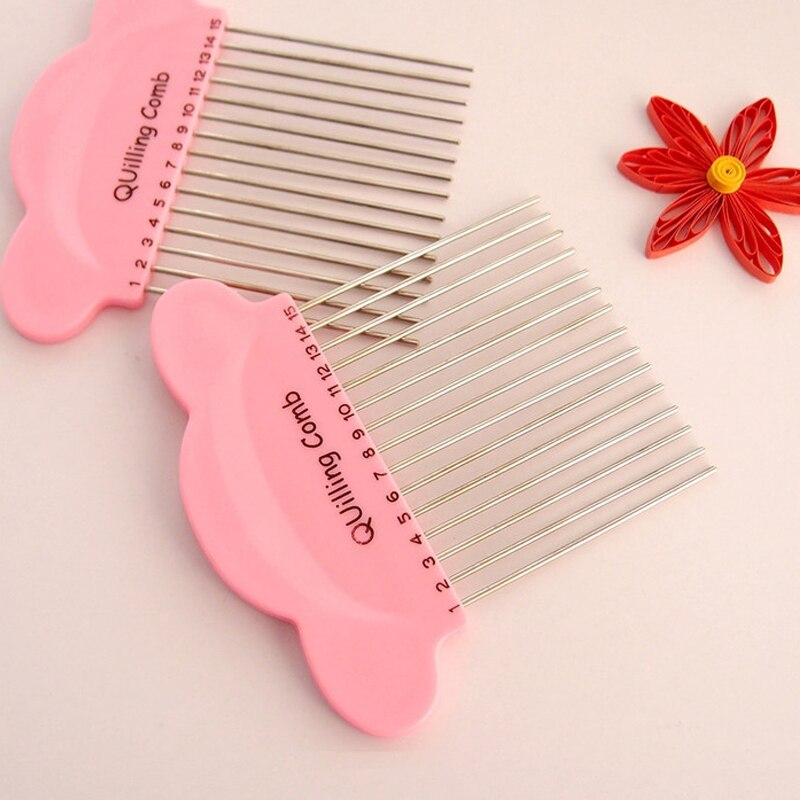
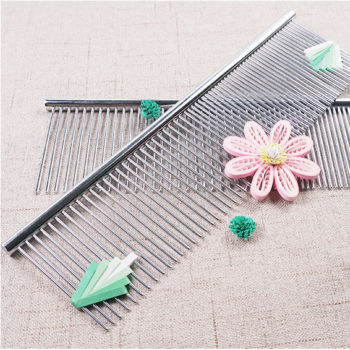
There are several techniques for making paper quilled crafts. One of the tools used for quilling is the quilling comb. Strip of papers can be wound around the prongs to make quilled items. A quilling comb helps to make evenly spaced loops in a coil.

Perfect wheatears coils can be made with a paper quilling grid. The needles on the grid holds the paper quilling strips together when making paper quilled loops.
These border guides are perfect for making paper loops.
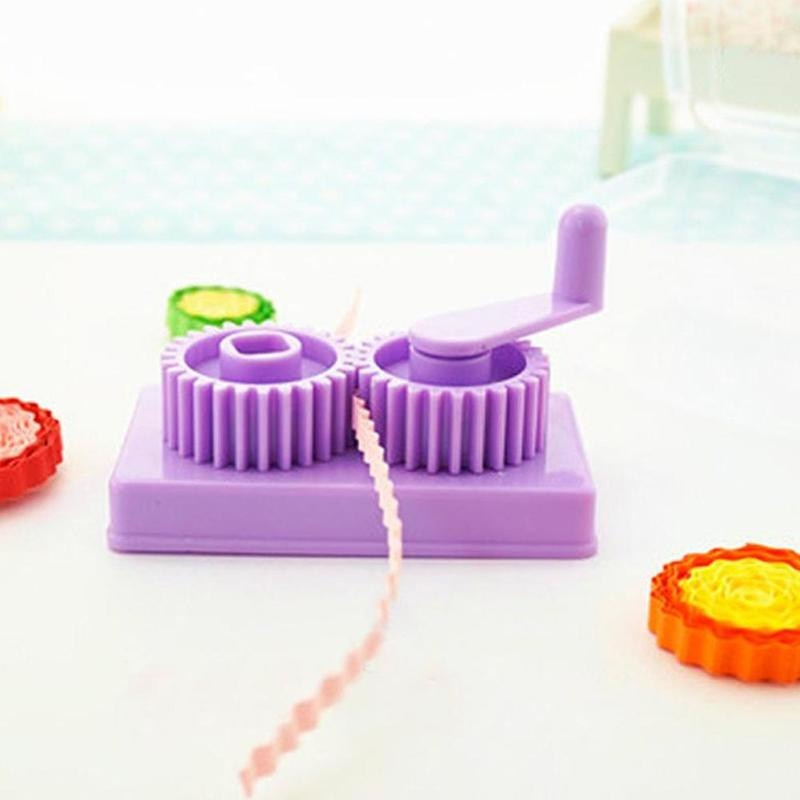
To make crimped strips of quilling paper, the crimper tool is a useful tool to have. Insert paper strip in the tool and crimp by turning the handle.
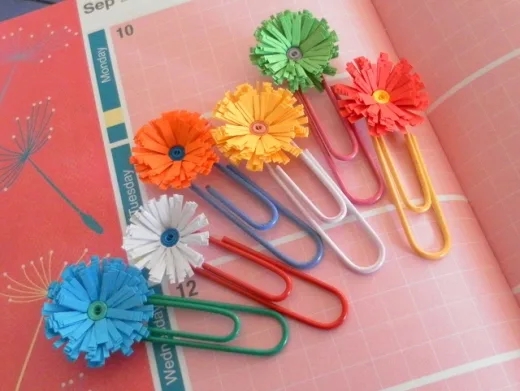
The paper fringer is for making fringes on a strip of quilling paper quickly. A pair of scissors can do fringing but that takes longer to cut the paper. The paper sometimes does not turn out perfectly fringed. Fringed quilling paper is used for making fringed-flowers.
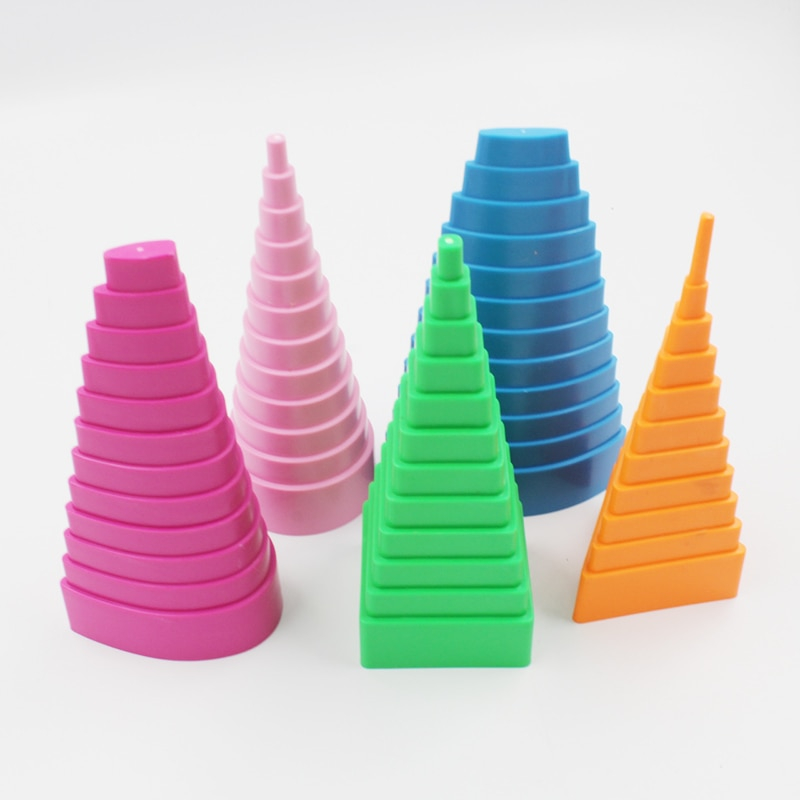
With the 3D mold, there is no need to measure quilled coils, just pop them in the mold to extrude the shapes evenly. It is a great item for making perfect 3D quilled objects quickly.
Other tools used in paper quilling are tweezers, needles, scissors, craft glue and toothpicks. PVA glue is suitable. Toothpick is for applying the glue.
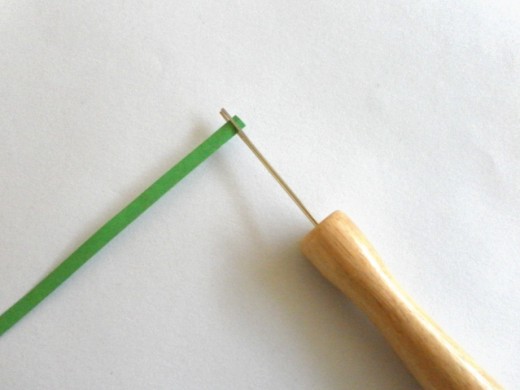
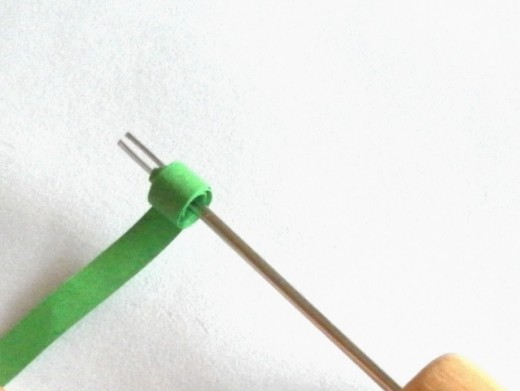
To begin, slide one end of the quilling paper into the slit of the quilling tool and roll it around the tool to form a coil. If you are using a toothpick or satay stick, press the toothpick onto the paper until the end of the paper starts to curl up slightly. After that, wrap the paper around the toothpick and roll the paper into a coil.
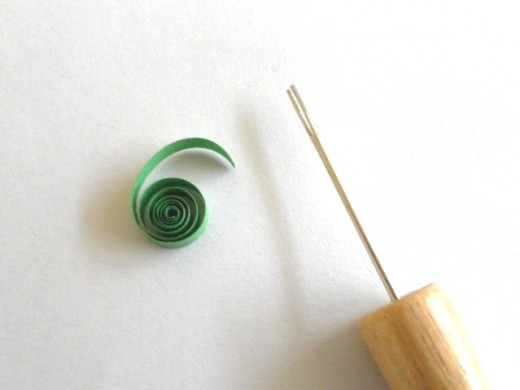
Release the coil and it will unwind freely. This is an open coil.
To make closed coil, roll the paper strip like making an open coil. Let the coil unwind. Apply a little glue at the end of the paper strip with a toothpick to close the coil. This is a closed coil.
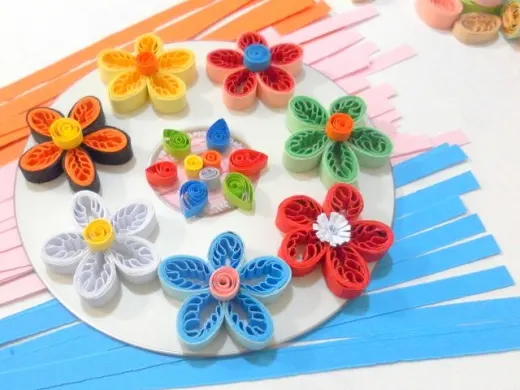
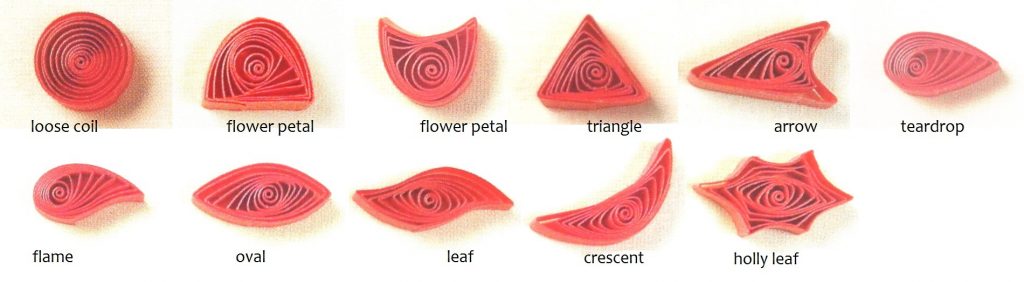
Press the closed coil into any shape you want. Below are examples of coil shapes.
To make a tight coil, apply glue without allowing the coil to unwind.
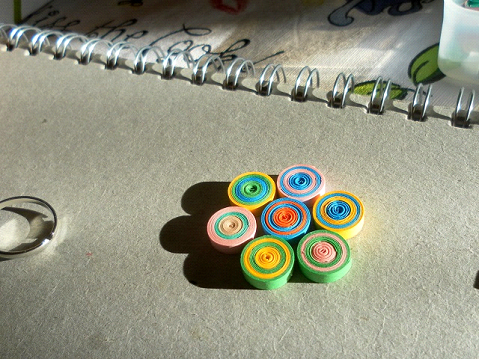
Practise to make perfect coils. Try to make coils with different shapes and colours. Make enough coils, arrange them on a sheet of drawing paper. Form a pattern with the coils. If you are happy with the pattern and would like to show it to your family and friends or have your masterpiece displayed, apply a little glue to the coils to make them stick onto the drawing paper. Let the glue dry – display your quilled design.
Master the basic techniques of paper quilling and you will have hours of fun with beautiful quilling artwork.
Happy Quilling!
If you want to learn more about paper quilling, free instructions on paper quilling designs and techniques are available at The Blog Cabin – so check it out!
Paper Quilling Basic Techniques © 2012 lady rain
About the author

Lady Rain lives in Australia and enjoys writing about travels, paper quilling crafts and historical events.