I got this Noriko bag pattern from Lazy Girl Designs a while ago. One lazy afternoon, I finally decided to bring out my sewing machine and try making some creative handmade things including this Noriko handbag. With a sewing machine and some basic sewing skills, this bag is easy to make. It is a great project for the weekend and only takes a couple of hours to complete. In this tutorial I am going to show you how to sew and make a Noriko bag.
What makes this pattern interesting is that there is only one single pattern piece to make this amazing Noriko Bag. The same pattern piece is used for all sides of the cover and lining of the bag. There is a tassel to be attached to the bottom of the bag but I decided to omit the tassel for my project.
Recycling Materials
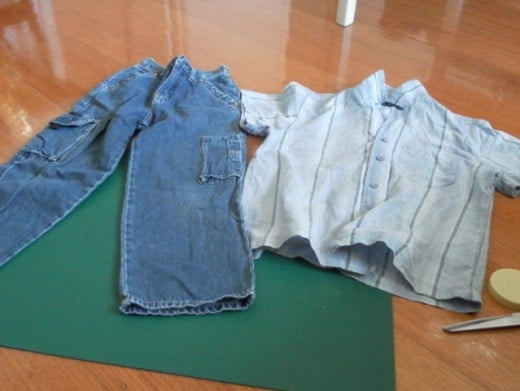
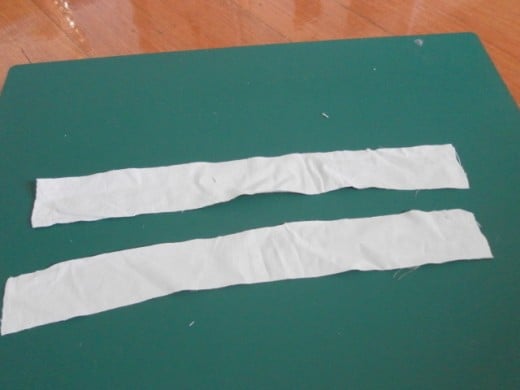
For this project, I decided to recycle some of the materials that had been lying around the house. Recycling not only saves the environment, but weekend projects like this will cost next to nothing to make. How wonderful is that! I found an old pair of child’s denim jeans for the cover, a soft light blue cotton shirt for the lining and strips of plain beige colour fabric for the handles. I was ready to start on my sewing project.
More handbag and purse patterns at:
Lazy Girl Designs Make your own purse, tote bag, pocketbook, handbag using our easy patterns for people who love to sew or quilt.
How to sew and make a Noriko bag – Step-by-step instructions in pictures
Materials for bag. Source: lady rainMaterials for handlesJeans buttonShirt pocket can be extra compartment on bag liningCut fabrics according to patternCover and lining cut outsSew cover patternsCover and lining pairsCover is donePress fabric for handlesSew handlesTurn cover and pressAttach handle to coverAttach ribbon to coverInsert cover into liningSew cover and lining togetherPull cover out of liningTurn project inside outArrange lining inside coverMy Noriko Bag
How To Make The Bag
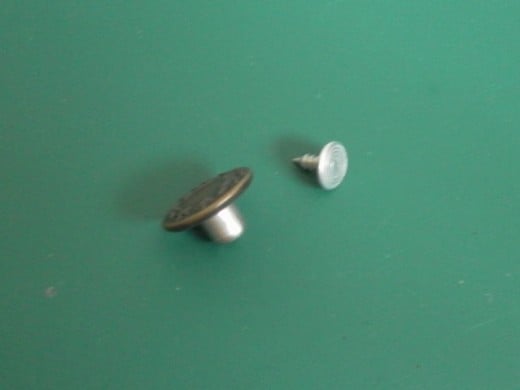
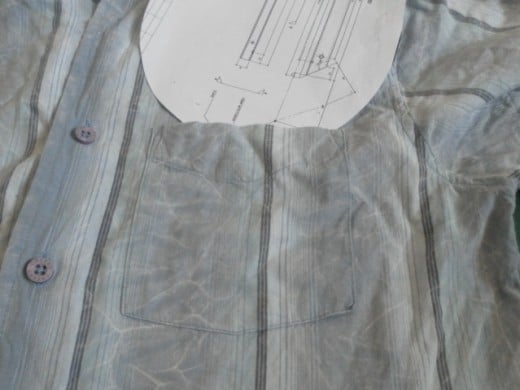
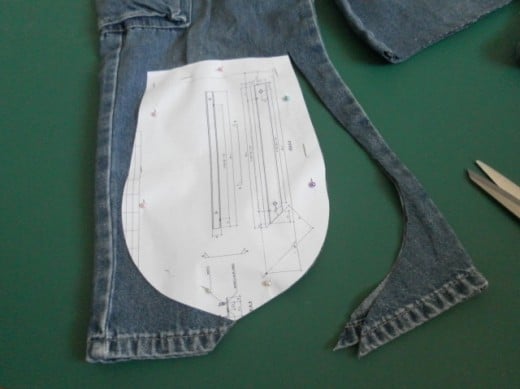
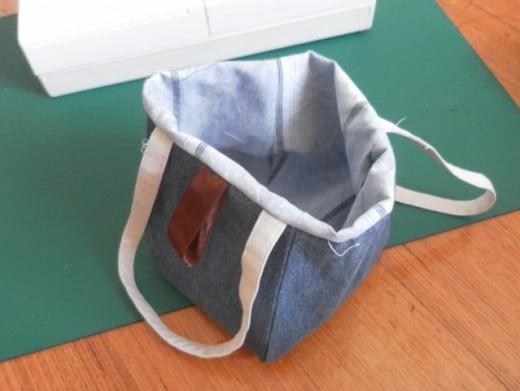
With the one-piece pattern, all I had to do was pin the pattern to the fabric and cut out 4 pieces for the cover and another 4 pieces for bag lining. One of the lining pieces I used had a shirt pocket, which will be a ready-made side compartment inside the bag. The other materials required included a 16cm of ribbon for the button loop and one jeans button.
The sewing instructions I had to follow were something like this:
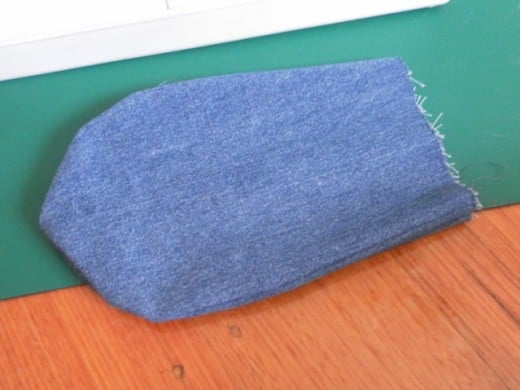
With right sides of cover facing each other, sew one side of the edges together with seam allowance of 6mm. Repeat with the other two cover pieces.
Sew lining pieces following the same instructions as for the cover pieces.
Press the seam allowance for the cover and lining pairs before proceeding to the next step.
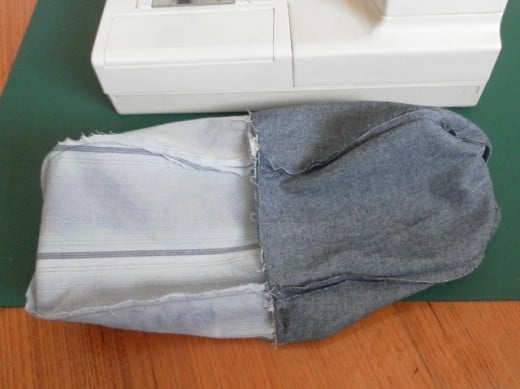
With right sides together, match the cover pairs and sew the side edges together. Similarly, match the lining pairs and sew the side edges together but remember to leave an 8cm opening on one edge. Press the seam allowance.
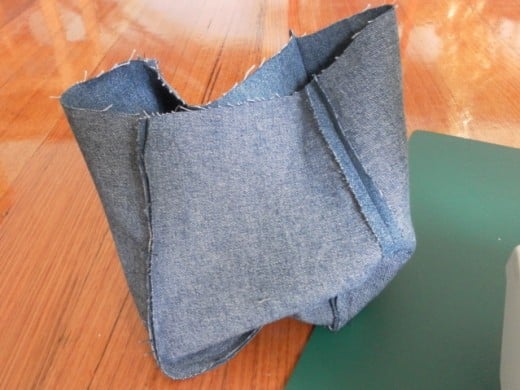
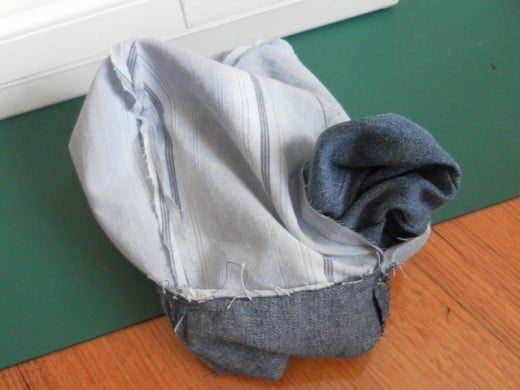
With the cover right sides out, fold the sides in toward the centre of the bag and press to flatten the bag.
With the lining wrong sides out, fold the sides in toward the centre of the bag and press.
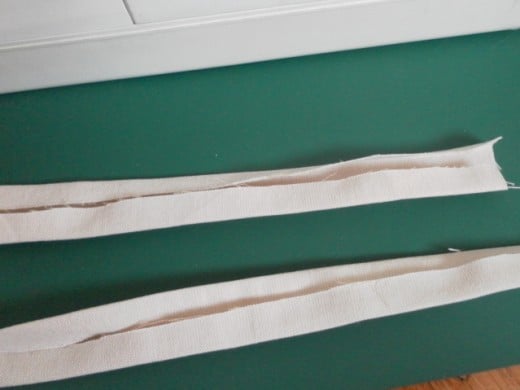
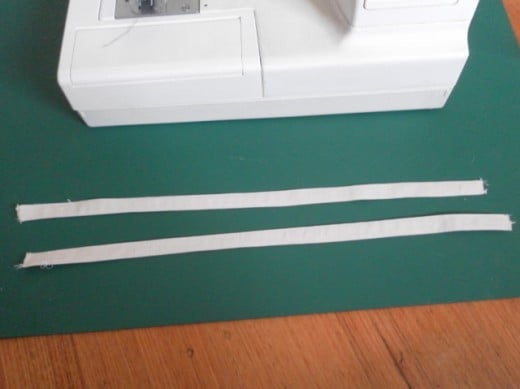
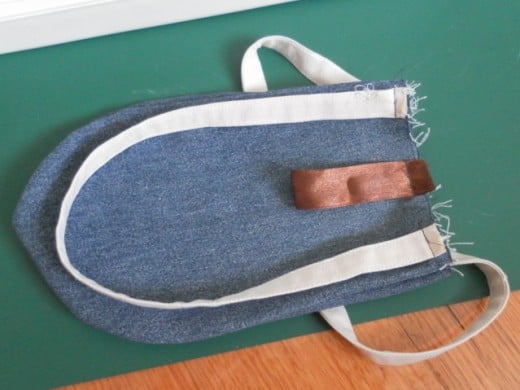
Match the ends of the handles to the top corners of the bag for both front and back cover. Stitch to secure the handles.
Stitch the ends of the ribbon to the centre top of the bag.
With right sides together, place the cover inside the lining, with the handles and ribbon between the lining and cover. Match the top edges of the lining and cover together, and stitch. Backstitch the handles and ribbon areas to make them secure.
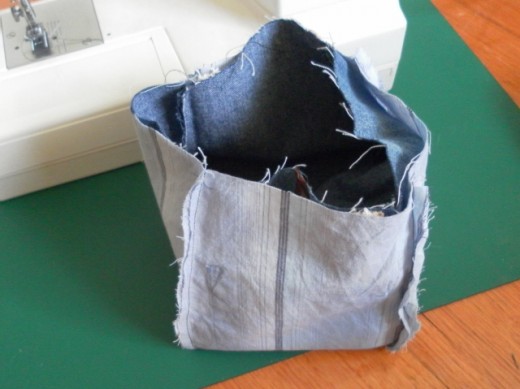
Pull the cover out of the lining and press the seam allowance at the top edge towards the lining.
Turn the right sides out through the opening at the side seam of the lining. Tuck the lining into the cover. Press the top edge of the bag and topstitch around the top of the bag.
Reach in through the lining opening and place a small piece of fabric behind the cover where the jeans button stud is to be placed. Secure the jeans button to the stud with a hammer.
Stitch the lining opening to close it.
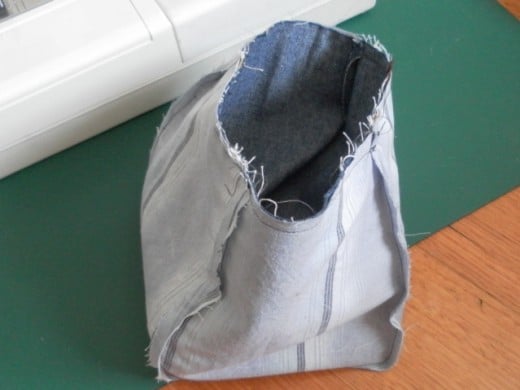
Align the lining to the cover, tuck in the sides and press to form the shape of the bag.
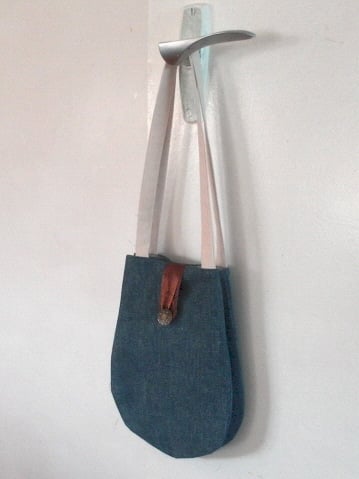
Project completed
It took me less than two hours to make the bag. Here is how my Noriko bag looks like when the sides are folded and tucked in.
Growing A Plant In A Glass Bottle This is a fun and challenging project for people of all ages. Recycle those glass bottles and use them to create miniature terrariums with some of your favourite plants from the garden.
How To Make Free Plant Tags/Labels From Recycled Pla… It is easy to help save the environment and recycle plastic tubs and containers. Re-use those plastics and make them into plant tags for your gardening needs.
List of Tools for Electronics Hobbyists This list contains the essential tools required for electronics hobbyists to work on their electronics experiments and projects.
Paper Strip Folding – How To Make Origami Lucky Stars This is a popular paper strip folding activity. It is one of the easiest origami to learn and it is addictive too. Teach the children how to make lucky stars and they will be busy for hours and hours.