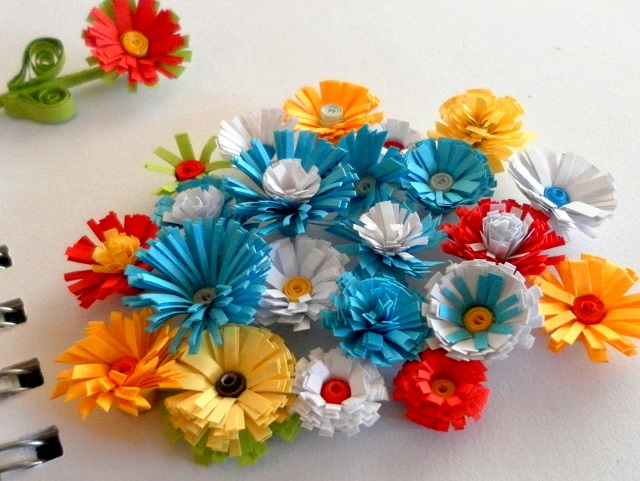
This is a tutorial on how to make quilled fringed flowers in paper quilling art.
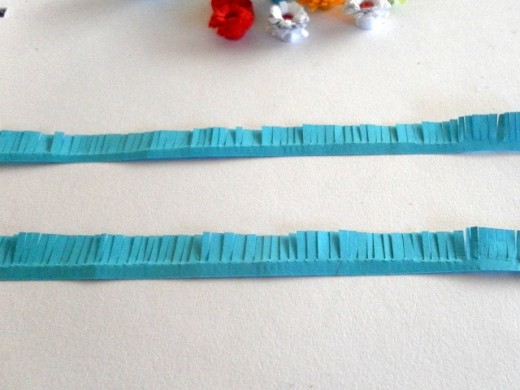
Take a strip of quilling paper with a width of 10 mm. Make small and even cuts about three quarters across the width of the strip. The cuts should be at right angles to the edge of the paper. A paper quilling fringing tool can also be used if you have one. The fringe can have narrower width or wider width. The narrower the fringe, the more delicate the flower will look.
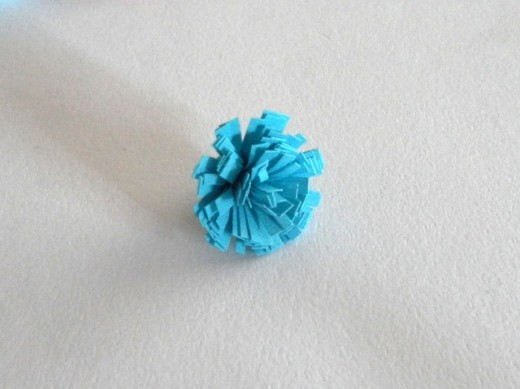
Insert one end of the quilling paper into a slotted quilling tool. Roll the fringed paper into a tight coil. Apply a little glue at the end of the strip to stick it to the coil. Wait for the glue to dry, then press the fringes down.
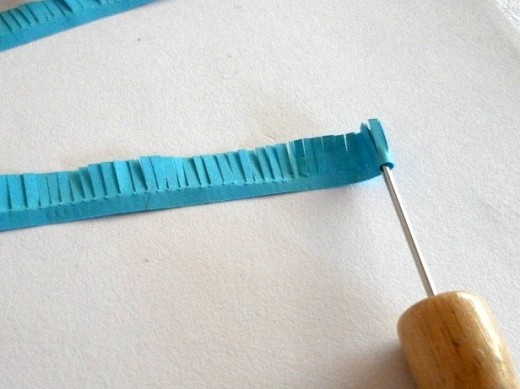
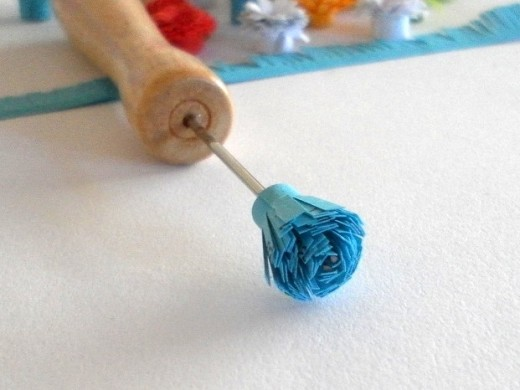
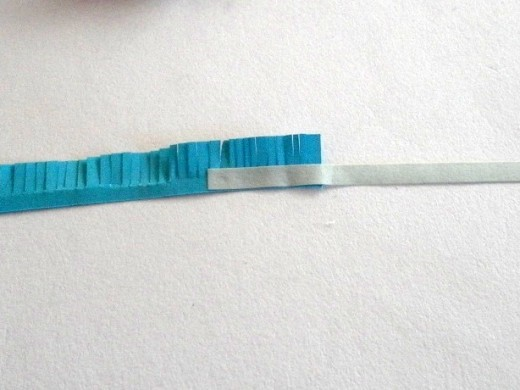
To make a fringed flower with a nice centre, glue a strip of thin quilling paper about 10cm long to a fringed strip of paper. Insert the thin paper strip into the quilling tool and start making the coil.
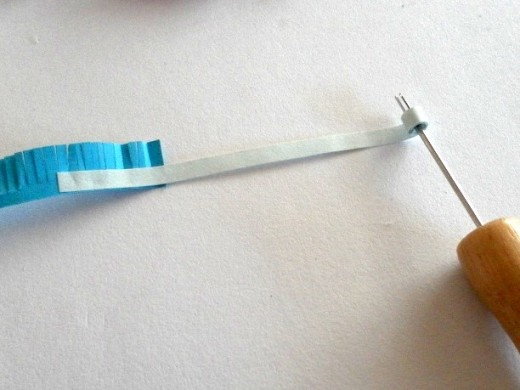
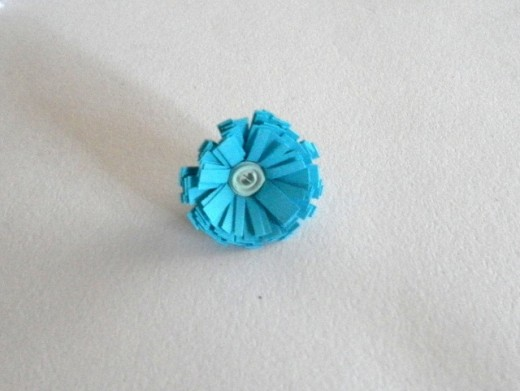
Continue to turn the slotted tool carefully over the area where the two papers are joined, so that the fringed paper wraps around the smaller coil. Apply a little glue at the end of the fringed paper to finish off. Press the fringes down and you will get a flower with a nice white centre.
If you want to learn more on paper quilling techniques, free instructions on paper quilling designs and patterns are available from this link here and below to get you started:
If you want to get ideas on how to make more quilled flowers, butterflies and other objects, free paper quilling tutorials are here:
How To Make Quilled Fringed Flowers © 2012 lady rain