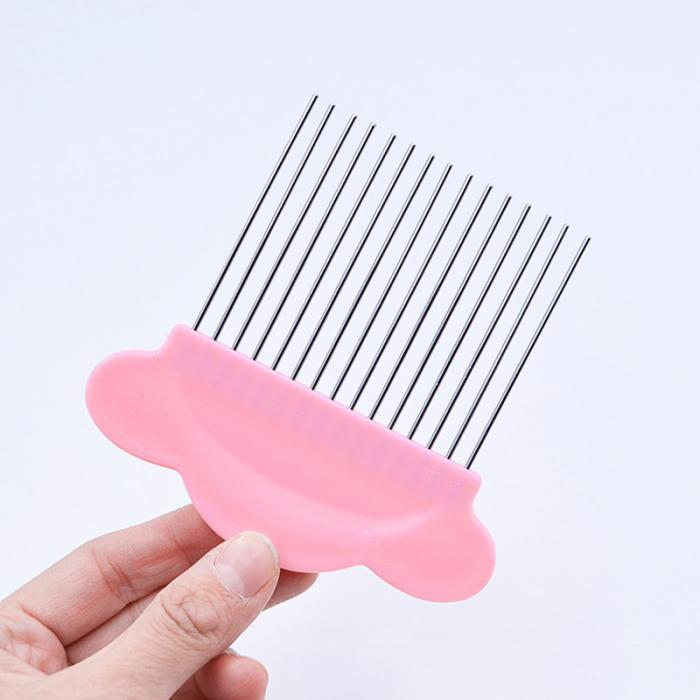
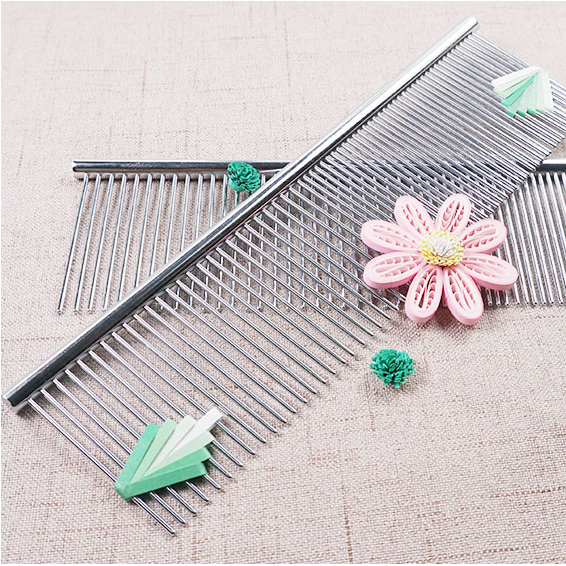
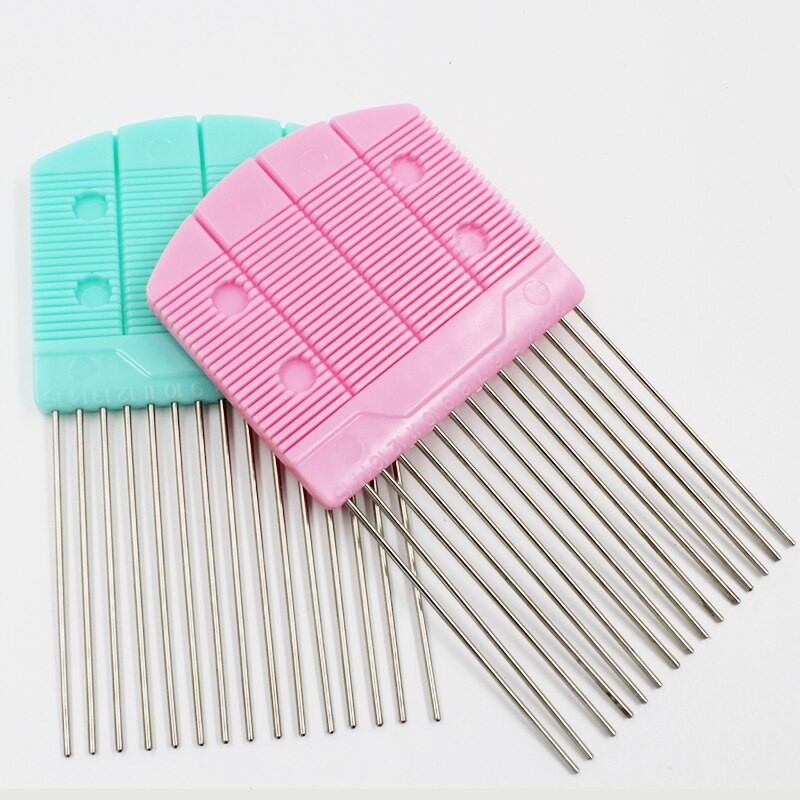
Do you know combs are very useful in paper crafts? Combs can be used for curling strips of paper for making interesting patterns in paper quilling art. It is a paper quilling technique that is easy to learn. Any kind of comb can be used – paper quilling comb, afro comb, an onion holder or a normal hair comb.
If you are new to paper quilling art, the following links will help you get started:
In this tutorial on paper quilling technique, I will show you how to do paper quilling with a comb. I want to make smaller coils so I am using a baby comb in this tutorial! The materials required in this paper quilling tutorial are strips of quilling paper, a comb and some glue.
Paper quilling is not a very expensive hobby as quilling supplies and tools are readily available at affordable prices. You can find a wide range of quilling supplies and quilling kits by visiting RainbowCabin.com.
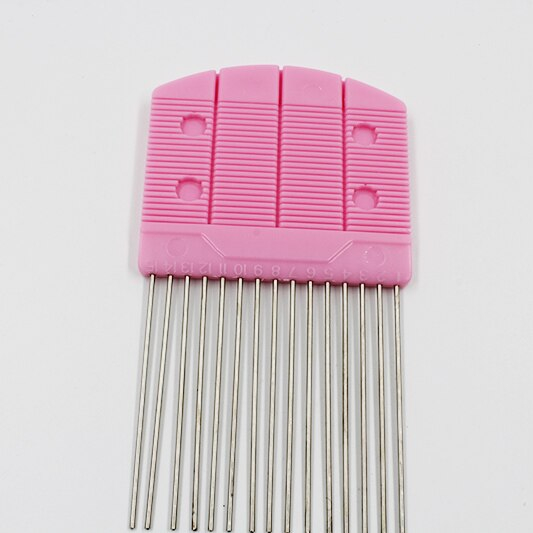


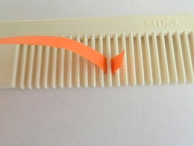
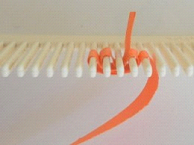
Start somewhere in the middle of the comb. Insert a quilling paper around a prong like this.
Wrap the strip of quilling paper around a prong on the left of the middle prong.
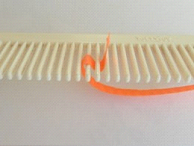
Bend the quilling paper under the comb and wrap the next prong on the right of the middle prong.
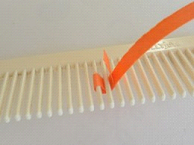
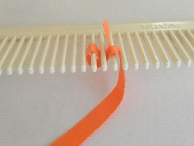
Bend the paper under and back to the left side of the comb and wrap the prong next to the previous loop on the left.
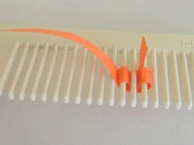
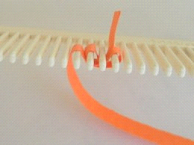
Continue to wrap around the prongs until the quilling paper is twirled around the comb.
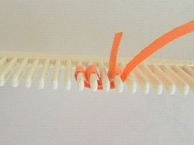
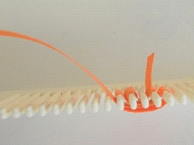
When finished looping, apply a little glue to the end of the paper strip and stick it to the coil. Trim off the excess paper if necessary.
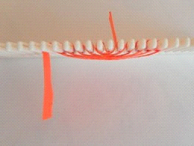
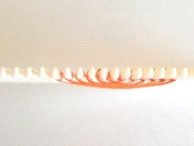
Remove the looped paper from the comb but hold the paper firmly so that the loops do not unwind or become loose. Use a pair of craft pliers to hold the paper if it is too delicate to handle with your fingers.
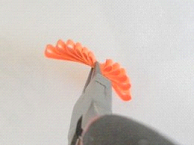
Gently bend the looped paper so that the leftmost loop touches the rightmost loop. As you can see, all the small loops are on the inside of the coil.
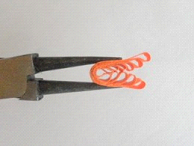
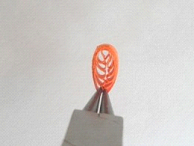
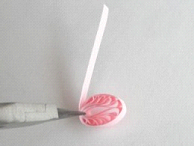
Get hold of another strip of quilling paper and wrap it around the coil following its shape. Finish wrapping the coil by applying a little glue to the end of the paper strip and trim off the excess paper.
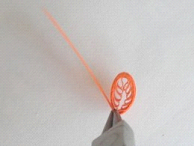
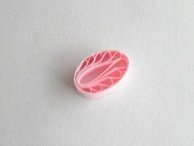
This is how the quilled coil should look like. It has an oval shape with little loops inside the coil.
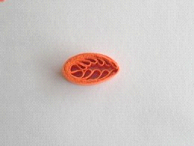
After doing all the loops on the comb, try to bend the paper another way to make a coil with a different design on the inside.
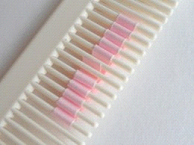
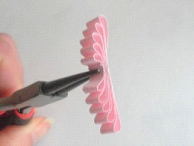
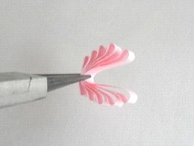
Wrap a strip of quilling paper around the coil following its shape. Apply some glue to the end of the paper strip and trim off excess paper.
If you would like to learn more paper quilling techniques using the comb, check out these tutorials below:
If you want to learn more on how to make paper quilling items, free instructions on paper quilling designs and techniques are available from this link here and below to get you started:
If you want to learn advanced techniques on paper quilling on how to make more paper quilled flowers, butterflies and other beautiful quilled objects, we have free tutorials for you listed below:
How To Make Quilled Fringed Flowers © 2012 lady rain
Check out the articles below for more inspirations and cute items!
