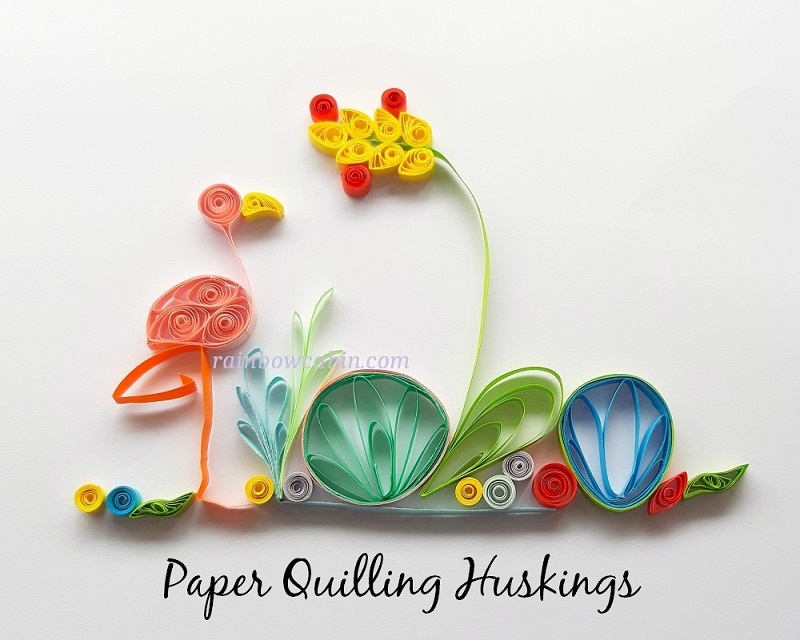
Welcome to another awesome tutorial in paper quilling. This tutorial will show you how to make paper quilling huskings for flowers used in paper quilling projects. The step-by-step paper quilling instructions are easy to follow.
If you are new to paper quilling art, the following links will help you get started:
Quilling supplies and tools are readily available at affordable prices. You can find a wide range of quilling supplies and quilling kits at RainbowCabin.com.

Huskings are commonly found in paper quilling art designs. This article will help you create more designs with quilling paper to make quilled huskings. Huskings are often used as flower petals in floral quilling designs but they can be used in any project. They are made by shaping one or more strips of quilling paper around a series of pins. Huskings can have various shapes and sizes, and more than one colour.
An easy shape to make is a straight husking. You need some strips of quilling paper, dressmaking pins, a quilling cork board and craft glue to make a straight husking.
Insert five pins into a quilling cork board, with the pins aligned in a straight line. Wrap a quilling paper around the first and second pins and glue the paper together where the strip overlaps at the first pin. Continue wrapping the paper strip around the third, fourth and fifth pins.
Glue the end of the paper at the first pin and trim off the excess paper. Remove the pins. You can leave the loops rounded as they are, or shape them by pinching one end of the loops with your fingers. Use a little glue on the paper strip to strengthen the husking and retain its shape.
Straight huskings have variations by using different numbers of pins aligned at different distances.
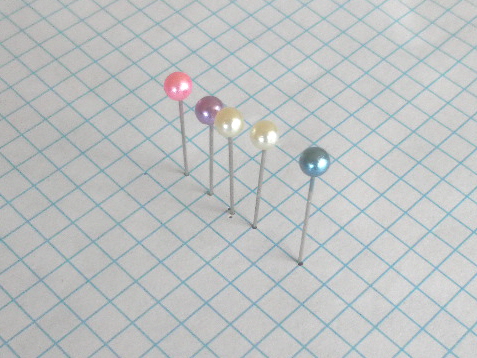
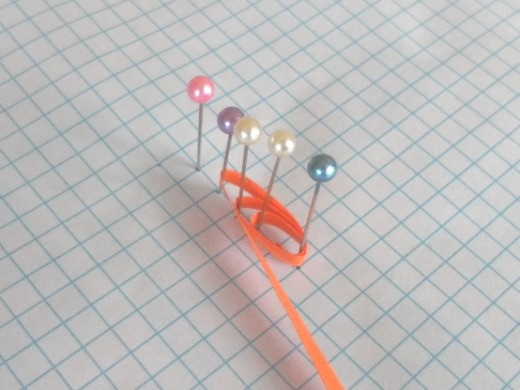
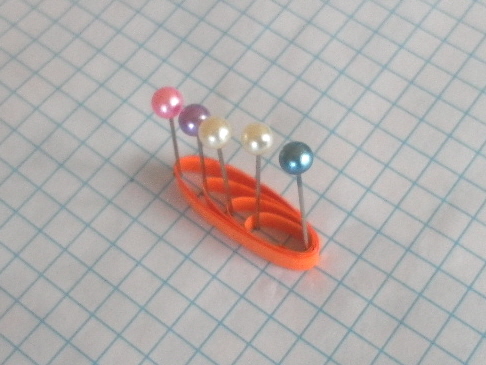
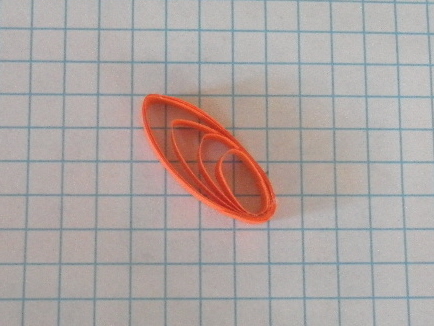
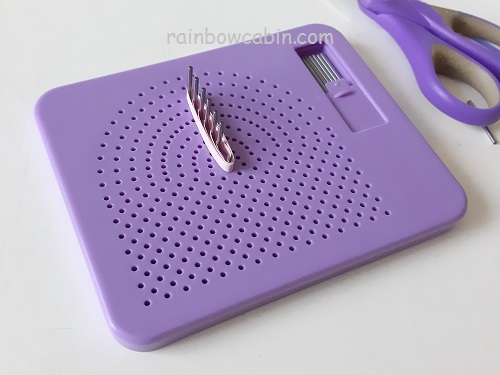
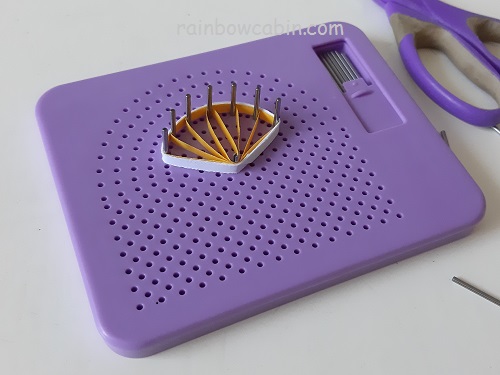
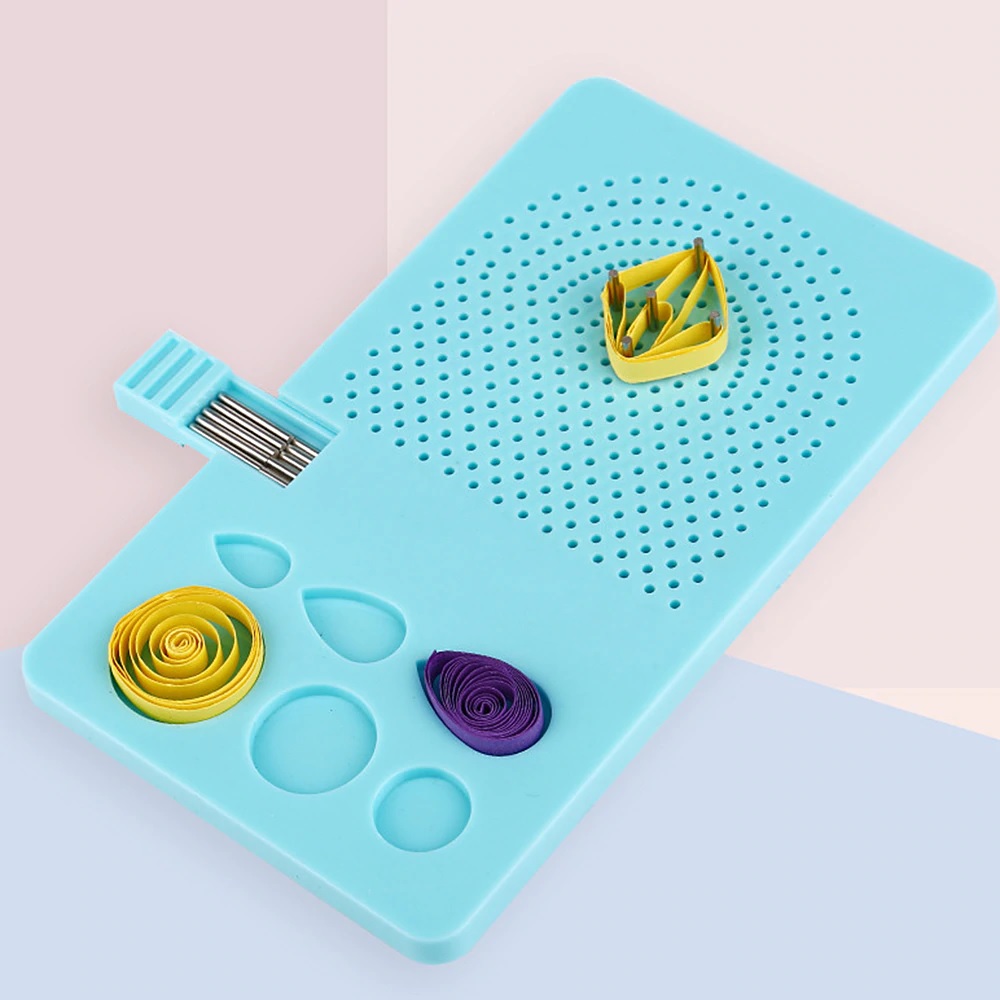
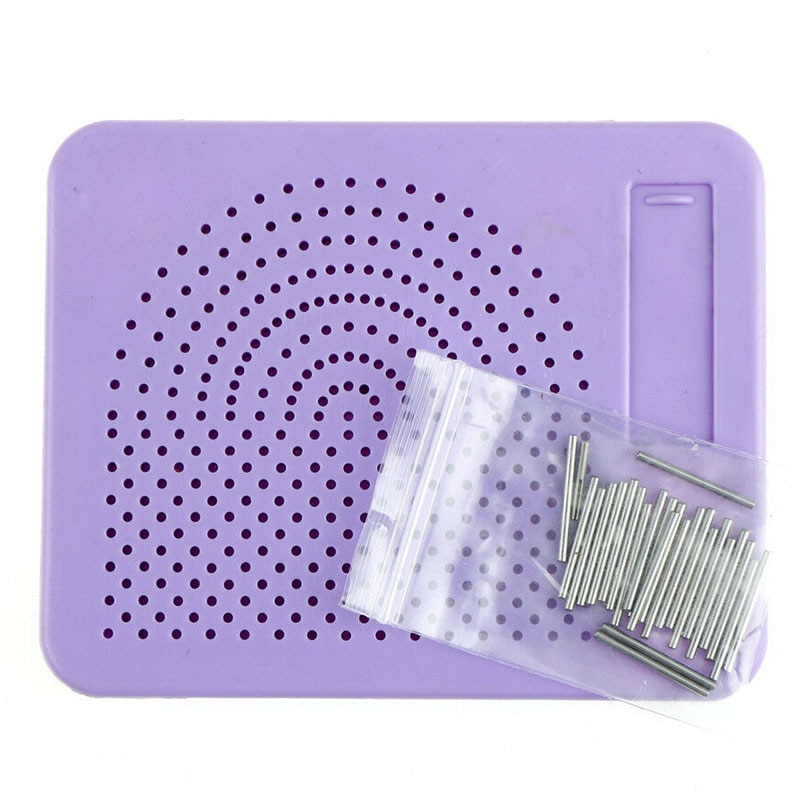
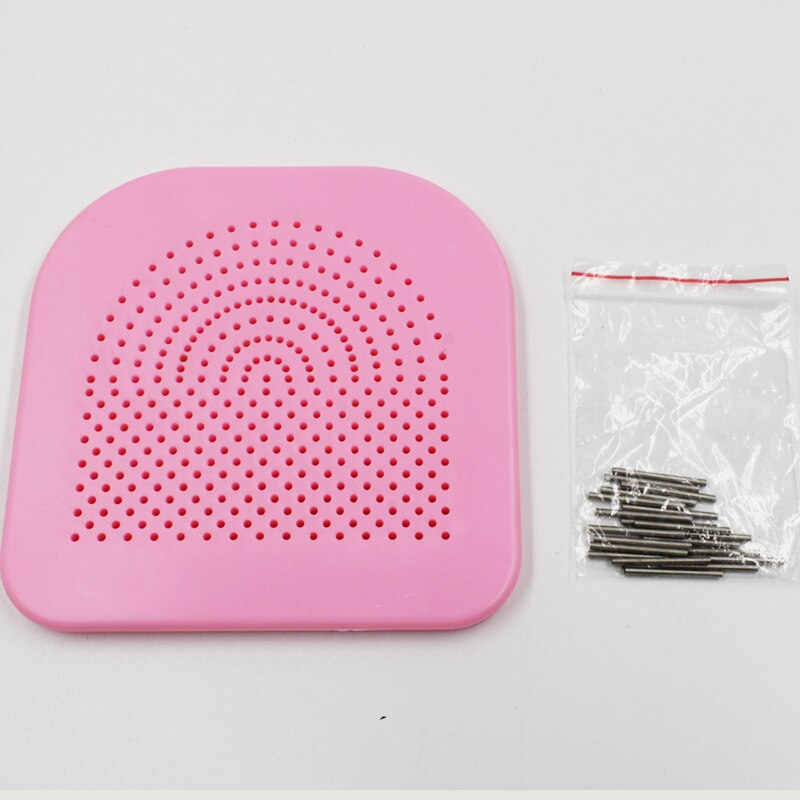
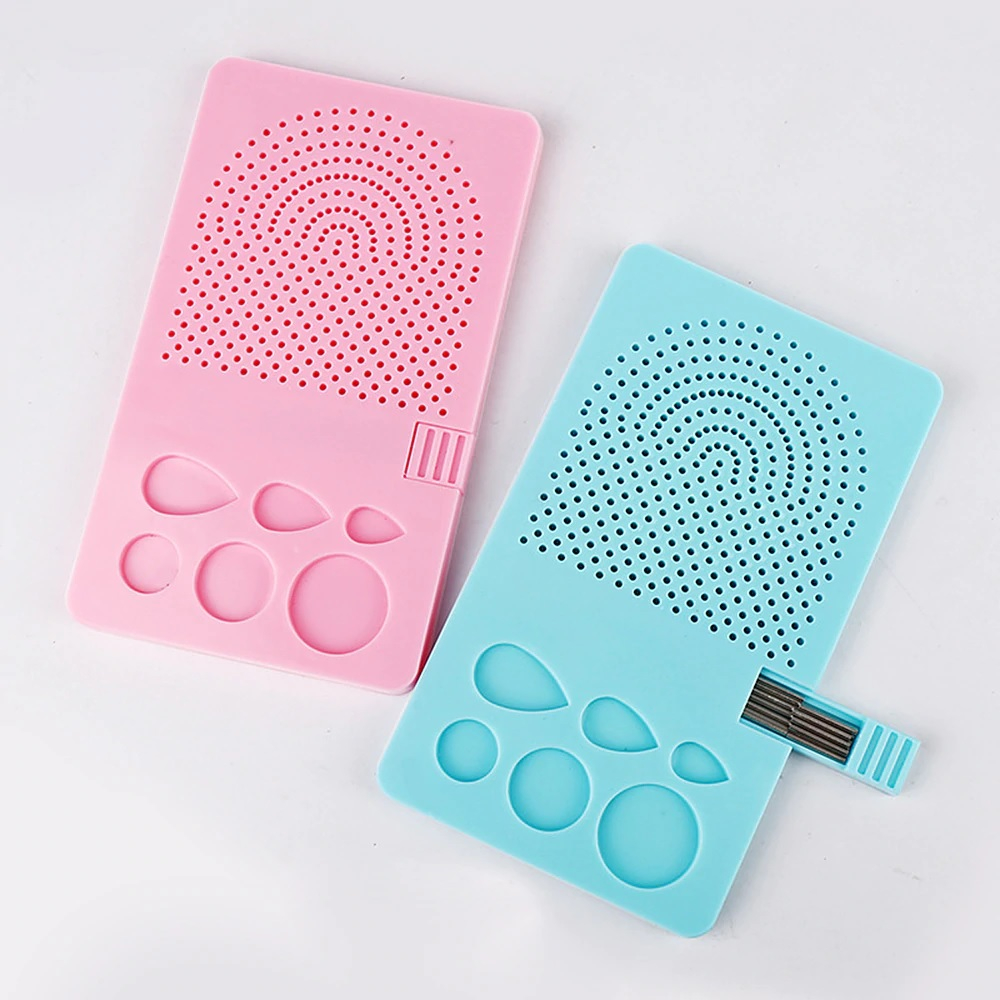
A paper quilling grid board is very affordable and can be used for making huskings evenly. You should consider getting a quilling grid board if you want to make husking designs quickly.
Next we will make an interesting fan-shaped husking. To make a fan-shaped husking, use six pins arranged in a circle on the quilling board. Start wrapping a quilling paper around two pins that are adjacent to each other. Glue the end of the paper to the strip where it overlaps and continue to wrap the paper to form the pattern. When every pin is wrapped, use the remaining strip to wrap around the circle of pins several times. Alternatively, you can use another strip of quilling paper of a different colour to wrap around the circle to create a two-toned fan-shaped husking.
These are the techniques of making huskings in paper quilling craft. You can continue to make your own huskings by using different number of pins. You can change the size of the huskings by adjusting the distances between the pins. That easy!
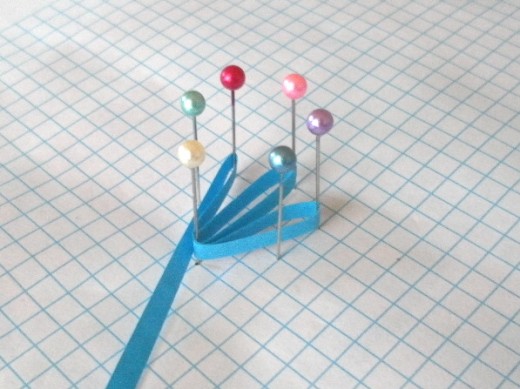
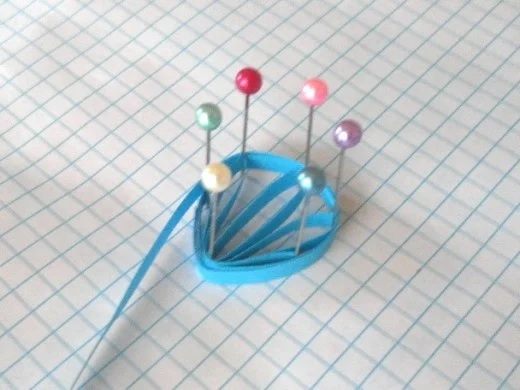
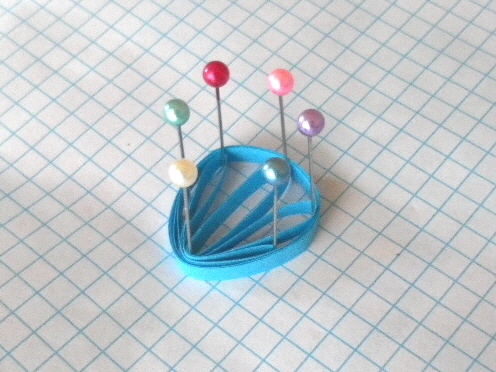
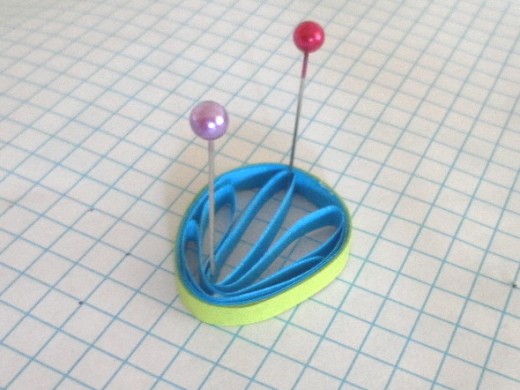


Below is how a huskings pattern looks like with the aid of a paper quilling grid template.
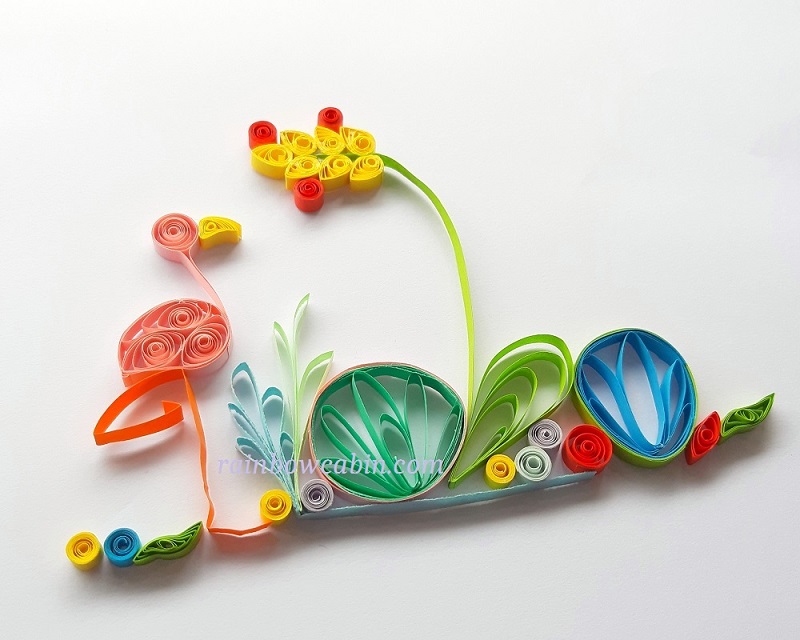
After you have made lots of paper quilling coils and huskings, you can start to arrange them to create an interesting quilled design for display. Use glue to stick the coils and huskings to the drawing paper.
You can buy a paper quilling grid board that comes with pins that are stored in a little compartment on the board. It is a great tool to have for making huskings. The price for a grid board is affordable, too!
If you want to learn more techniques on how to make paper quilling items, free instructions on paper quilling designs and patterns are available from this link here and below to get you started:
If you want to get ideas on how to make more quilled flowers, butterflies and other objects, free paper quilling tutorials are here:
Paper Quilling Huskings for Flowers © 2011 lady rain