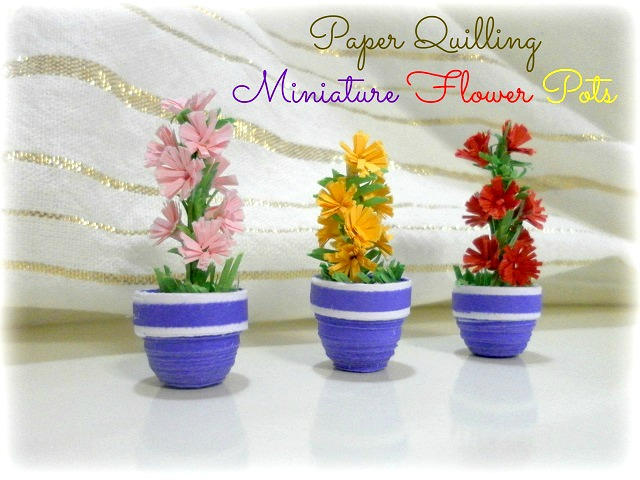
Miniature paper quilling designs are so lovely to look at. This paper quilling tutorial shows you how to make a miniature paper quilled flower pot with a bunch of tiny flowers. The materials for this quilling project are strips of quilling paper, a slotted quilling tool, a toothpick and a small amount of glue.
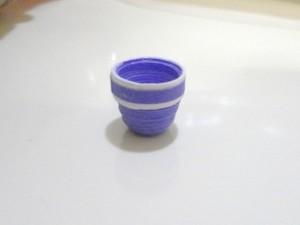
To make the miniature flower pot, join 7 strips of purple colour quilling paper and 1 strip of white colour quilling paper to form a very long strip of paper. With a quilling tool, start rolling from the purple end of the long strip of paper to make a tight coil.
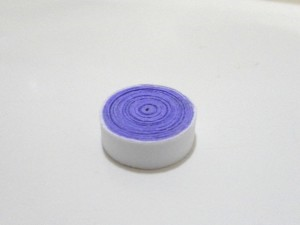
Gently push the centre of the coil so that it extrudes outward to form the shape of a flower pot.
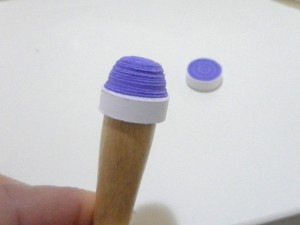
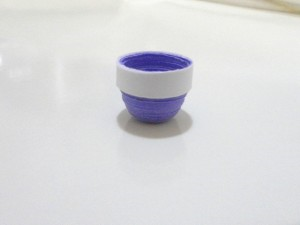
Apply a generous amount of glue on the inside of the pot to hold the shape. Let the glue dry.
Fringe a strip of green quilling paper to make the leaves of the miniature plant.
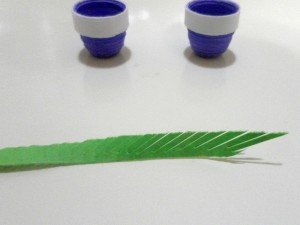
Twirl the fringed quilling paper around a toothpick coated with glue.
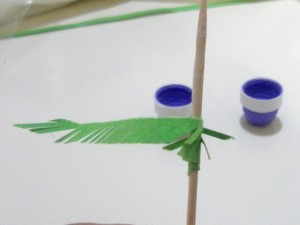
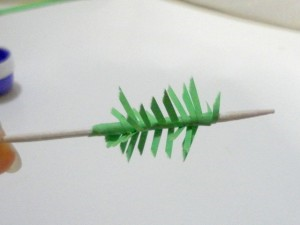
Take a strip of quilling paper with a smaller width and wrap it around the top rim of the pot to give the pot a more ecstatic look.
Make about 8-10 small yellow fringed flowers. The instructions for making quilled fringed flowers can be found in one of my previous posts.
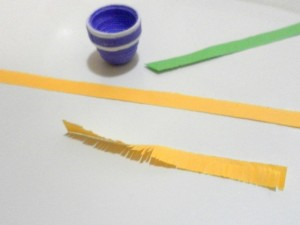
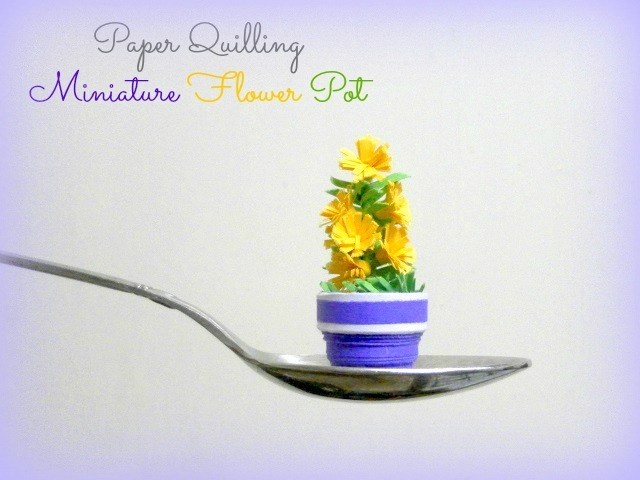
Push one end of the toothpick into the centre of the pot. Trim off the other end of the toothpick not covered with leaves. Stick the fringed yellow flowers onto the toothpick. Stuff the bottom of the pot with more green fringed quilling paper and use glue to hold them in place. The paper quilled fringed flower pot looks awesome!
If you want to learn more on how to make paper quilling items, free instructions on paper quilling designs and patterns are available from this link here and below to get you started:
If you want to get ideas on how to make more quilled flowers, butterflies and other objects, free paper quilling tutorials are here:
Paper Quilling 3D Flower Pot © 2012 lady rain
Check out the articles below for more inspirations and cute items!