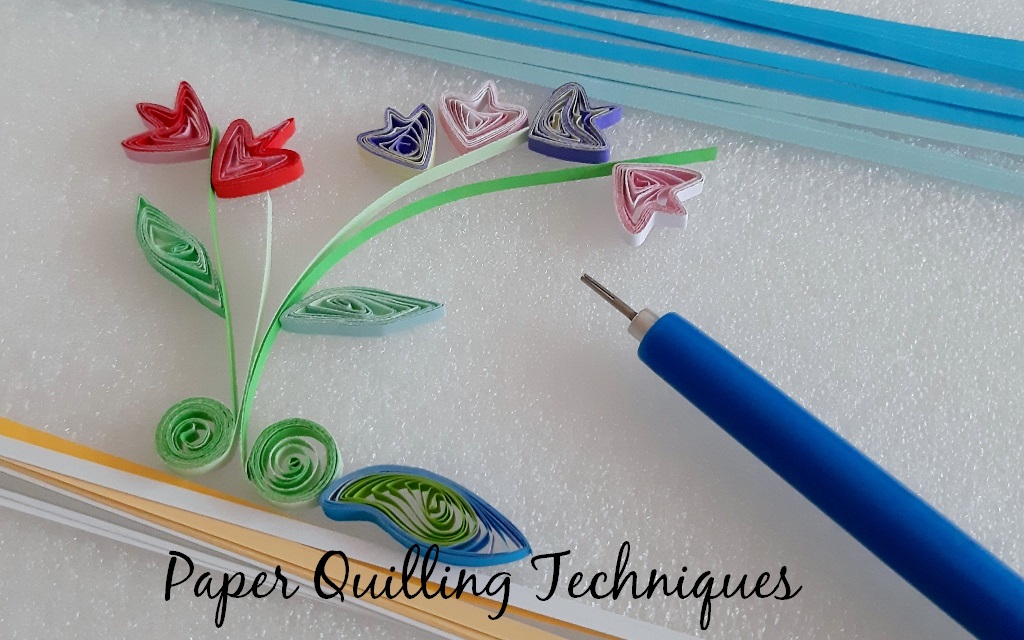
This is a tutorial on paper quilling. There are many ways to roll paper strips in paper quilling art and double rolling is one of them. For anybody who is new to paper quilling, resources at the end of this article can help you get started with this amazing handicraft.
A slotted tool rolls strips of quilling paper into coils. The tutorials below teach you the coil technique:
This paper quilling tutorial teaches you the double rolling technique. Quilling supplies for this tutorial are available from RainbowCabin.com.
Reasons for double rolling:
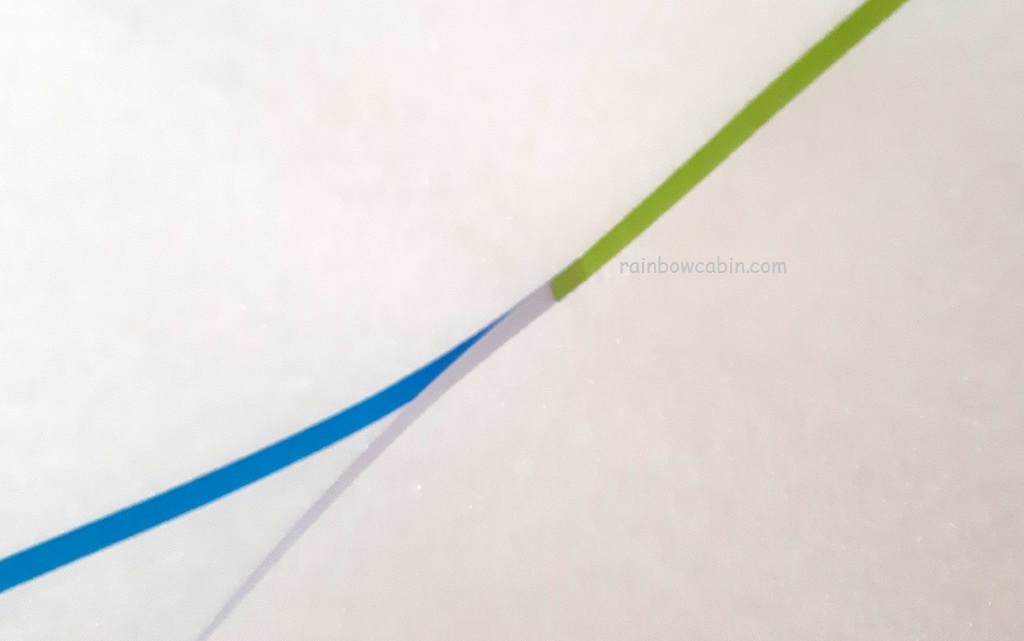
For double rolling, two strips of quilling paper must be joined together at the ends. In this example, we use two colors of quilling paper – yellow and orange. We use a slotted tool to roll the strips into a quilled coil.
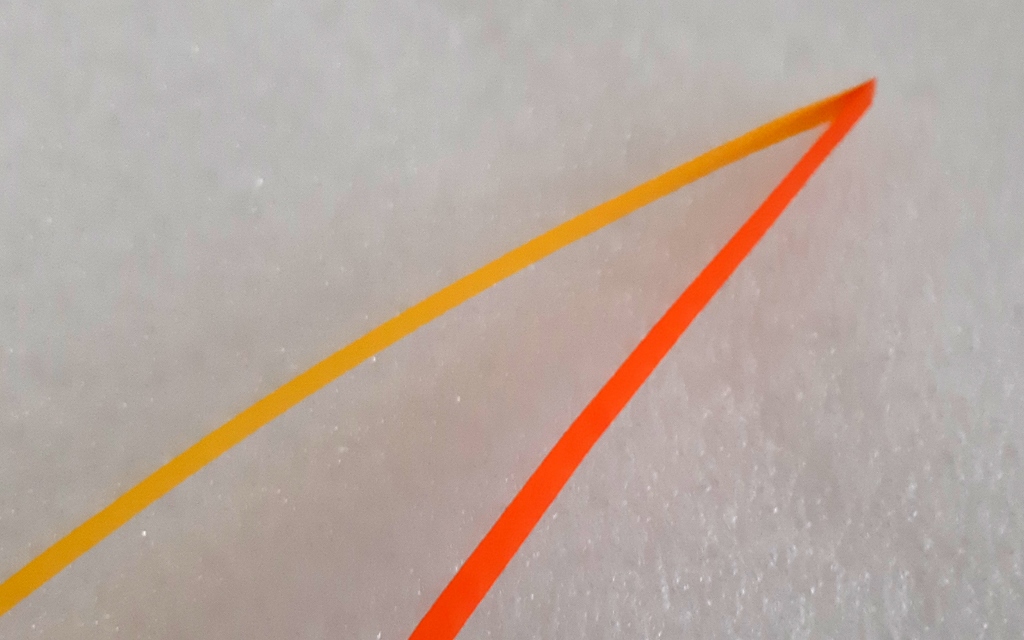
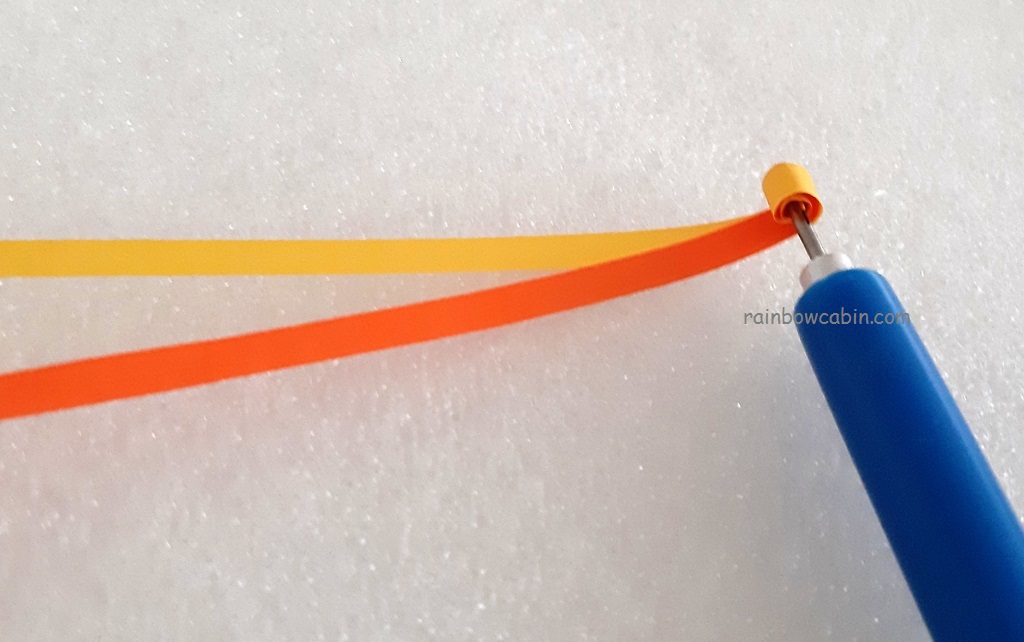
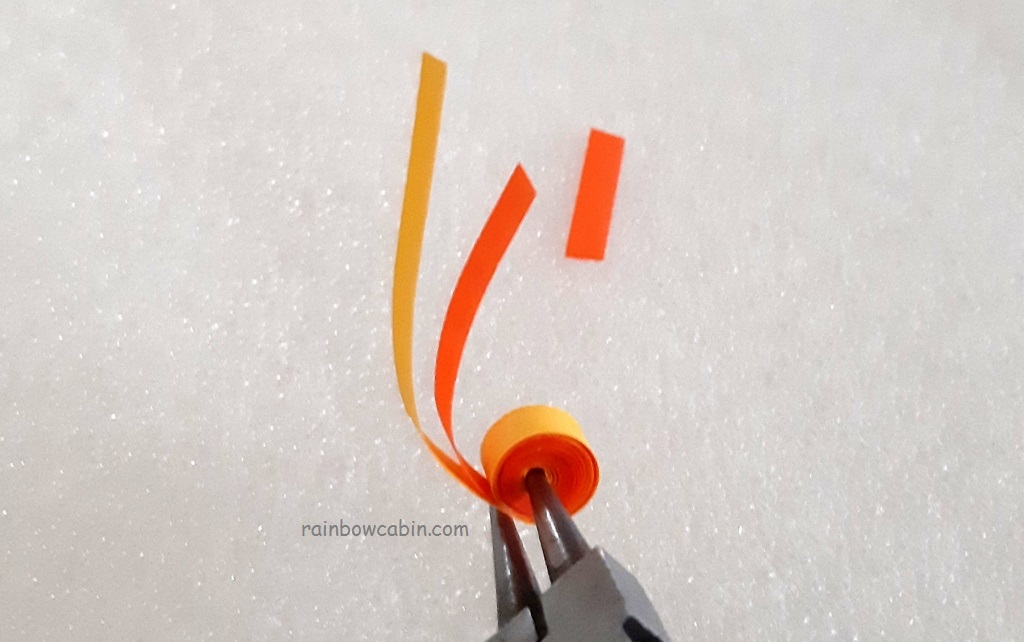
Roll the paper strips to make a coil. Use a pair of scissors to cut the end of the inner strip to make it shorter. The yellow strip is on the outside and orange strip on the inside. As the orange strip is on the inside, we have to cut it to make it shorter.
Loosen the coil to the desired size. Apply a little glue to the yellow end of the paper strip and close the loop to finish off. The result is a two-toned loose coil. This method is double rolling.
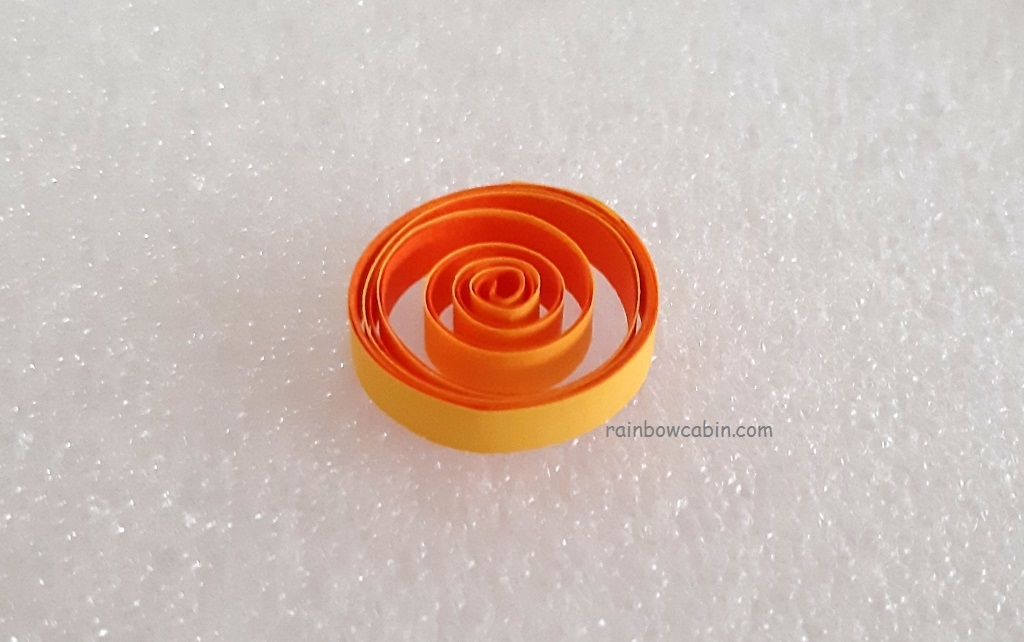
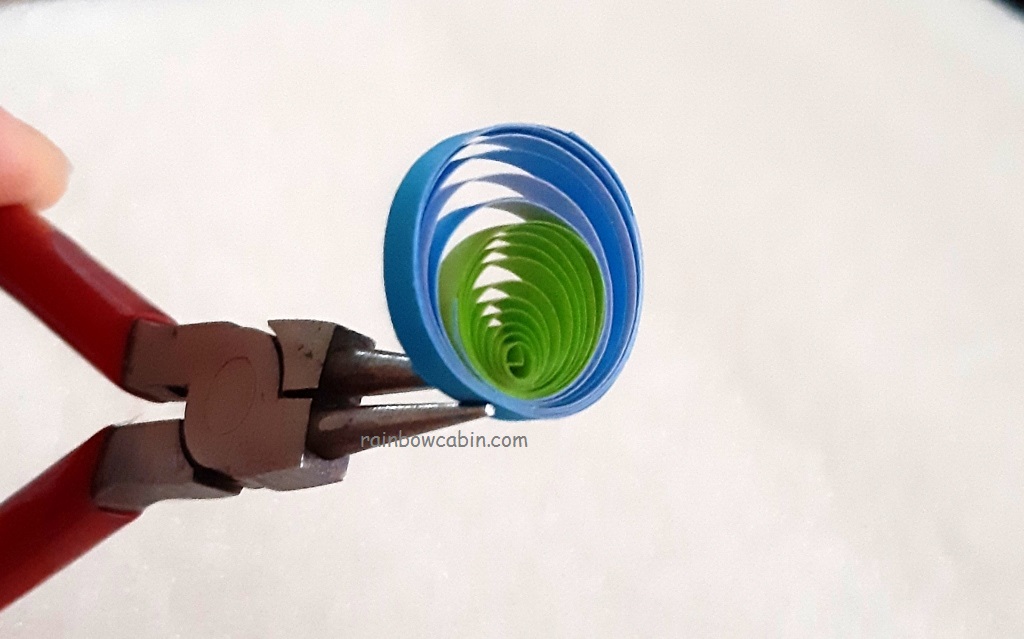
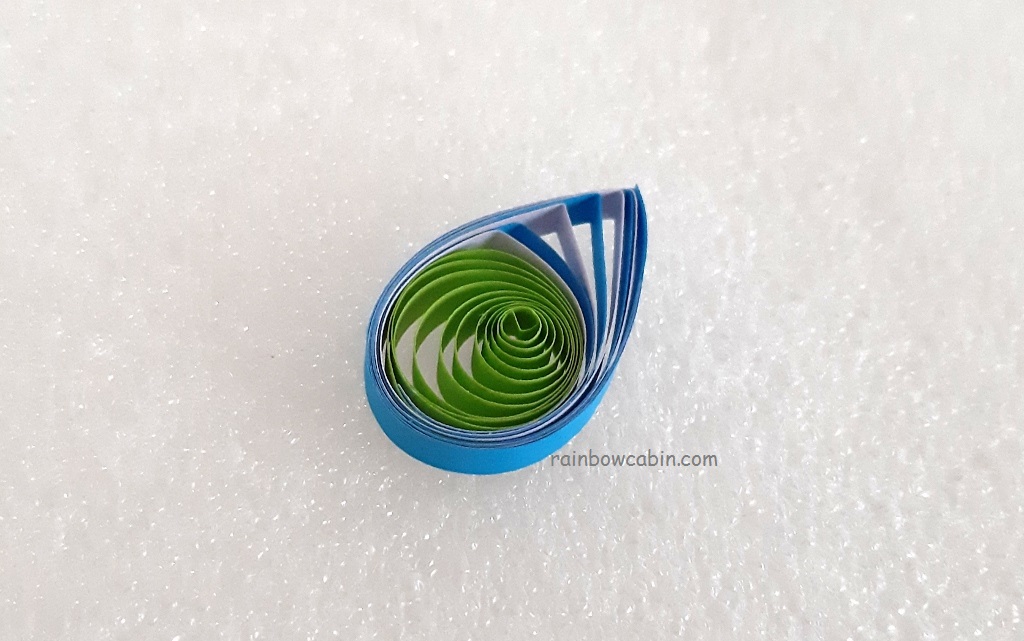
The following example uses the double rolling technique with an additional paper strip attached to it. This gives a triple color effect in a single coil.
If you want to know more about other paper quilling techniques, below are free tutorials to get you started:
If you want to get ideas on how to make more quilled flowers, butterflies and other objects, free paper quilling tutorials are here:
Double Rolling Paper Quilling Techniques © 2020 lady rain