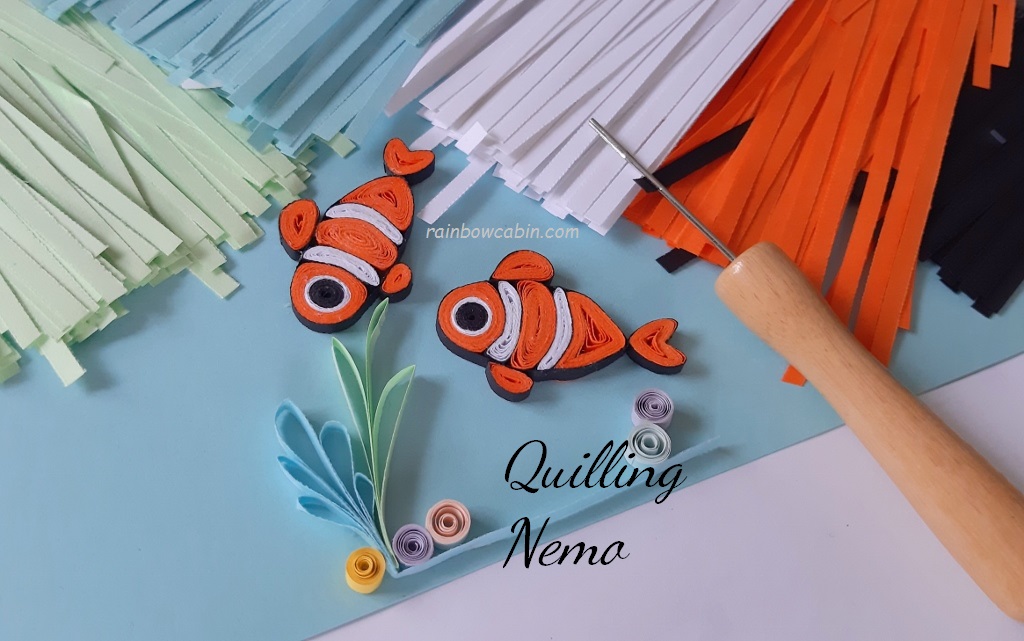
Who doesn’t love Nemo? I wanted to make Nemo for a long time but have been caught up with so many things (who doesn’t anyway?) This tutorial is all about quilling Nemo and we are going to make this adorable clown fish with paper strips. If you do not know – it’s called paper quilling! If you are new to paper quilling, click on the links at the bottom of this page for free tutorials on how to do paper quilling projects.
The free paper quilling tutorials will teach you how to get started with paper quilling, and how to use the correct tools and materials. You will also learn how to form quilling patterns with your own quilled paper. With the knowledge of how to make some basic shapes with strips of quilling paper, you will be able to create sophisticated patterns on your own for different projects.
These are the tools and materials you need to make Nemo.

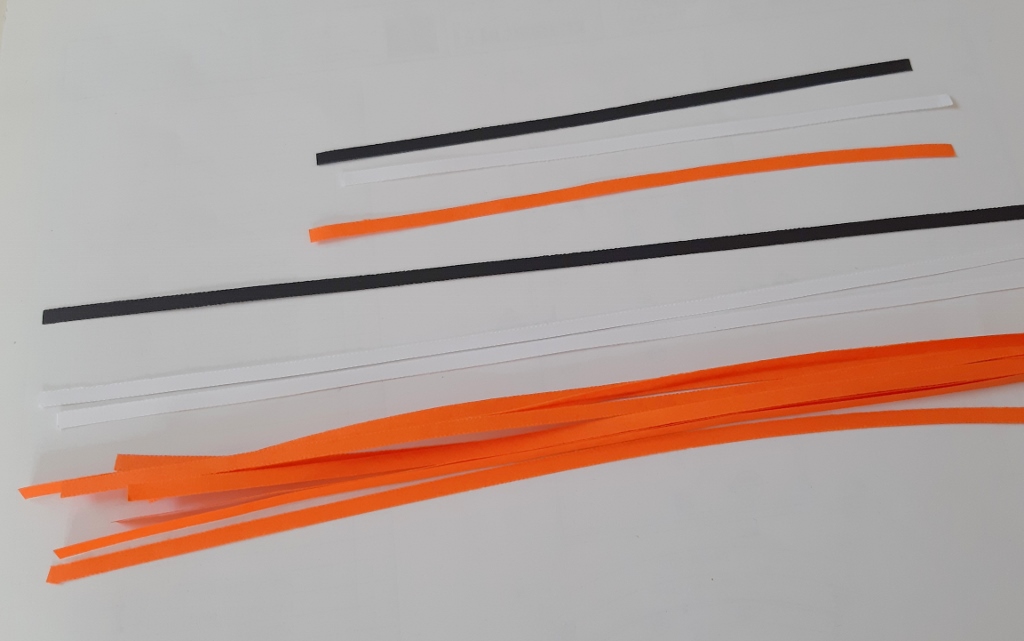
For full length paper quilling strips, I have used 8 orange strips, 2 white strips and 1 black strip.
For half length, I have 1 orange strip, 1 white strip and 1 black strip.
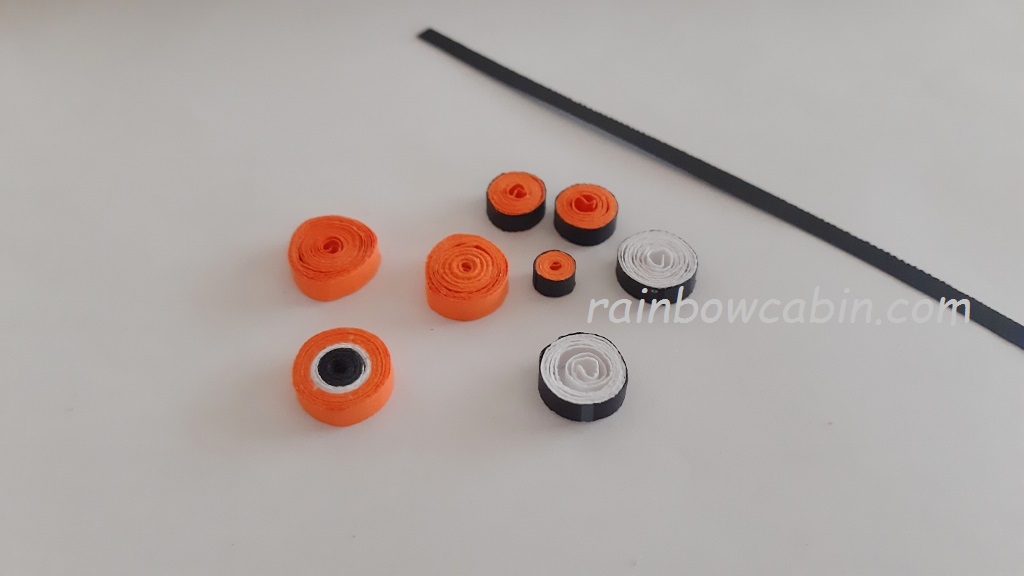
Start making paper quilled coils with all the paper strips except for the long black paper strip which is used for outlining some of the finished coils. The quilled paper coils should look something like the picture below:

Start shaping some of the paper quilled coils like what I have done below and glue the parts together.


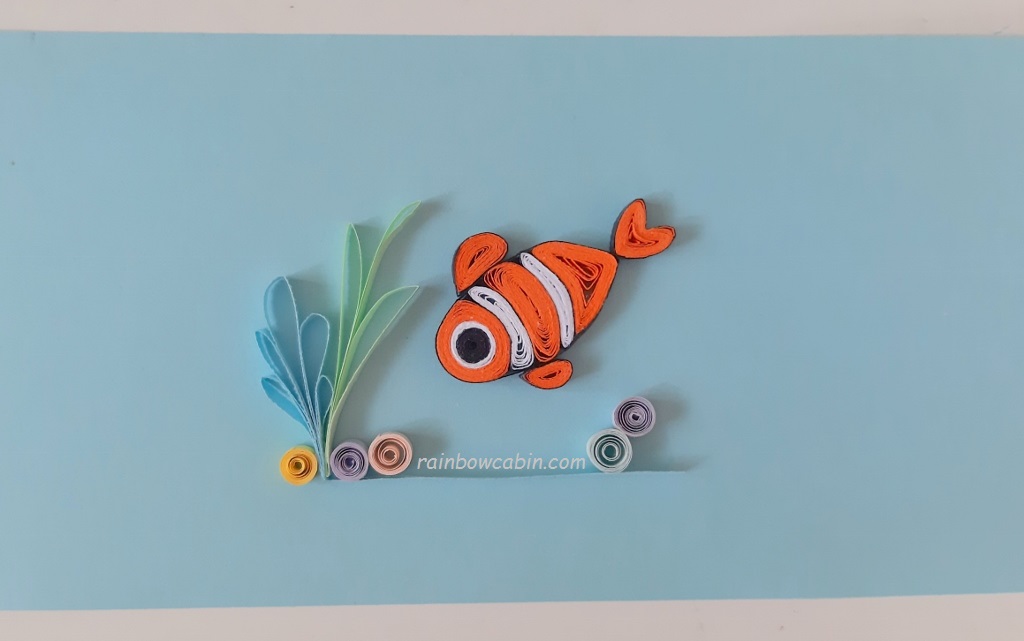
Now use the black quilling strip to wrap around the coils. Shape the other remaining paper quilled coils and assemble them to make a quilled Nemo.


If you want to learn more on how to make paper quilling items, free instructions on paper quilling designs and patterns are available from this link here and below to get you started:
If you want to get ideas on how to make more quilled flowers, butterflies and other objects, free paper quilling tutorials are here:
Quilling Nemo © 2020 lady rain