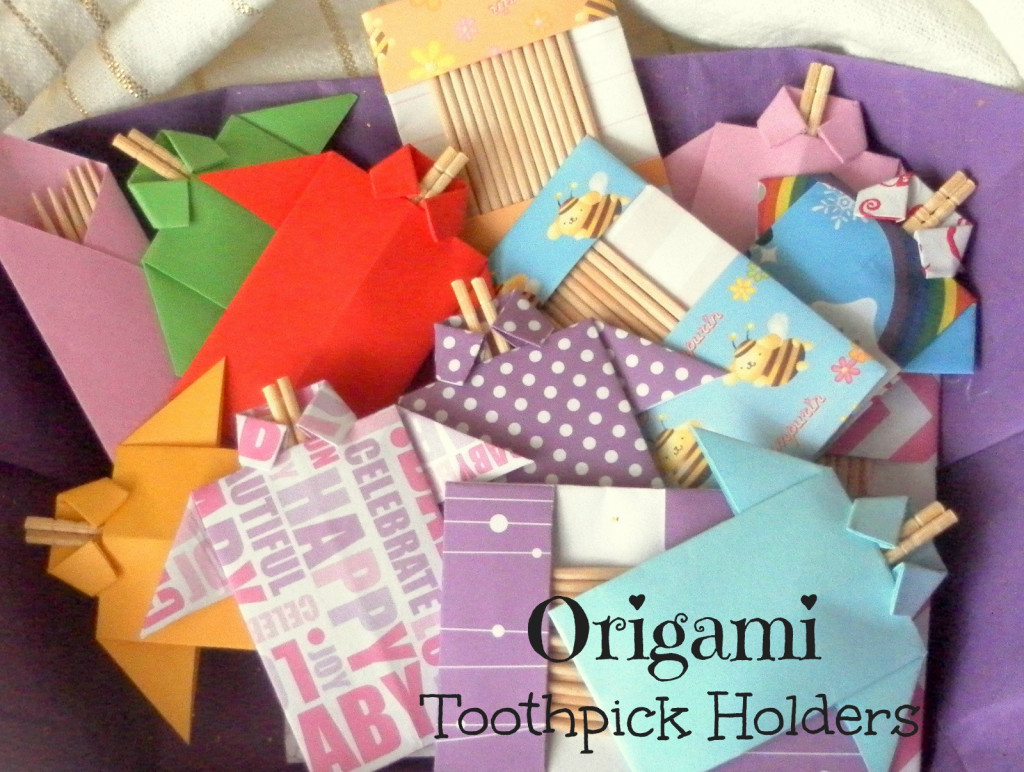
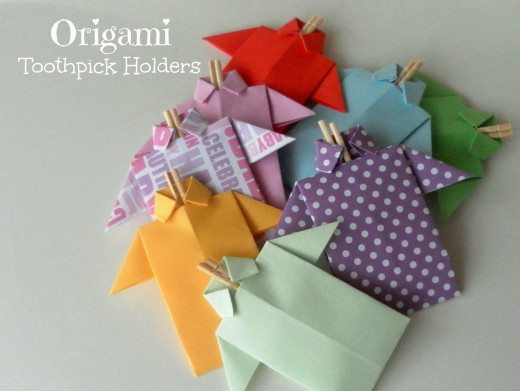
Origami is the art of paper folding. Some people do origami for fun, others do it as a form of relaxation. This tutorial here will show you how to make something useful with origami, you are going to make your own origami toothpick holder with paper! You can use origami paper, wrapping paper and plain copy paper for these paper crafts. There are three different toothpick holders to make so let’s get started!
Origami Toothpick Holders
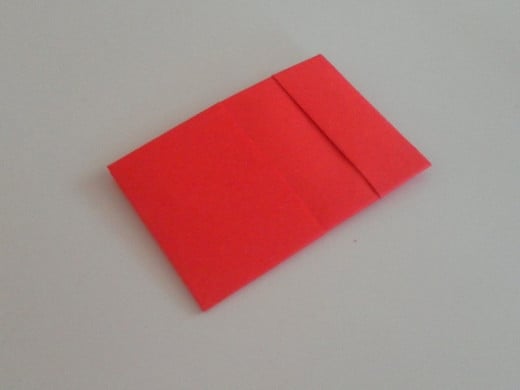
No-Frills Origami Toothpick Holder
If you need a small toothpick holder to store a few toothpicks, this easy-to-make origami toothpick holder can be made in a minute or two. It is safe to carry in a purse or shirt pocket without being poked by toothpicks!
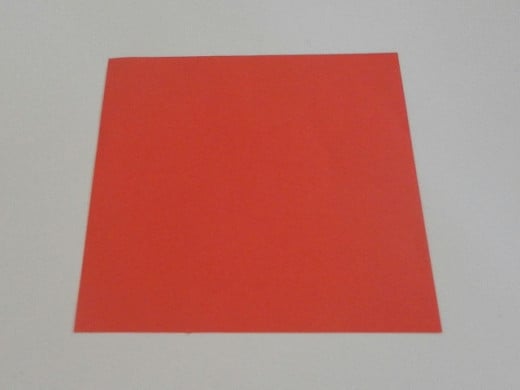
To make this paper toothpick holder, cut out a square paper measuring 10cm by 10cm. Follow the origami instructions and pictures below to make this no-frills origami toothpick holder.
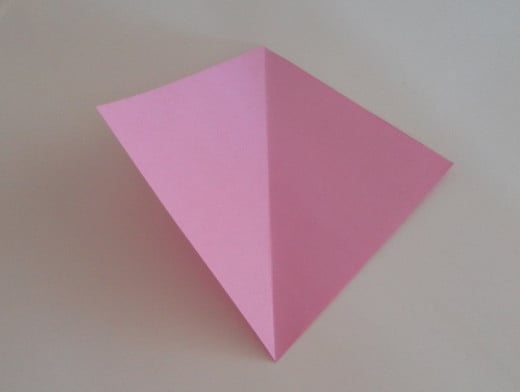
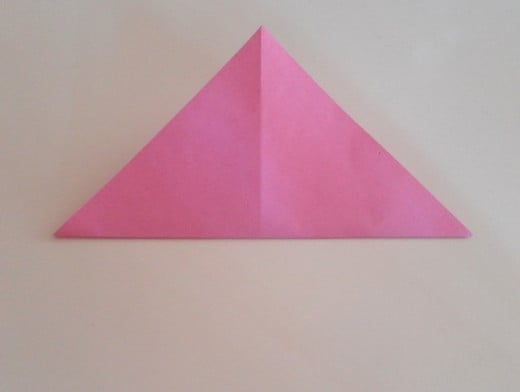
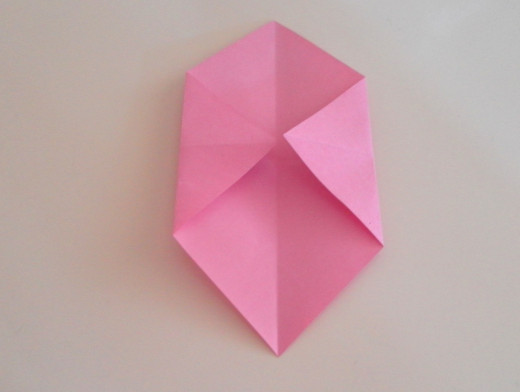
Step-by-step instructions for No-frills Toothpick Holder
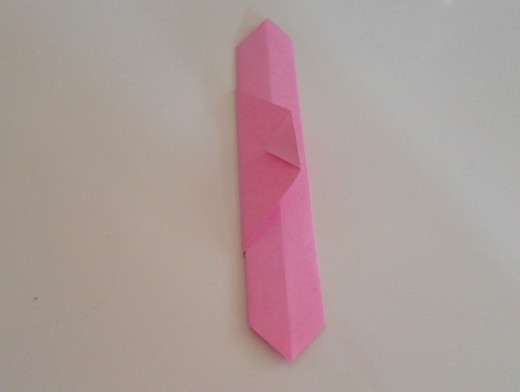
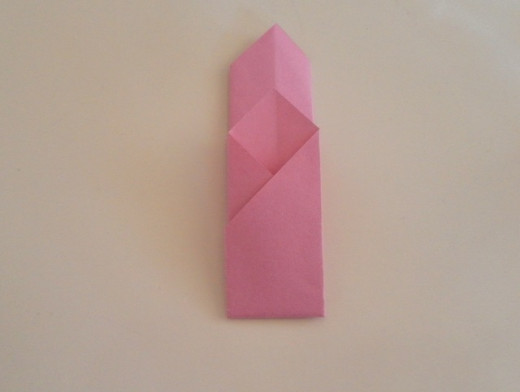
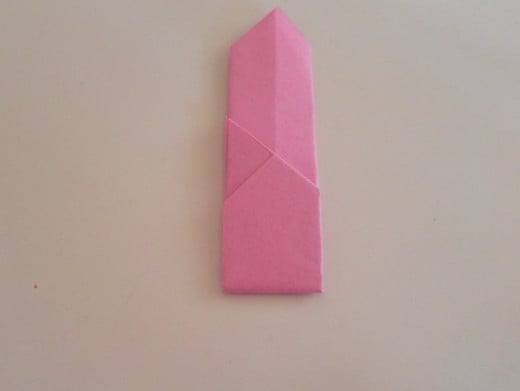
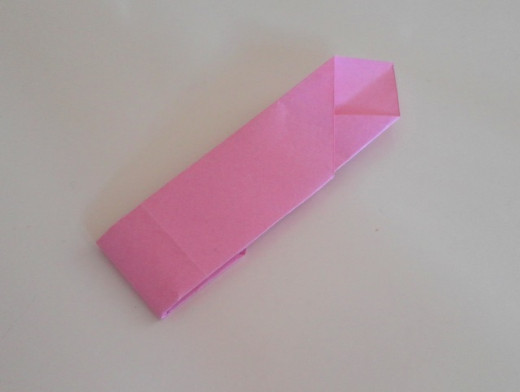
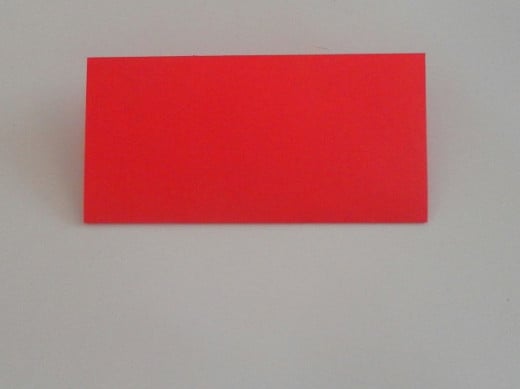
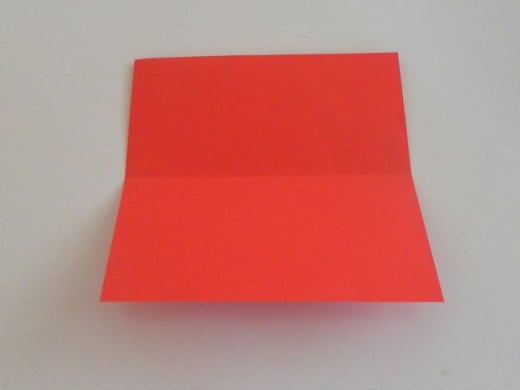
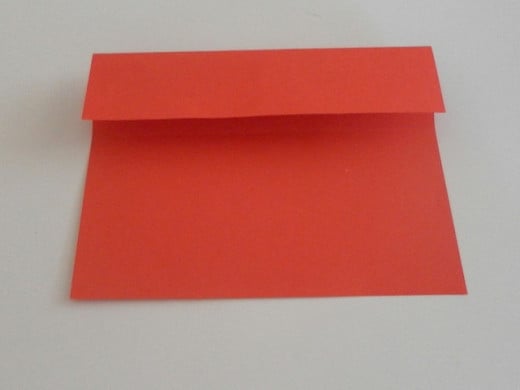
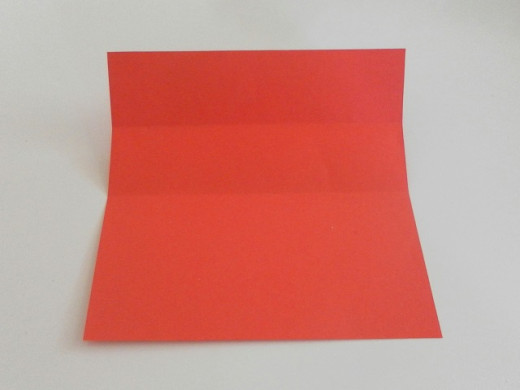
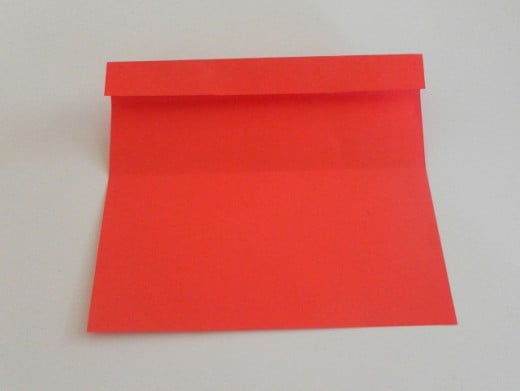
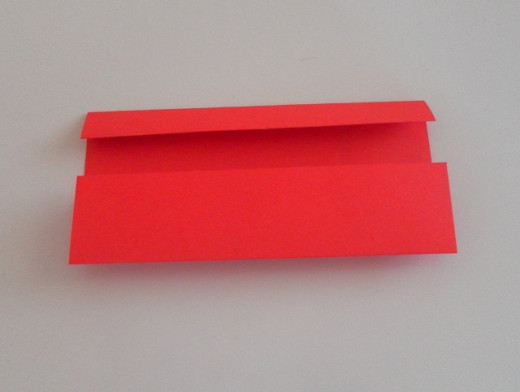
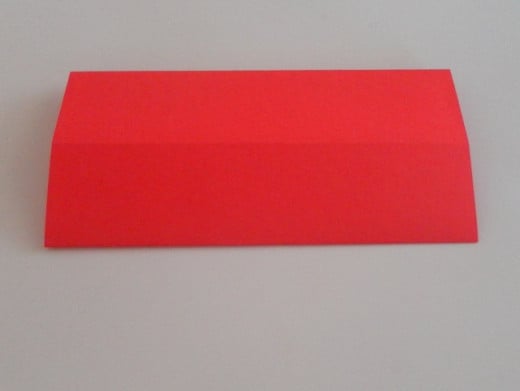
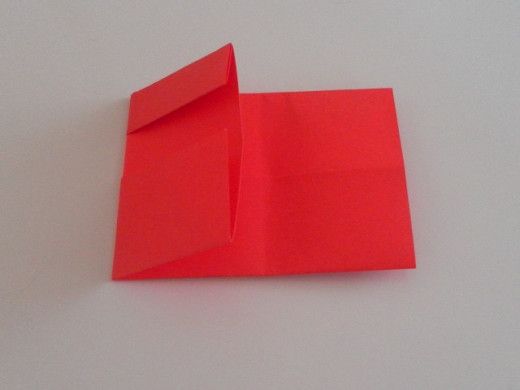
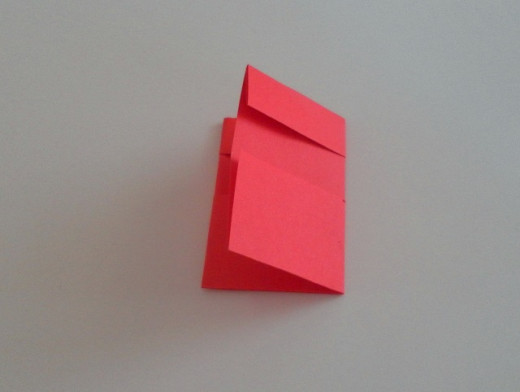
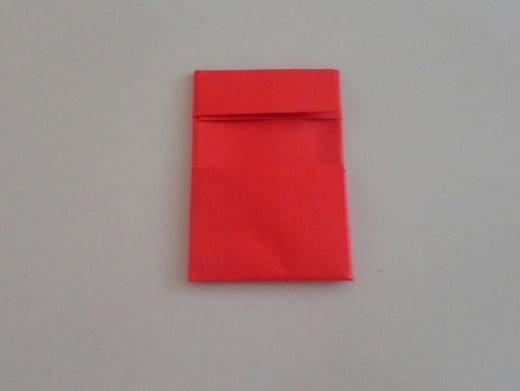
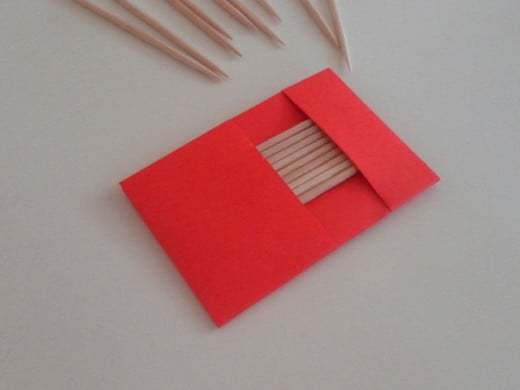
The paper size to use for this origami activity is 10cm by 10cm.To make a crease pattern on the paper, fold the paper in half to make a vertical crease.Unfold the paper and you’ll see a vertical crease line on it.Align the bottom corner with the top corner and fold the paper to make a horizontal crease.Unfold the paper. Now, you should see two crease lines crossing each other.Bring the left and right corners to the centre line and press down to fold.Fold one third of the right side of the paper towards the left.Unfold the flap on the left.Fold the left flap and wrap around the right and to the back.Turn the paper over.Fold the protruding little corner towards the centre of the paper.Bring the bottom end of the paper up and make the fold. The bottom flap should be shorter than the top part.Tuck the corner of the bottom flap in between the layers of paper near the centre.Turn over the paper and you have a no-frills toothpick holder.Store several toothpicks in the holder.
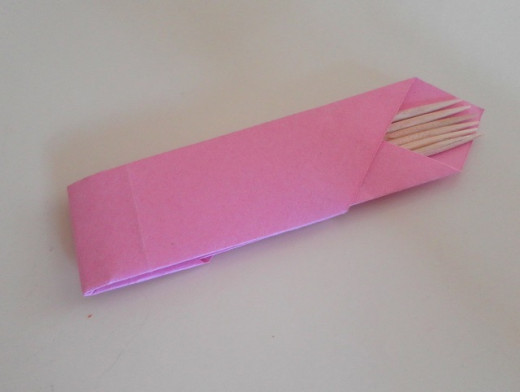
Origami Toothpick Case
The next tutorial is on how to make an origami toothpick case that can hold more toothpicks. The toothpick case protects both ends of the toothpicks and also prevents them from falling out. A useful origami item to have in your bag, wallet or briefcase, especially when you travel.
Follow the origami instructions below and use the correct paper size of 14cm by 14cm to fold this origami craft item.
Step-by-step instructions for Toothpick Case
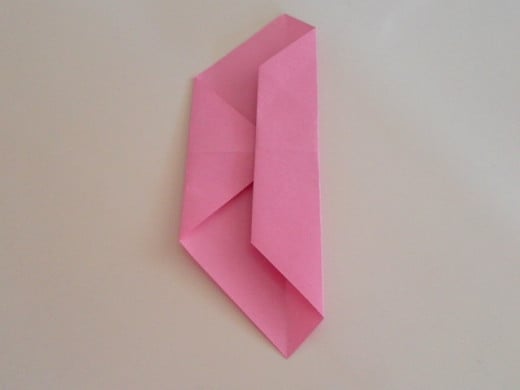
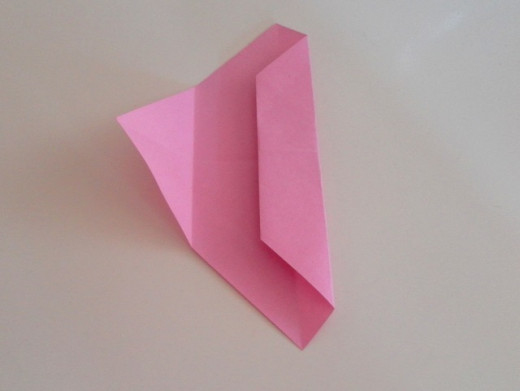
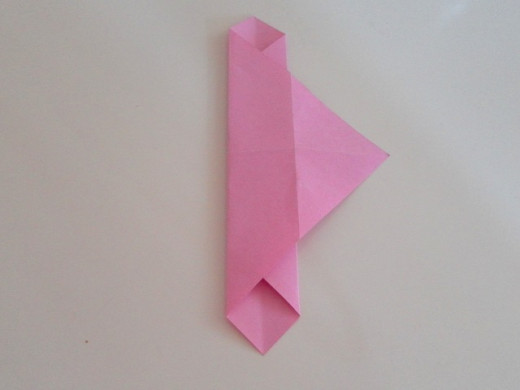
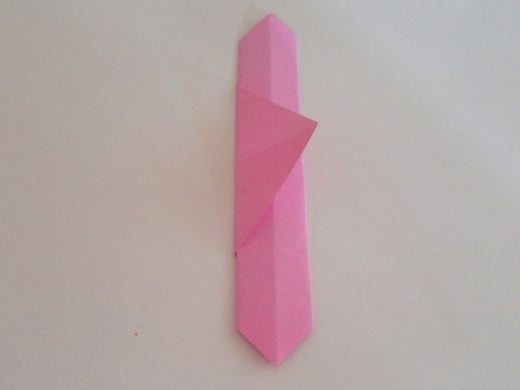
Cut out a square paper measuring 14cm by 14 cm.Make a horizontal crease line by folding the paper in half.Unfold the paper. Notice the horizontal line?Align the top edge of the paper with the horizontal crease line and fold in half.Unfold the paper. You should get another crease line near the top.Fold the top edge to align with the top crease line.Make another fold on the crease line.Bring the bottom edge to the middle crease line and press down on the paper to fold.Turn the paper over.Divide into thirds and fold the left one-third portion of the paper over the centre portion. Fold the right side so that it covers the two portions.Tuck the right side in between the layers of the left side.Turn the paper over and you should see a neat looking toothpick case.Carefully insert toothpicks into the origami case.Paper Toothpick Holders look fabulous with different origami paper
Origami Shirt Toothpick Holder
The next paper craft item to make is a miniature origami shirt for holding toothpicks. There are several ways to fold an origami shirt but this is the correct way to make a miniature origami shirt into a toothpick holder. Follow the pictures and instructions below to make the origami shirt toothpick holder.
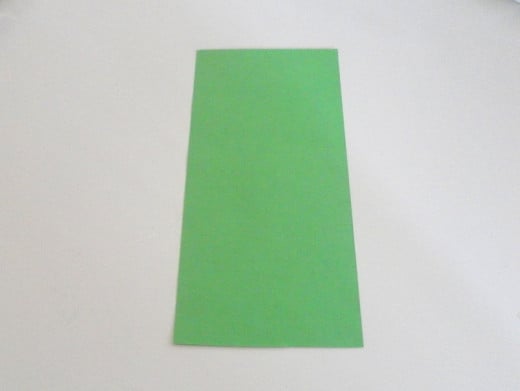
The appropriate size of the paper to use is 15cm by 7cm.
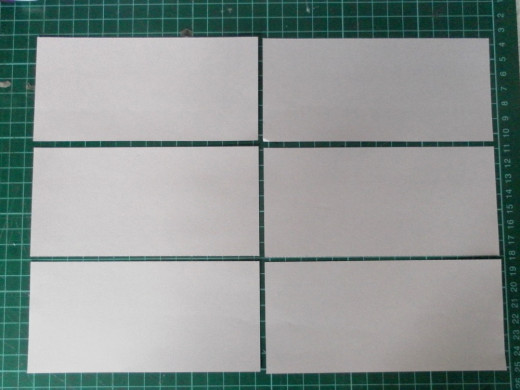
Tip: An A4 size paper can be cut into six rectangular pieces of paper and they are just the right size for this origami project.
A4 paper cut into six rectangular pieces.
Step-by-step instructions for Origami Shirt Toothpick Holder
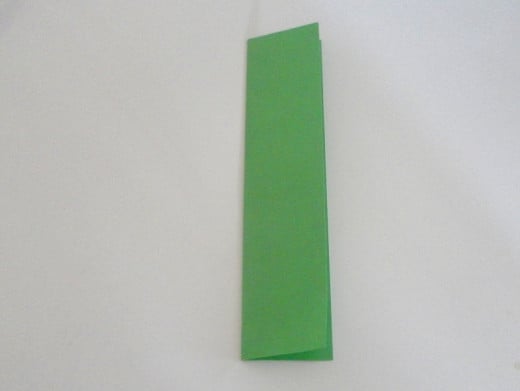
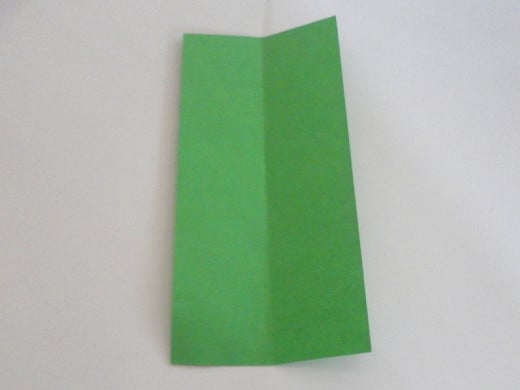
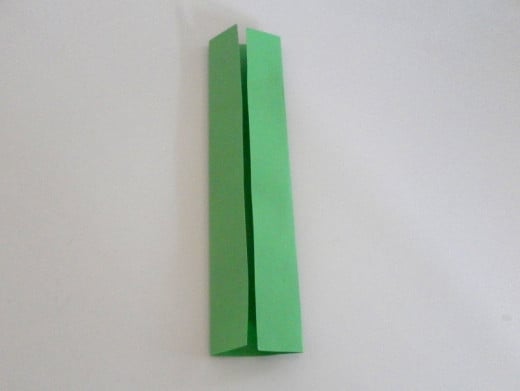
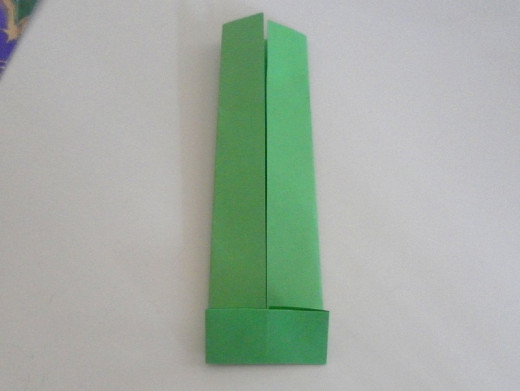
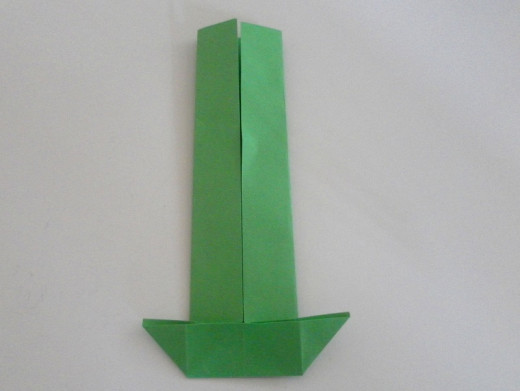
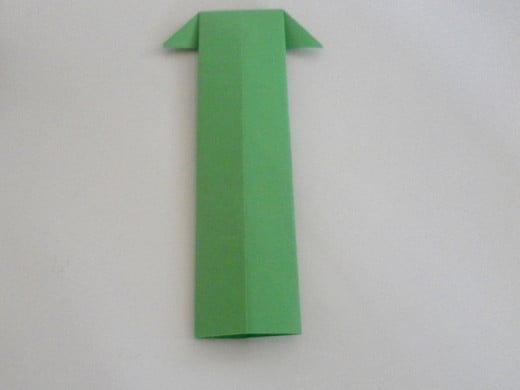
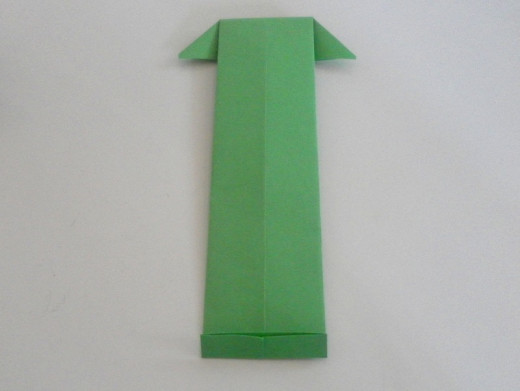
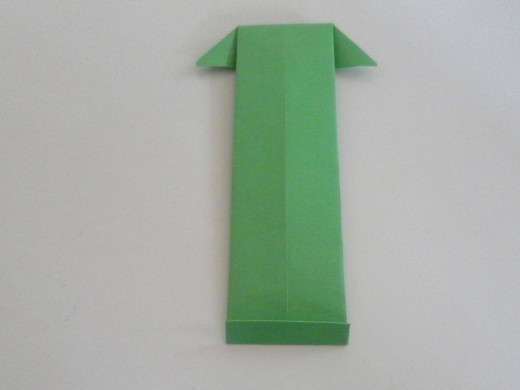
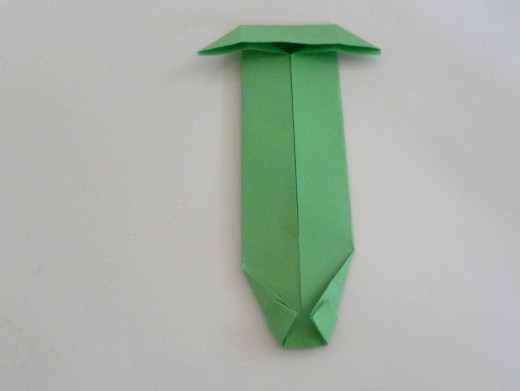
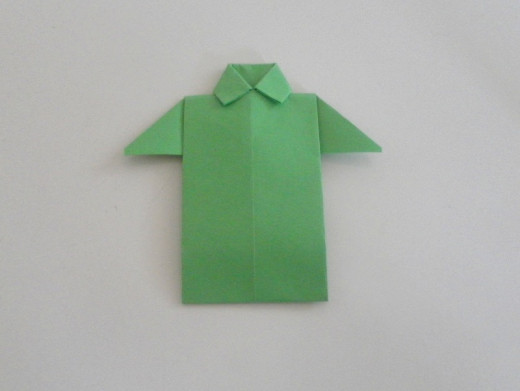
Take a piece of paper measuring 15cm in length and 7cm in width.Fold the paper in half lengthwise to form the crease line.Unfold the paper. You should see a vertical line in the middle.Fold the left side of the paper in half so that its edge aligns with the line in the middle. Do the same with the right side.Fold the bottom of the paper up about 1cm.Pull out the corners of the paper to form this shape like an upside down roof.Turn the paper over and rotate it around so that the ‘roof’ is now at the top.Make a small fold at the bottom of the paper.Make another fold over the first.Turn the paper over.Fold up the bottom corners as shown.Rotate the paper around and fold the bottom edge of the paper to the top.Tuck the bottom under the collars and press down to finish making the toothpick holder. And, it looks like a polo shirt! Origami Shirt Toothpick Holders
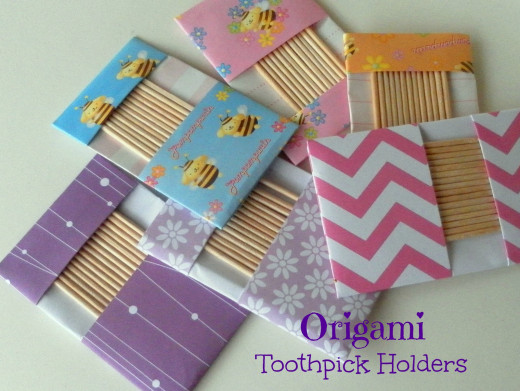
These origami toothpick holders can be placed next to the entrée when entertaining guests at home. Toothpicks are great for picking up appetisers. Your guests will be able to help themselves to these handmade toothpick holders if they need to use some toothpicks as cocktail sticks.
You can customise the toothpick holders with different themes and colours to suit the occasions. Be creative, use origami paper with different designs and colours for all your paper folding projects.
How To Make Origami Lucky Stars This is one of the easiest origami to learn and it is addictive too. Teach the children how to make origami stars and that will keep them busy for hours and hours.