Paper Strip Folding and Origami: How to Make 3D Paper Hearts

String the paper hearts together to use as décor around the house.

Strip Folding Origami

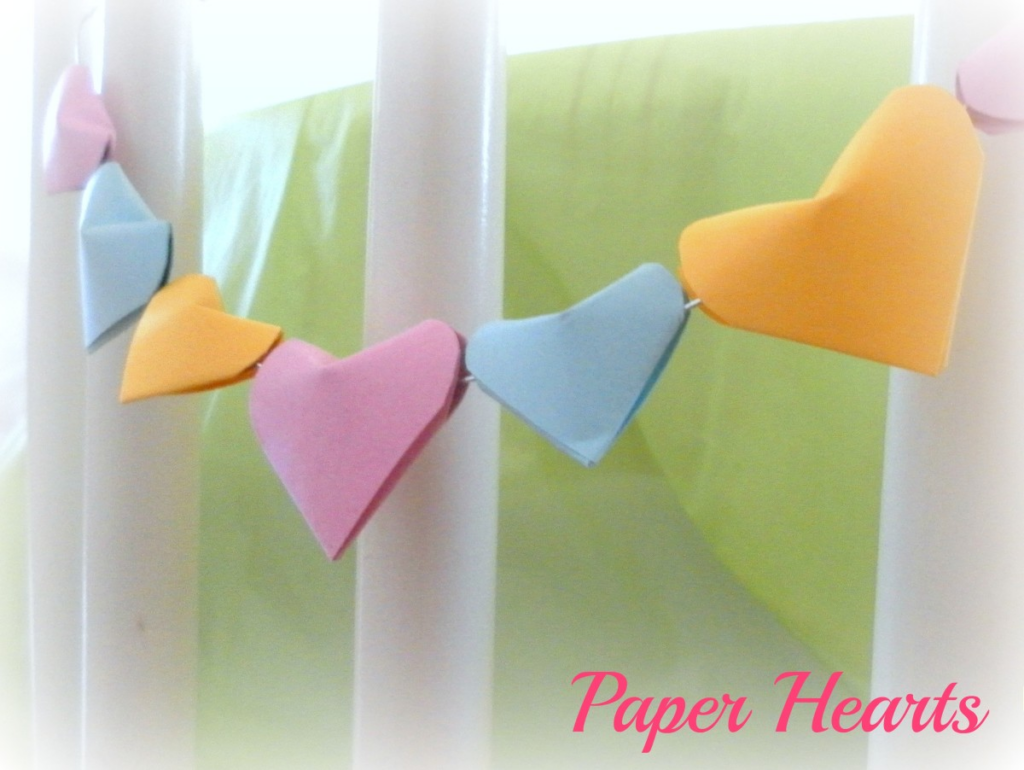
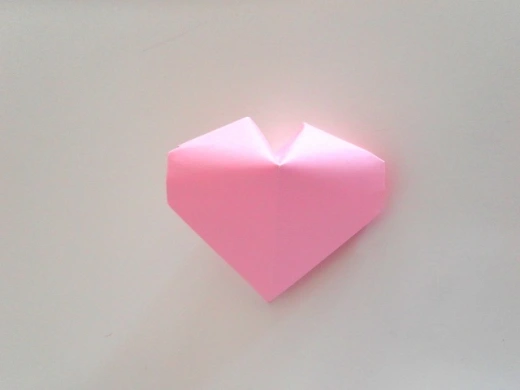
Love origami? Consider making this cute decoration. Here we learn How to Make 3D Paper Hearts.

3D Paper hearts can be used as decorations for Valentine’s Day gifts, school projects, and craft activities. If you have made origami lucky stars before, you will find the paper strip folding method for the 3D paper heart is very similar. Paper strip folding is easy and suitable for adult and children’s craft projects.

Basic Materials

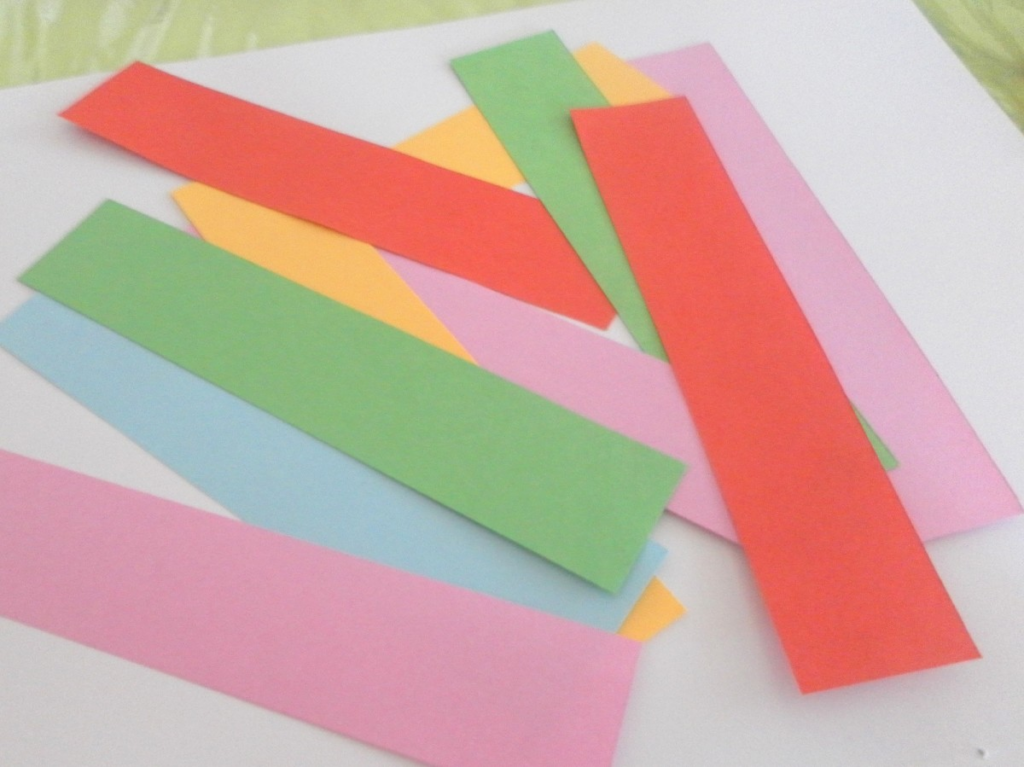
These are the basic items required to make paper hearts:

  • Coloured paper. Cut the paper into strips of 10cm by 3cm. The size of the paper heart will be about 2.5cm by 2cm for this paper size. You can use wider or narrower strips of paper if you want to make different sizes of paper hearts.
  • Scissors for trimming.
  • Cutter for cutting the paper into strips.
  • Cutting mat to protect your table from being slashed!
  • Ruler for measurements.

Step-by-Step Instructions

Coloured craft paper cut into strips and ready for making the paper hearts.
Take strip of paper measuring 10cm by 3cm.
Fold one end of the strip to make a small right-angled triangle.
Make another right-angled triangle on top of the first triangle. Make sure the triangle is right-angled!
Keep folding the triangles until the other end of the strip of paper is very short.
Stop folding.
Take a pair of scissors and trim off part of the paper at the other end. Be careful not to cut the triangle.
Fold the trimmed end of the paper and tuck it in between the layers of folded triangles.
The folded strip of paper should now look like this.
Push in the long side of the triangle (with your fingernail or the edge of a ruler)
Rotate the paper around. With your fingers, pinch the two corners of the triangle.
Trim off the pinched corners and you’ll get a 3D paper heart.

Materials Needed for Advanced Hearts

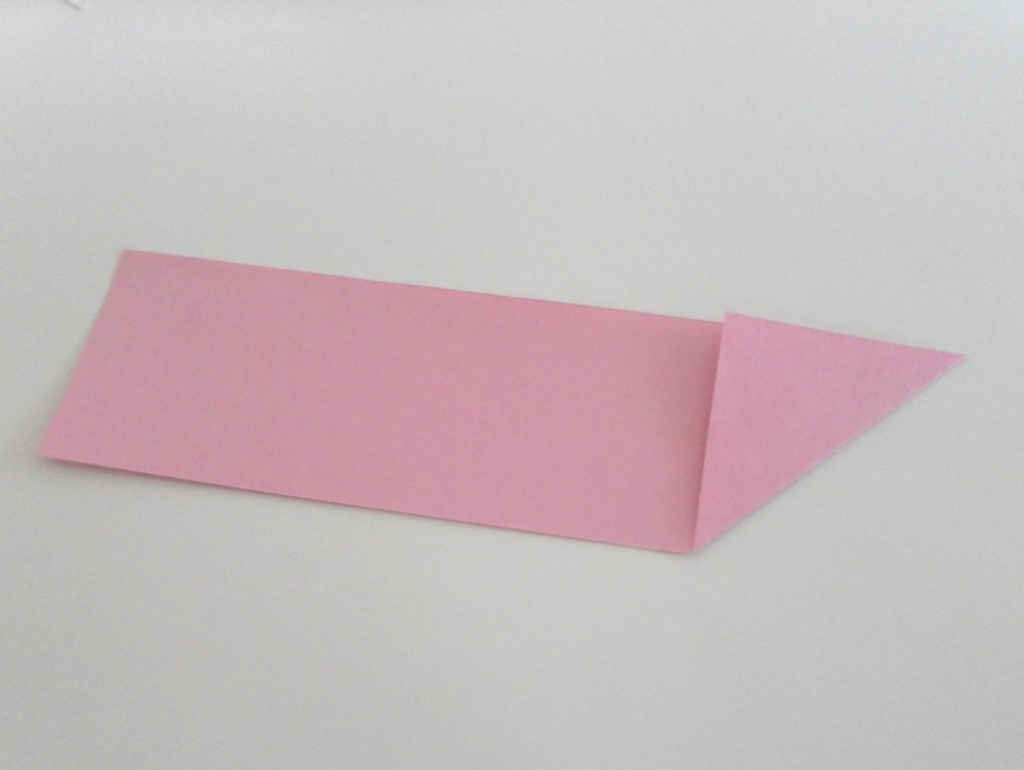
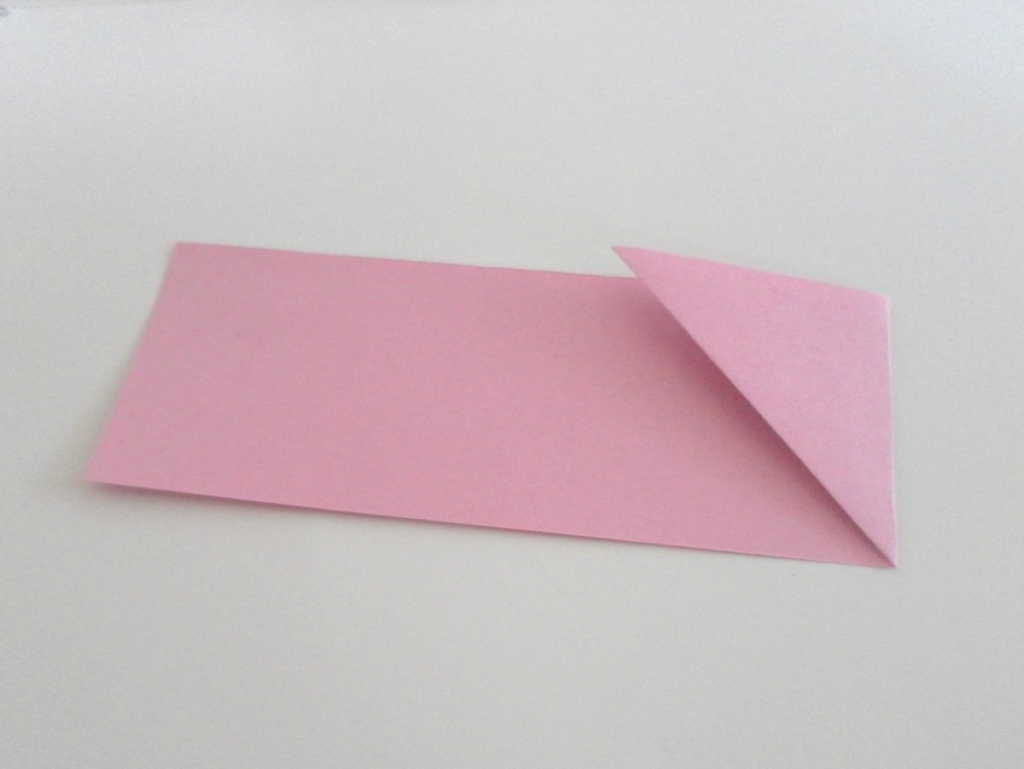
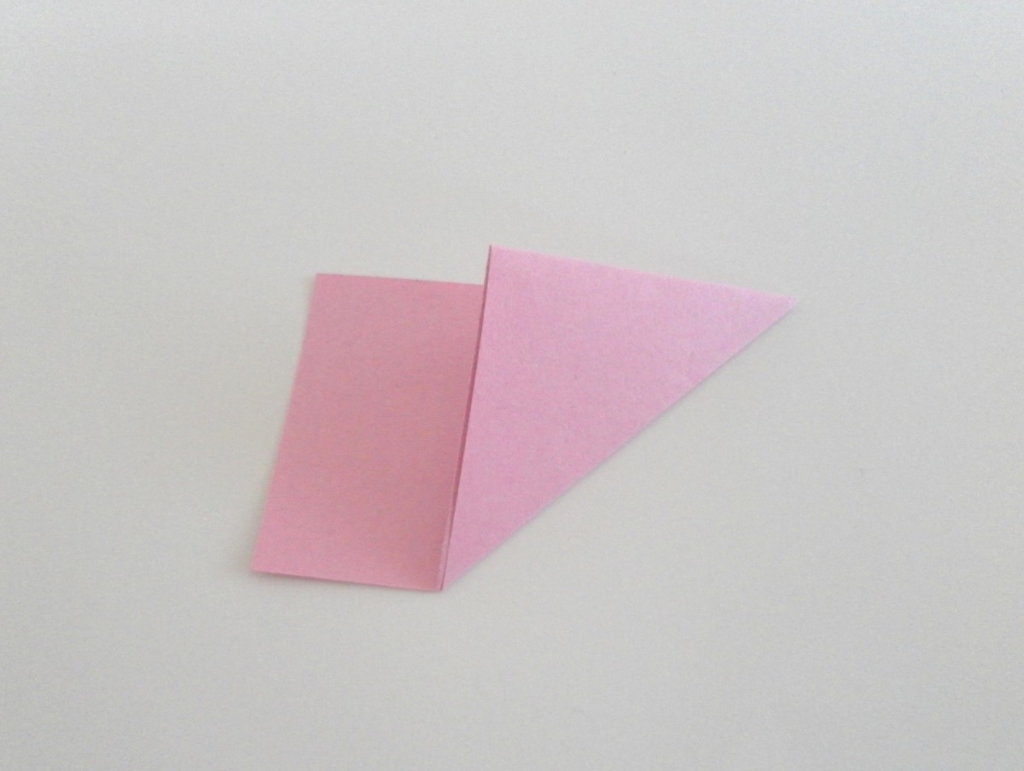
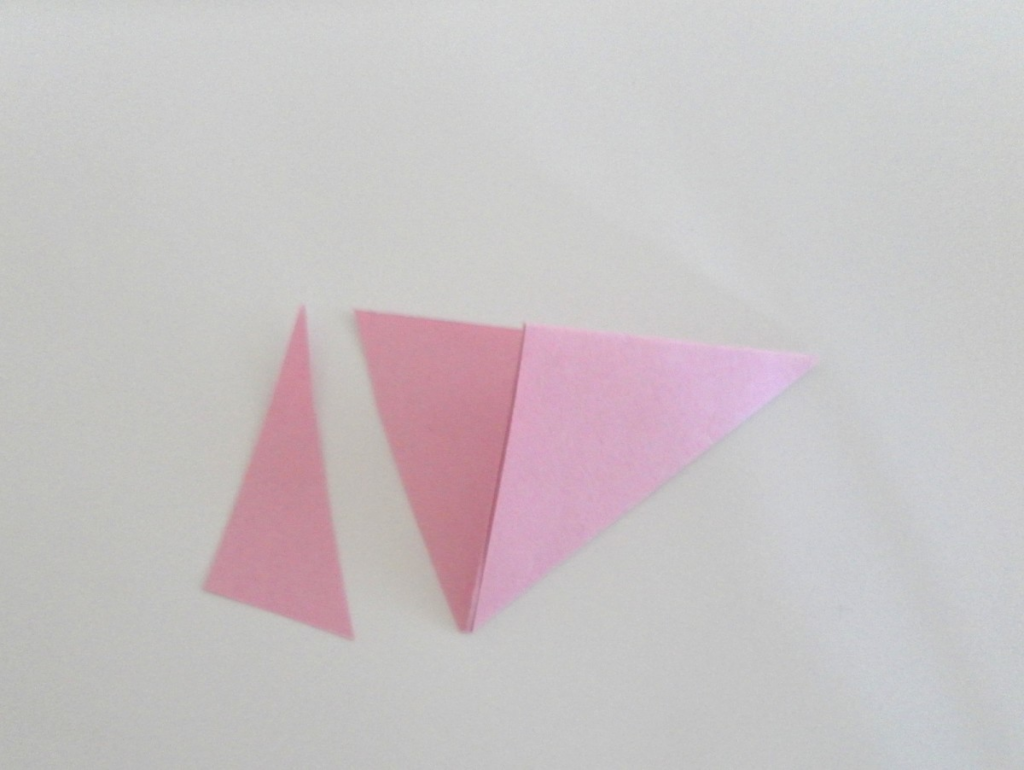
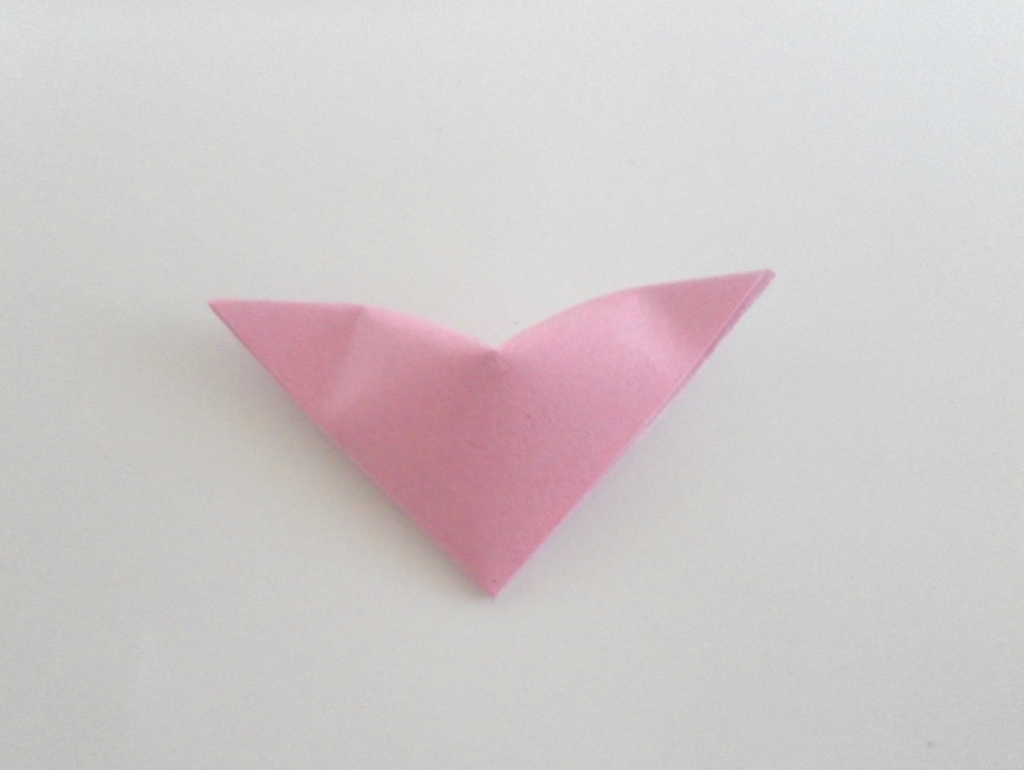
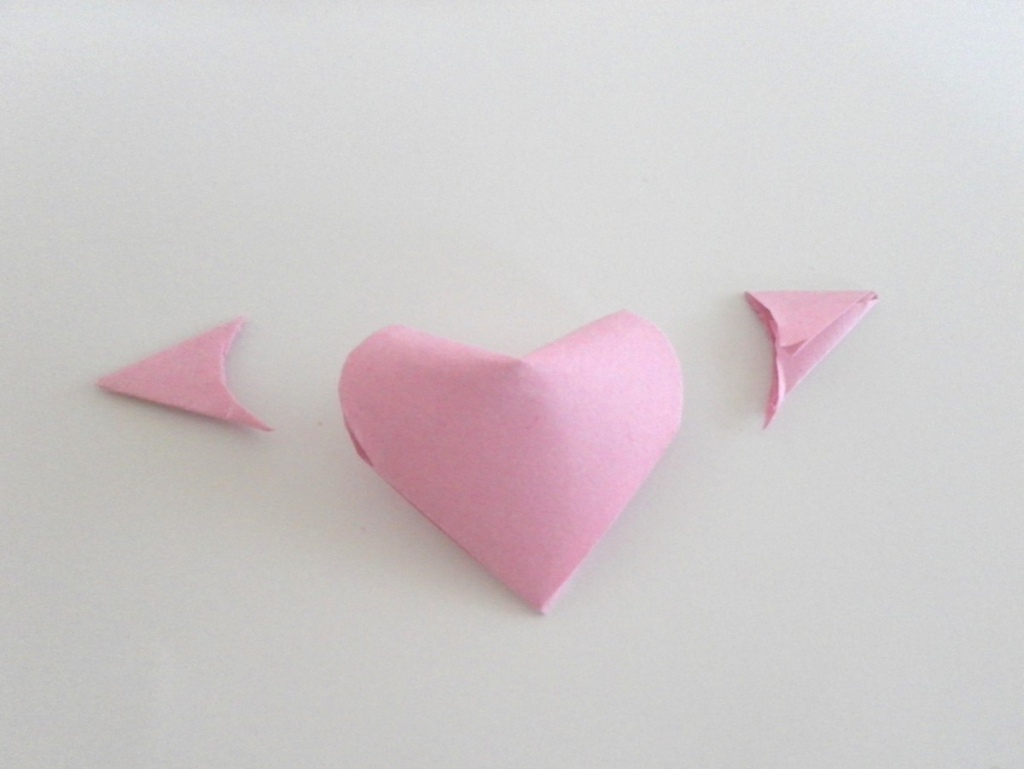
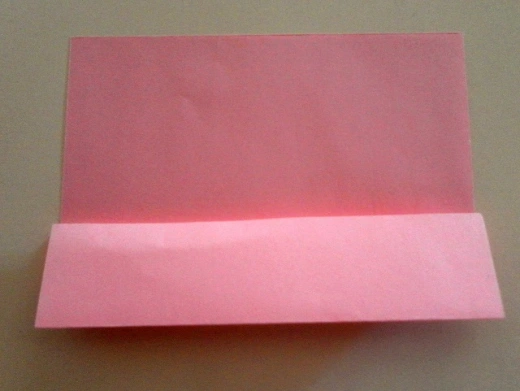
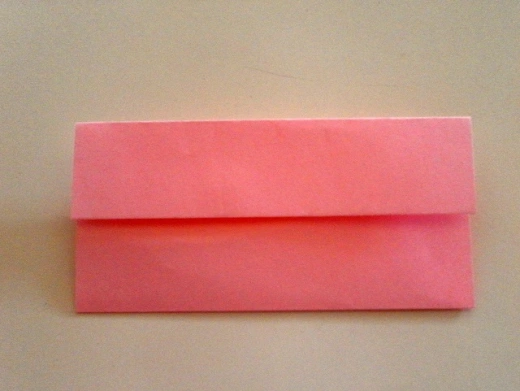
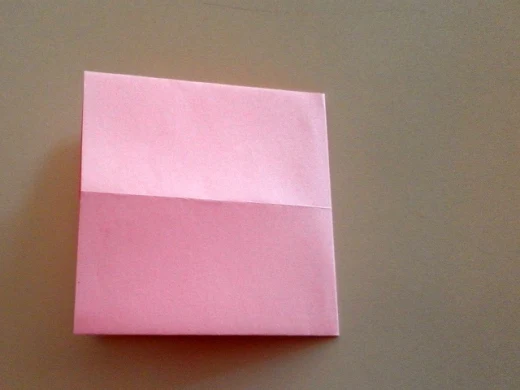
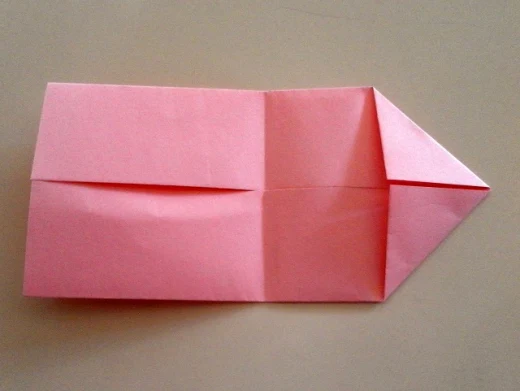
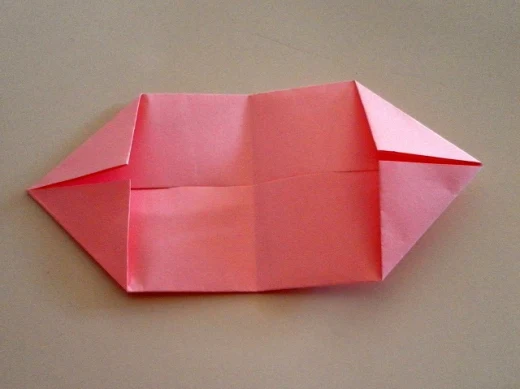
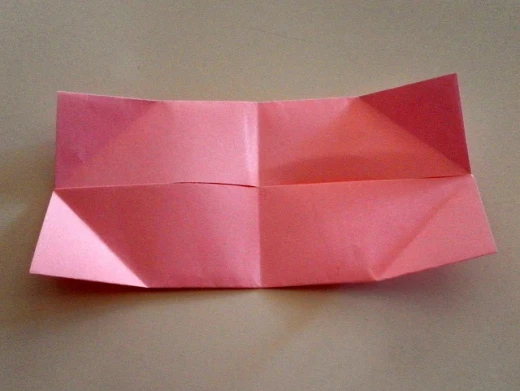
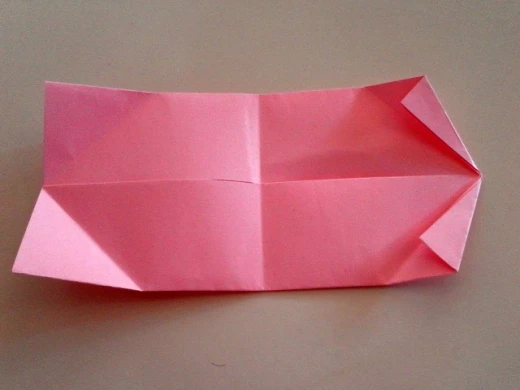
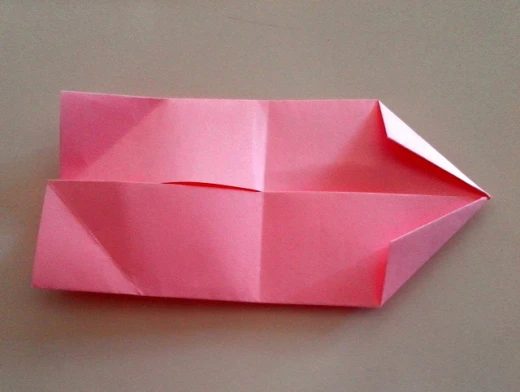
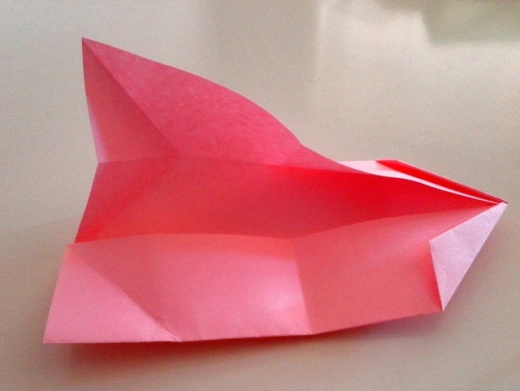
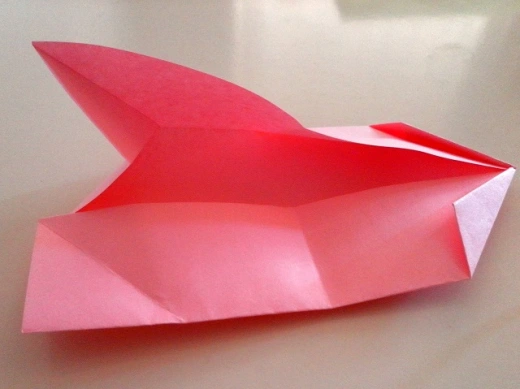
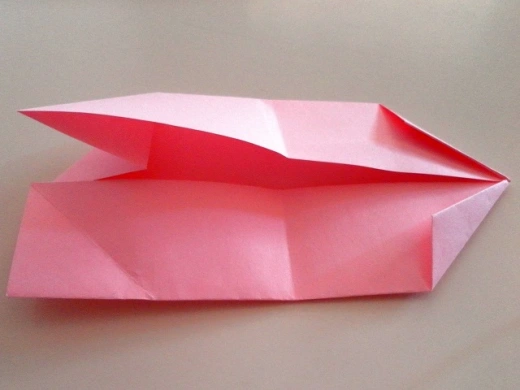
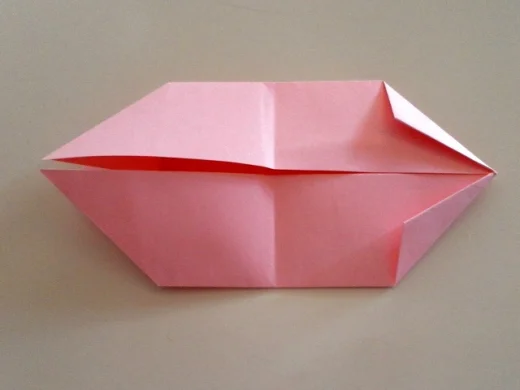
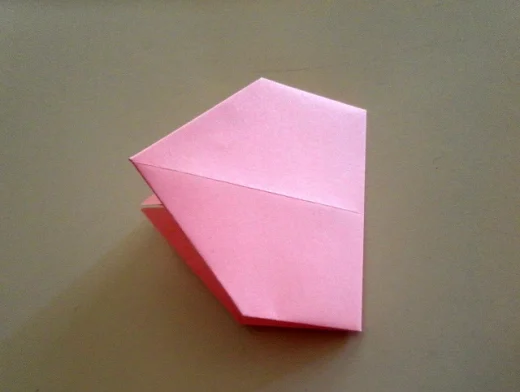
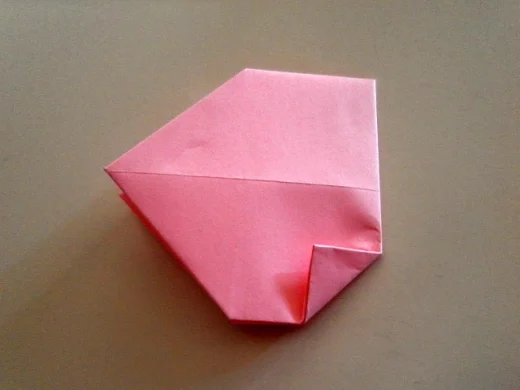
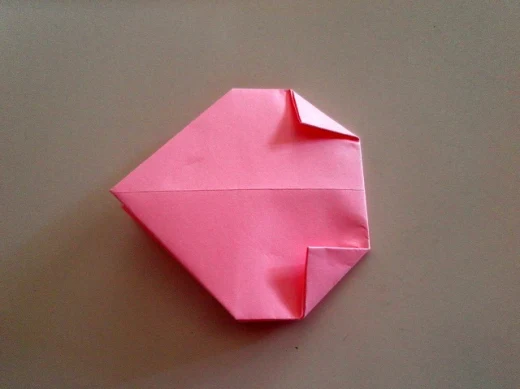
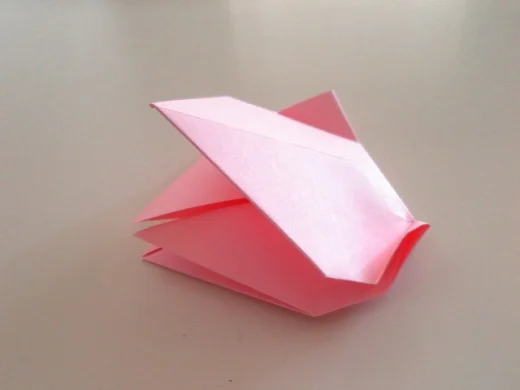
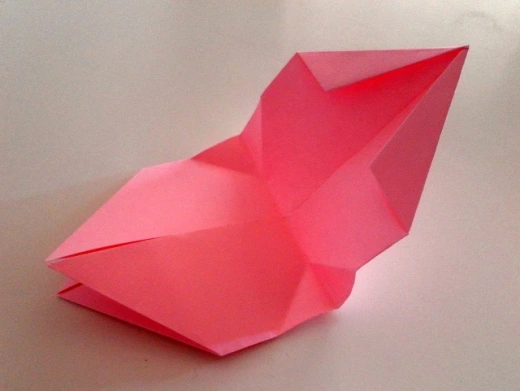
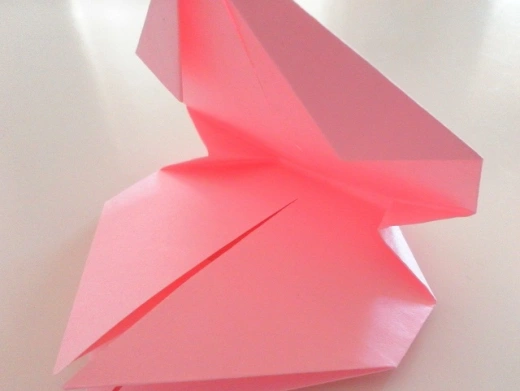
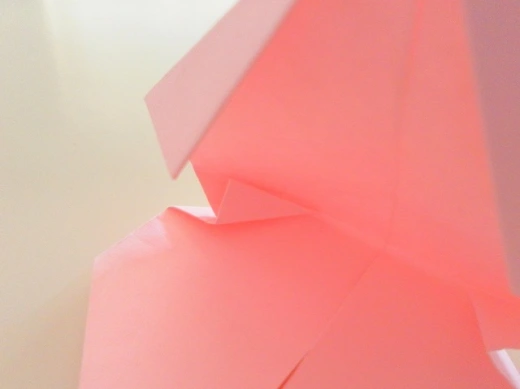
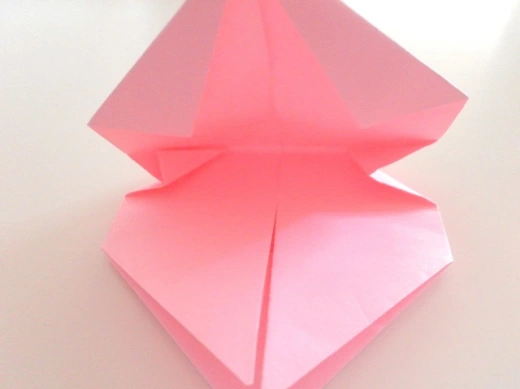
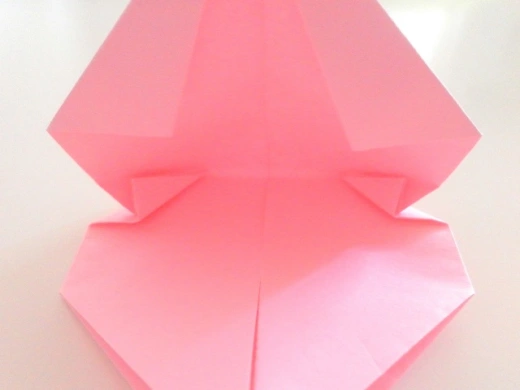
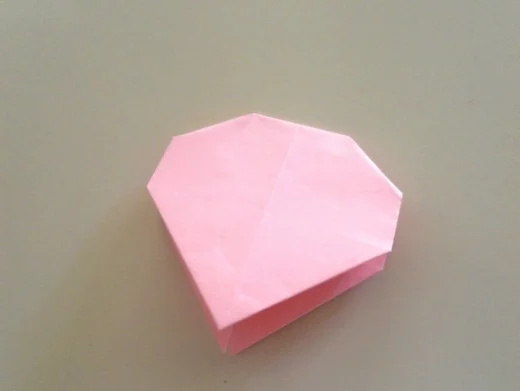
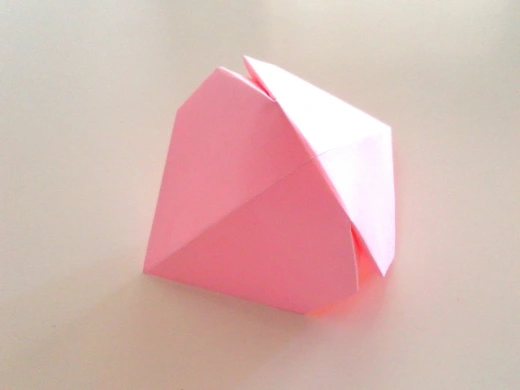
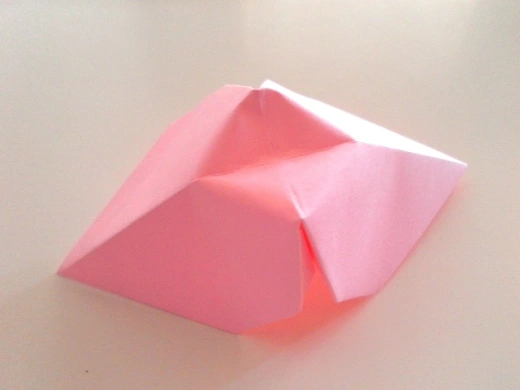
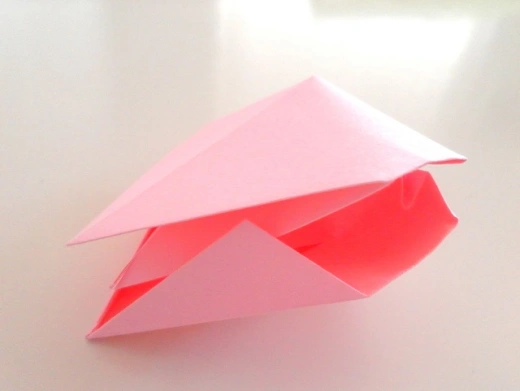
The following method for making 3D paper hearts is a more advanced level of paper folding.

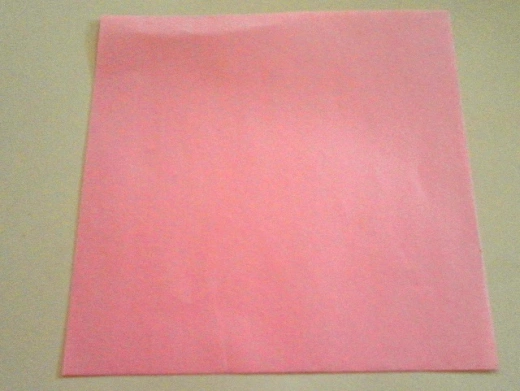
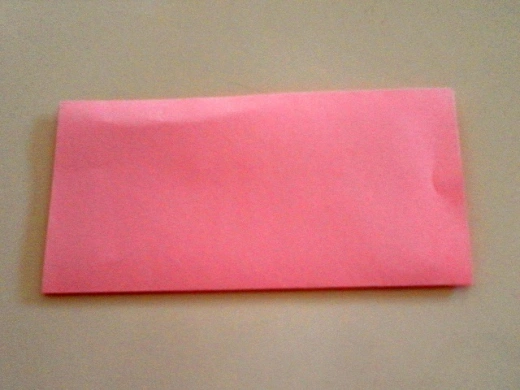
The only material required here is origami paper of any square size. The paper I am using for this origami tutorial is 15cm by 15cm.

Step-by-Step Instructions for the Origami Method

A sheet of origami 15cm by 15cm is required to make a 3D Origami Heart.
Fold the paper in half to make a horizontal crease line across the paper.
Unfold the paper and fold the edge of the bottom flap to the horizontal crease line in the centre.
Fold the top to the crease line.
Fold the paper in half from right to left with the right side overlapping the left.
Unfold the paper and fold one of the corners on the right to make a triangle.
Repeat with the other corner on the right.
Do the same with the corners on the left.
Unfold all the corners to reveal the crease lines.
Fold both corners on the right again to align their edges with the diagonal crease lines.
Make a second fold along the crease lines with each right corner.
Open up the top flap on the left. Take note of the crease lines of the folded corner.
Invert the corner by pushing it inwards.
Close the top flap. You will see the corner is now on the inside.
Do the same with the lower corner on the left.
Follow the vertical crease line and fold the paper in half again.
Let’s continue making the origami heart. Make a small triangle on the lower right corner.
Repeat with the top right corner.
Open up the paper.
Notice the two little corners?
Push the two corners inwards so that they are facing inside.
This next step is a little tricky if the origami paper size is very small.
Pinch the tip of one corner and fold it in half to align with the small crease line inside.
Notice how the fold on the left looks like.
Repeat with the other corner. If all goes well, the two corners should look like this.
Close the paper and press down on the corners which are at the top of the folded paper.
Open apart the bottom flaps carefully, make sure the top corners do not come apart . The top of the paper will look like this with the little corners tucked inside.
Push the top of the paper downwards to make a small indentation.
Press the bottom flaps together again and tuck the folded corners of one flap in between the layers of the other flap.
A 3D Origami Paper Heart!

More Origami

© 2014 lady rain

About the author

ladyrain

Lady Rain lives in Australia and enjoys writing about travels, paper quilling crafts and historical events.

Stay up to date
Register now to get updates on promotions and coupons.

Shopping cart

×