This article shows you how to make quilled huskings and flowers for paper quilling projects. The step-by-step paper quilling instructions should be easy to follow!
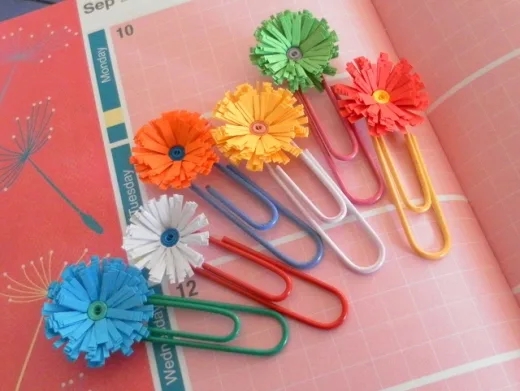
Some of the shapes commonly found in paper quilling art designs are called “huskings.” This article will help you create more designs with quilling paper by teaching you how to make quilled huskings, which are often used as flower petals in floral quilling designs, but they can be used in any pattern as desired. They are made by shaping one or more strips of quilling paper around a series of pins. Huskings can have different shapes and sizes, and more than one colour.
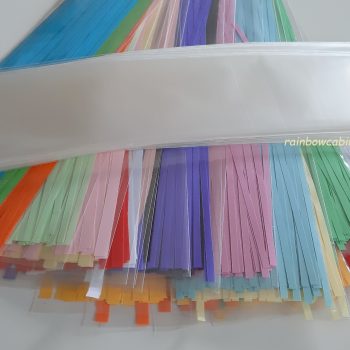
Let’s begin with an easy shape called a straight husking. You will need some strips of quilling paper, dressmaking pins, a quilling board, and craft glue.
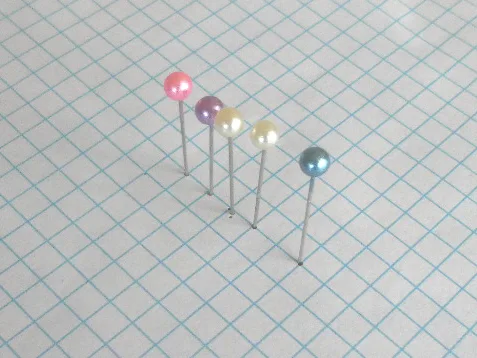
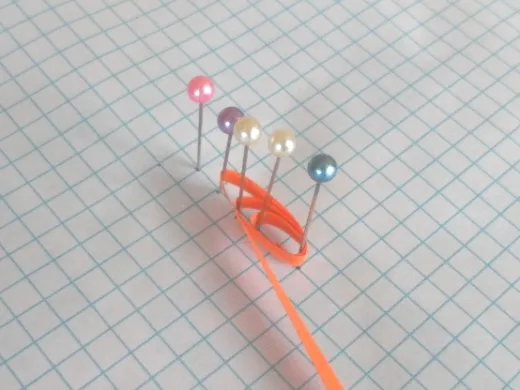
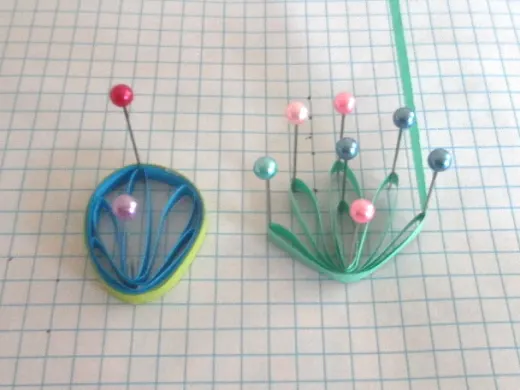
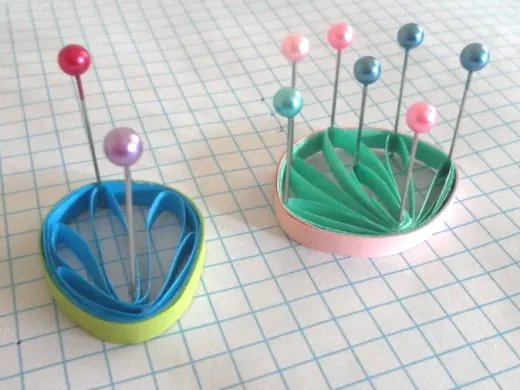
Here’s how to make a straight husking. Insert five pins into a quilling board, with the pins aligned in a straight line. Wrap a quilling paper around the first and second pins and glue the paper together where the strip overlaps at the first pin. Continue wrapping the paper strip around the third, fourth, and fifth pins.
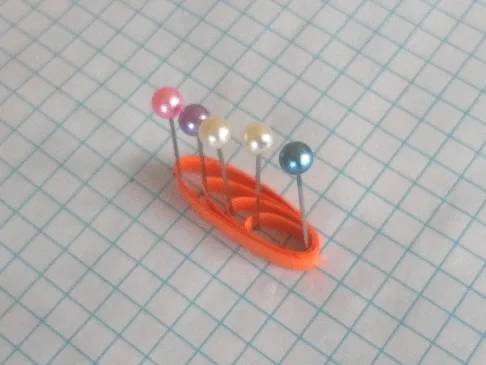
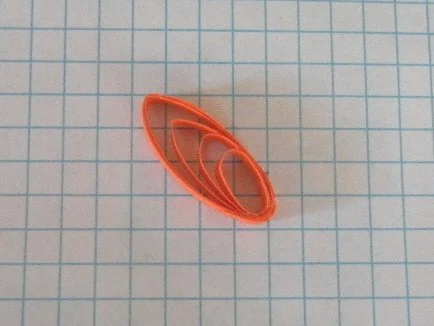
Glue the end of the paper at the first pin and trim off the excess paper. Remove the pins. You can leave the loops rounded or shape them by pinching the loops with your fingers. Use a little glue on the paper strip to strengthen the husking and retain its shape.
Straight huskings can be made into different variations by using different numbers of pins aligned at different distances.
The step-by-step photos are shown below.
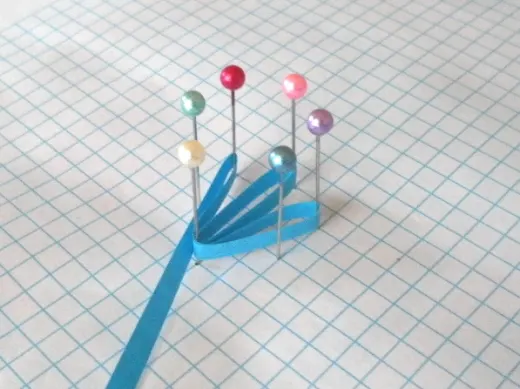
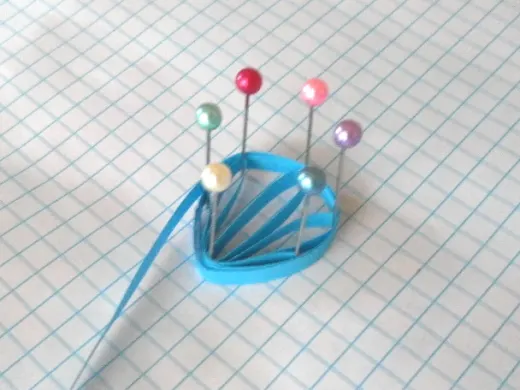
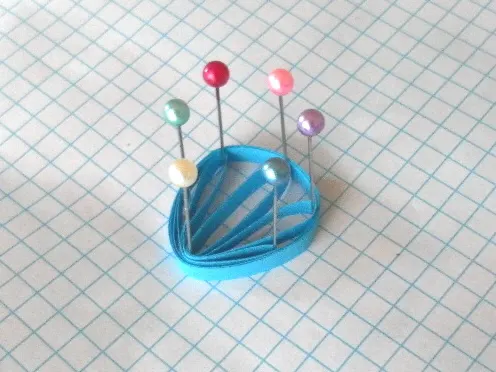
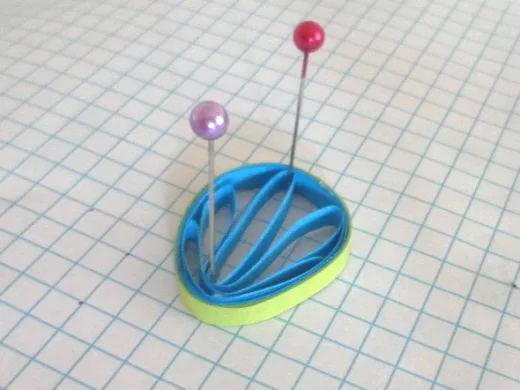
When you have mastered making a straight husking, you can proceed to make a more interesting shape called a fan-shaped husking. To make a fan-shaped husking, use six pins arranged in a circle on the quilling board. Start wrapping a quilling paper around two pins that are adjacent to each other. Glue the end of the paper to the strip where it overlaps and continue to wrap the paper to form the pattern. When each pin is wrapped, wrap the remaining strip several times around the circle of pins. You can also use another strip of quilling paper of a different colour to wrap around the circle to make a two-toned fan-shaped husking.
These are the techniques of making huskings in paper quilling craft. You can continue to make your own huskings by using a different number of pins. You can change the size of the huskings by adjusting the distances between the pins.
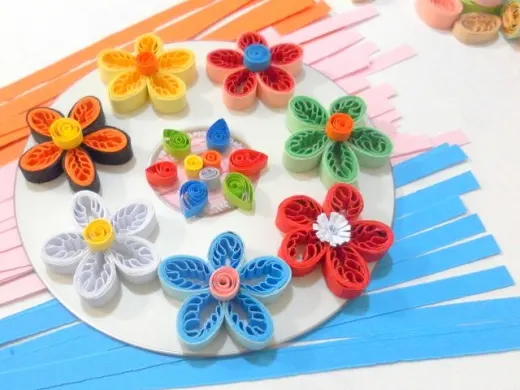
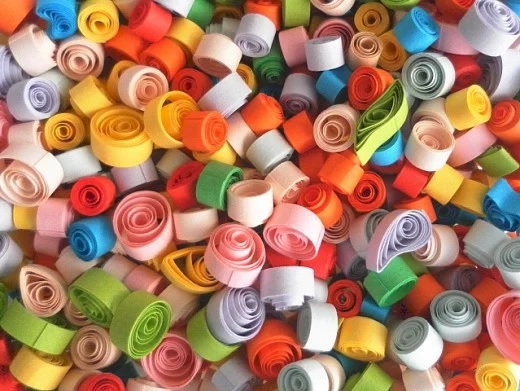
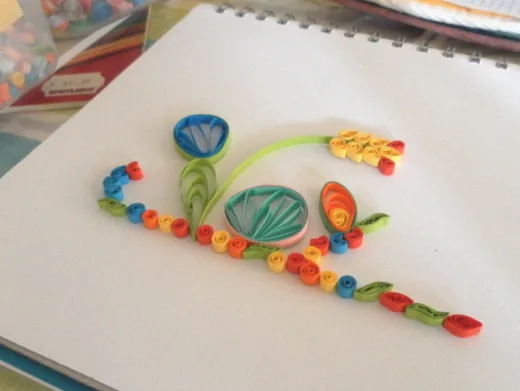
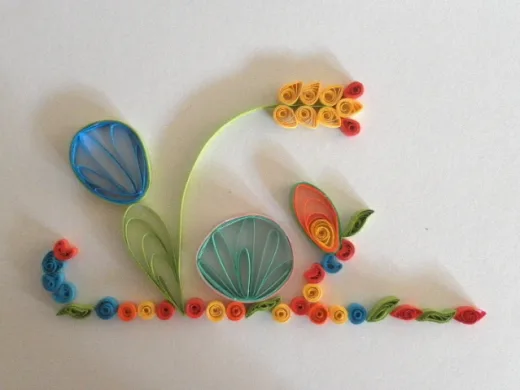
When you have made enough paper quilling coils and huskings, you can arrange them on drawing paper to create an interesting quilled design for display. Use glue to adhere the coils and huskings to the drawing paper.
See the photo tutorial below.
© 2012 lady rain
About the author

Lady Rain lives in Australia and enjoys writing about travels, paper quilling crafts and historical events.