What’s paper quilling? Paper quilling is a therapeutic activity. Like most art and craft activities, it requires you to spend time planning and using your creativity to dream up beautiful artwork.
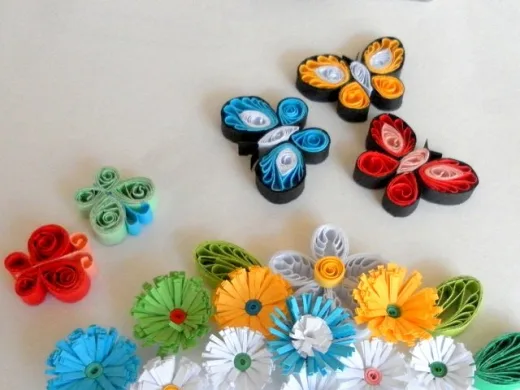
Flowers and butterflies are a great representation of happiness and liveliness. We are going to work on butterflies first. In this tutorial, you will learn to make butterflies that complement quilled flowers.
Parts of a Butterfly
A butterfly has the following body parts:
Head
Wings
Thorax
Abdomen
Proboscis
Antennae
Legs
We’re not recreating insect anatomy here, so some of the smaller body parts can be omitted in our quilling designs. We want to make our quilled butterflies as adorable and pretty as possible.
If you have yet to learn paper quilling, you can find basic quilling instructions below:
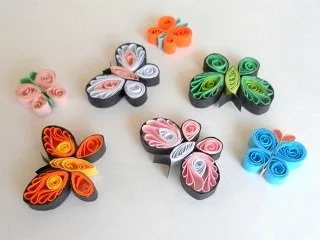
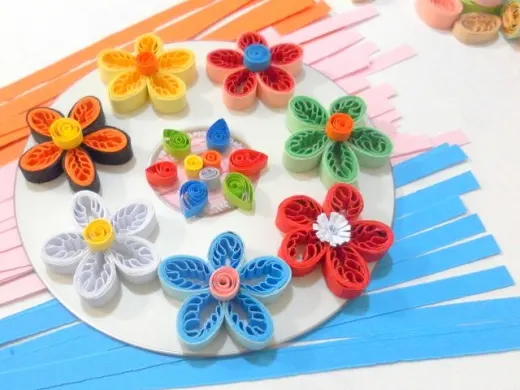
Required parts of the butterflyA quilled butterflyParts for creating side profile of a butterflyQuilled butterfly and flowers
How to Make a Butterfly
Here is how you can make a basic butterfly.
What You’ll Need:
Colored Quilling Paper: You only need a few strips.
Quilling Tool
Glue
Quilling Board (optional): A quilling board can help you create same-size coils.
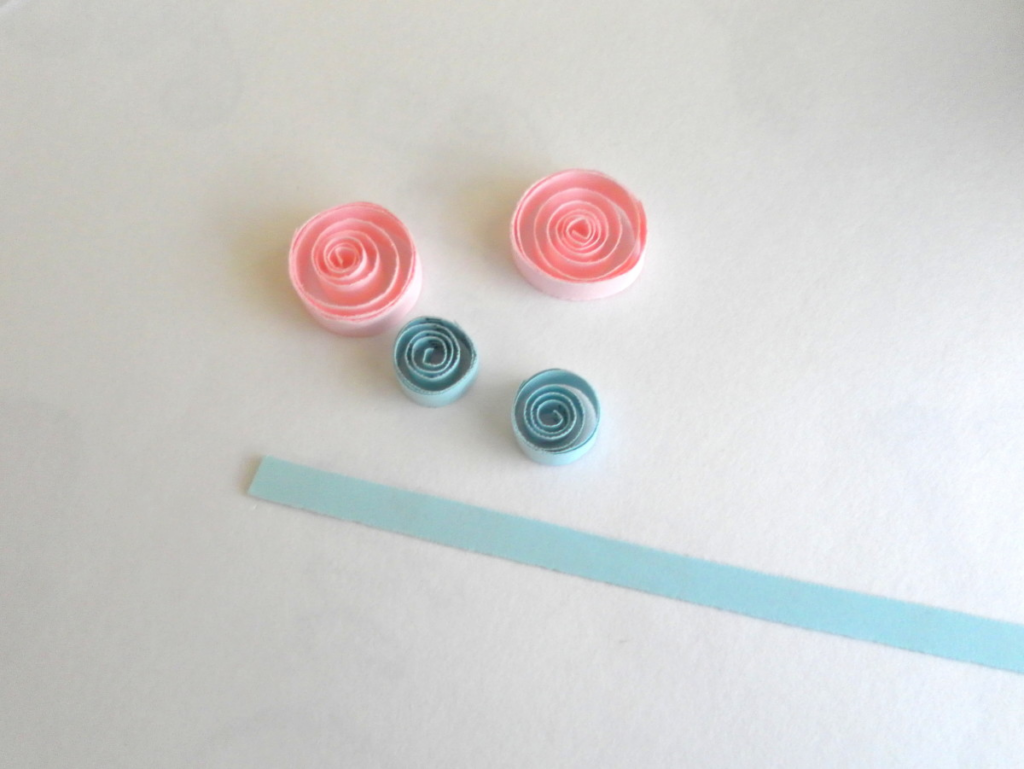
Our butterfly will have six parts: four wings and two antennae. You may add more parts if you want to create your own design later on.
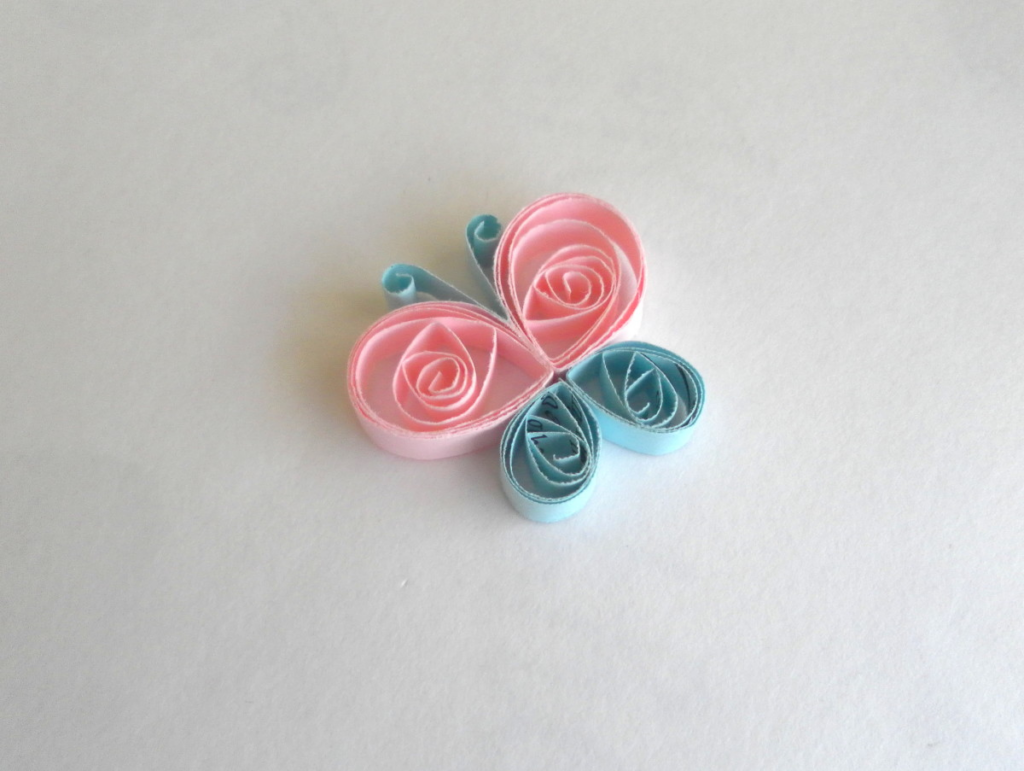
Make two large coils and two small coils for the wings.
Shape the wings and arrange them to form the shape of a butterfly.
Use two small strips of quilling paper for the antennae.
Apply a small amount of glue to hold all the pieces together.
Making a Butterfly’s Side Profile
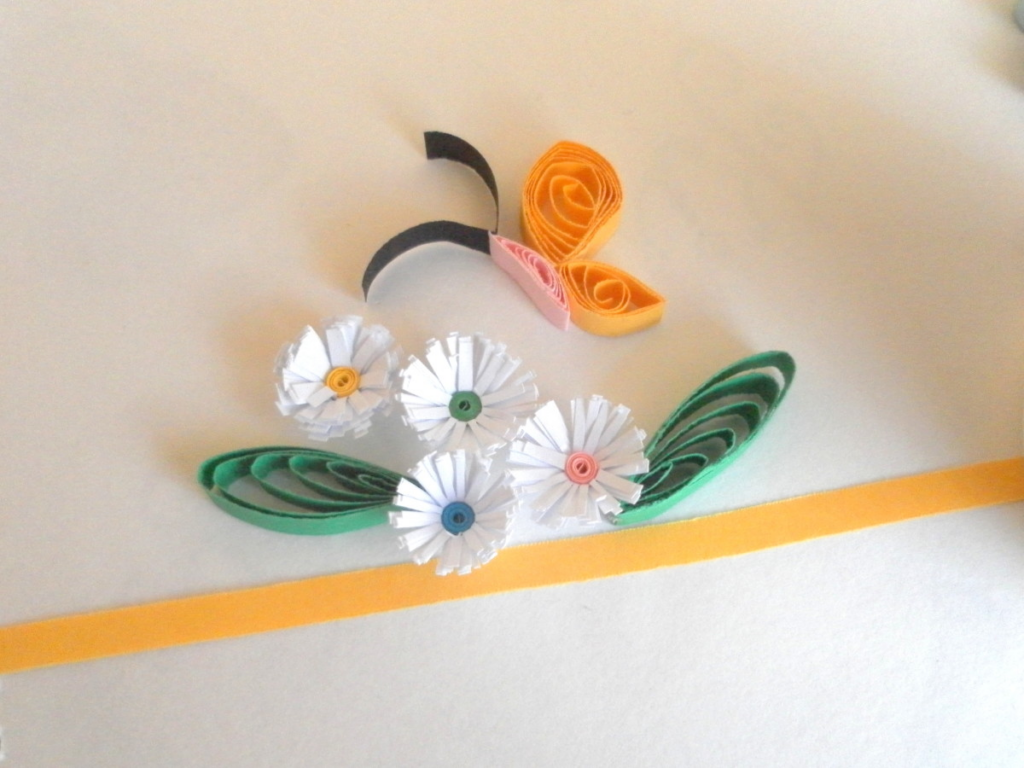
Here is another simple butterfly design that requires two wings, the abdomen, and the antennae.
Make one large coil and one small coil.
Shape the coils by pressing or pinching them.
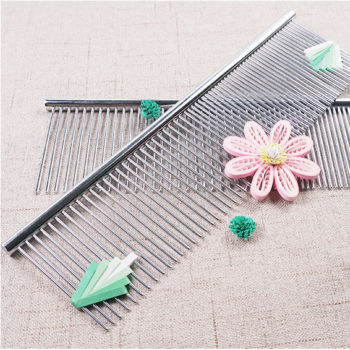
Make a crescent-shaped coil for the abdomen. Slightly curl two small strips of paper to make the antennae. Arrange the coils to form the shape of a butterfly and glue the pieces together. Add some quilled fringed flowers, wheatear coil, and husking leaves around the butterfly to create a masterpiece. It’s that easy!
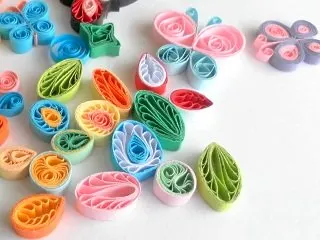
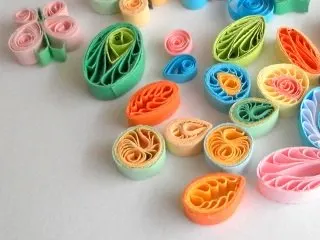
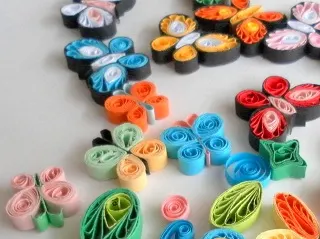
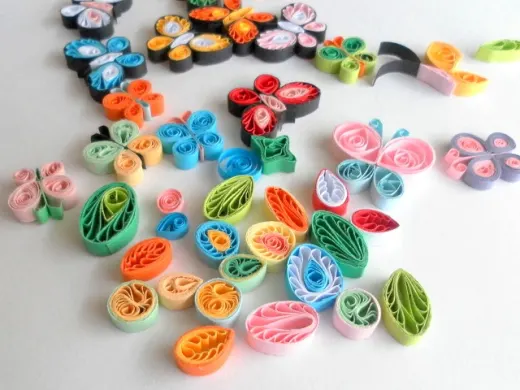
Different coils and coloursDifferent coilsQuilled butterflies and coilsQuilled butterflies and coilsQuilled butterflies
More Ways to Make Butterflies
Use your own creativity and imagination for your quilling projects and designs. Here are a few ideas you can try:
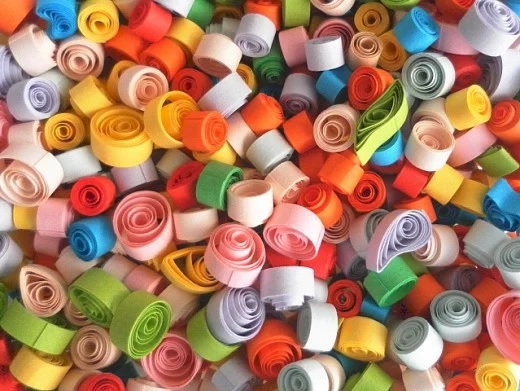
Incorporate different colours for the coils by using several strips of quilling paper with multicolors and shades.
Change the sizes and shapes of the coils by using quilling paper strips of different widths and lengths.
You will be amazed at what you can do with a bundle of quilling paper strips combined with your own creativity!