Interested in learning how to make fringed flowers in paper quilling? Look no further.
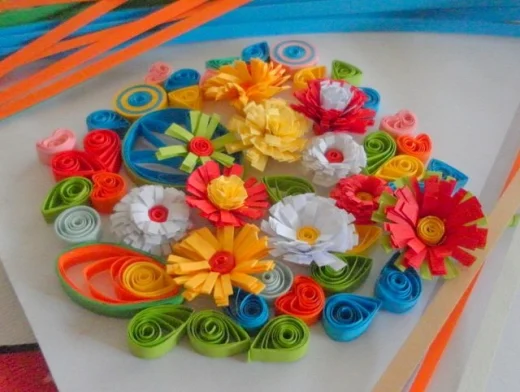
Paper quilling designs are beautiful and fun to create. Fringed flowers are one of the many types of flowers that can be created with craft paper and quilling paper. This article shows you how to make quilled fringed flowers for paper quilling projects. The step-by-step paper quilling instructions are easy to follow.
The free paper-quilling tutorials at the end of this article will teach you how to get started with paper-quilling, and how to use the correct tools and craft materials. You will also learn how to form quilling patterns with quilled paper. With the knowledge of all the basic shapes in paper quilling, sophisticated patterns can be created for quilling projects.
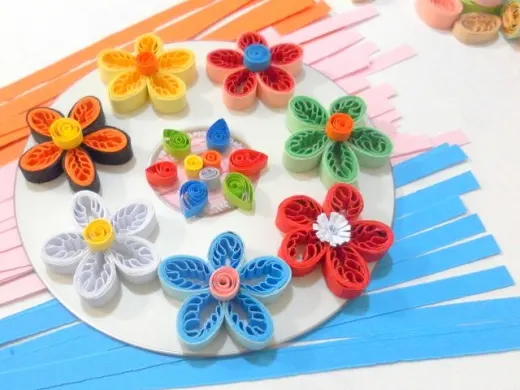
One way of making flowers in paper quilling is the husking method. Husking flowers are designed with bigger coils and loops.
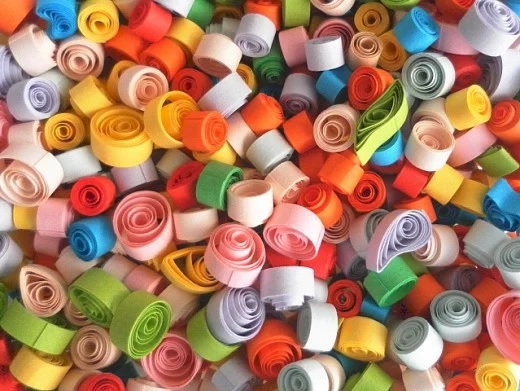
Paper quilling fringed flowers are very nice to look at. They may look difficult to make, but they are, in fact, very easy if you know how. The flowers are created by rolling a strip of quilling paper, which is similar to making the coils in paper quilling.
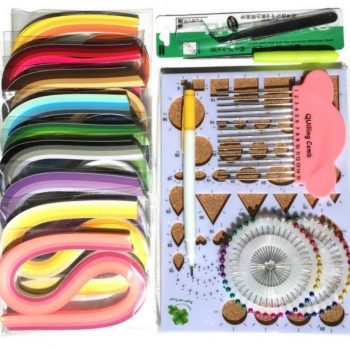
There are some basic tools and materials for paper quilling that you will need to make fringed flowers.
If you want to cut paper strips to different widths, you may need a cutting mat and box cutter.
There are tools available for making fringes. They are called quilling paper fringers. I do not have a finger, so I fringe the paper by hand with a pair of scissors. It is not a difficult task to fringe your own paper strips, but the fringes will not be all even.
If you are going to make a lot of fringed flowers for your projects, it will be best to buy a paper fringer. The fringer tool will be able to make perfect fringes, and it will save you a lot of time in fringing too.
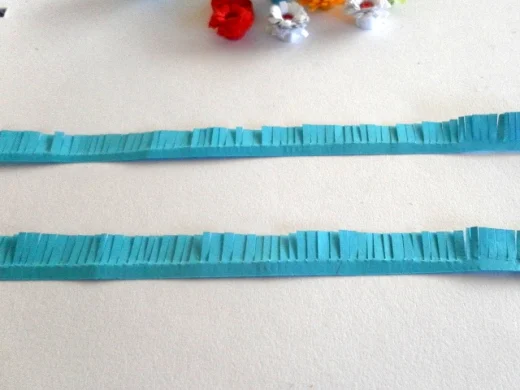
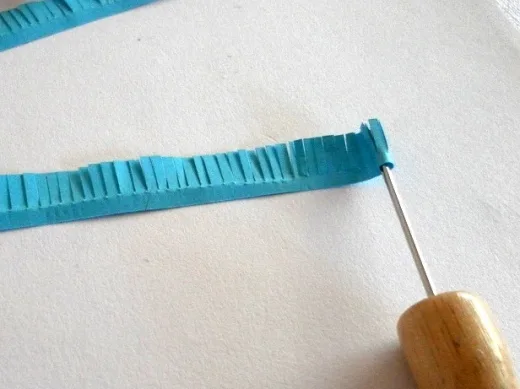
You will need a strip of paper with a length of about 15–20cm and a width of 1cm. To fringe the paper by hand, make small and even cuts about three-quarters across the width of the strip. The cuts should be at right angles to the edge of the paper. The fringe can have narrower width or wider width. The narrower the fringe, the more delicate the flower will look.
To ensure consistency with the same type of fringed flowers, you can line two or three strips of quilling paper together when cutting the fringe by hand. Each paper strip will have the same width and angle of cut if they are cut at the same time. The flowers will appear more or less similar to each other too.
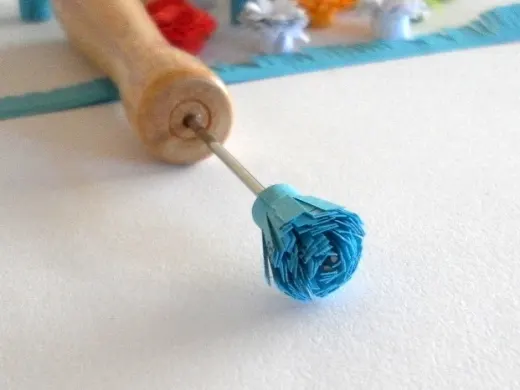
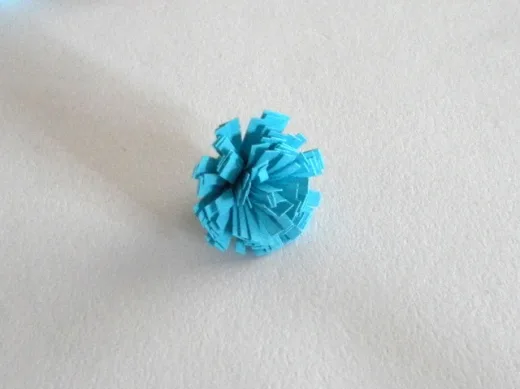
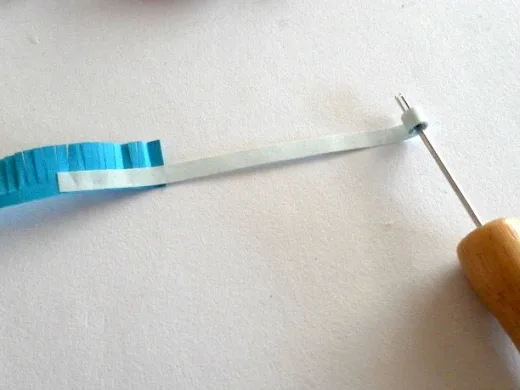
To make a fringed flower, roll the fringed paper into a tight coil using a slotted quilling tool. Apply a little glue at the end of the strip to hold the shape of the coil. Wait for the glue to dry, then press the fringe down. The fringe can also be curled with a tool if required.
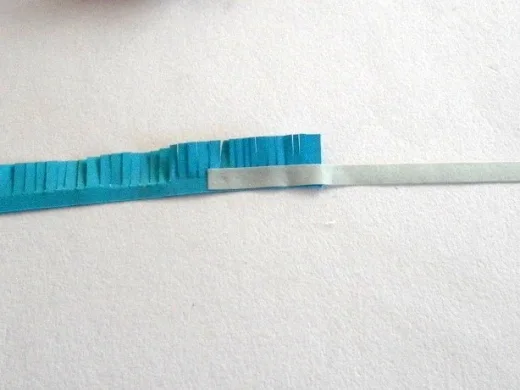

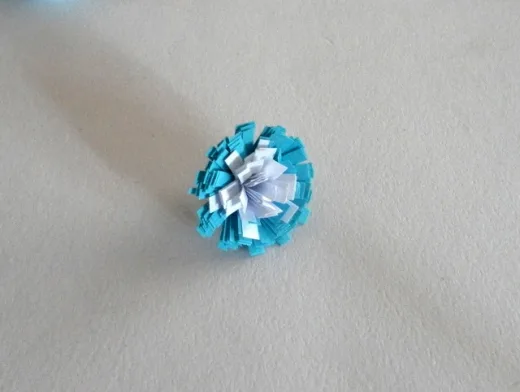

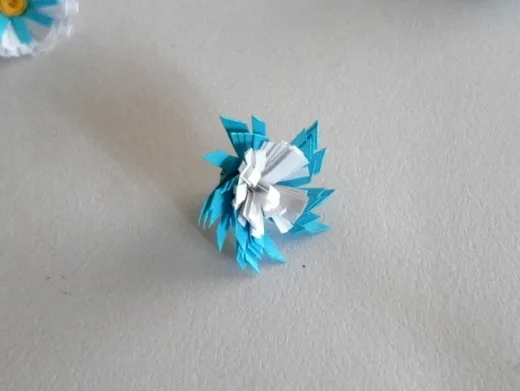
Here’s how to make a flower with a nice centre. Glue a strip of thin quilling paper about 10cm long to a fringed strip of paper. Start making a coil by rolling from the end of the thin paper strip. Continue to roll carefully over the area where the two papers are joined so that the fringed paper wraps around the smaller coil. Finish making the coil by applying a little glue at the end of the fringed paper. Press the fringe down and you will see the flower has a nice solid white centre.
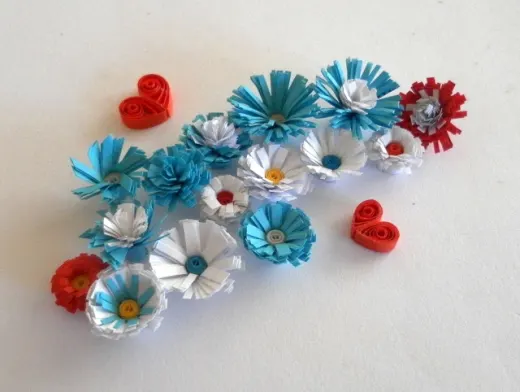
The flower can also have a fringed centre of a different colour by using two strips of fringed paper of two different colours. With a little bit of imagination and creativity, you can use a few more colours for each flower.
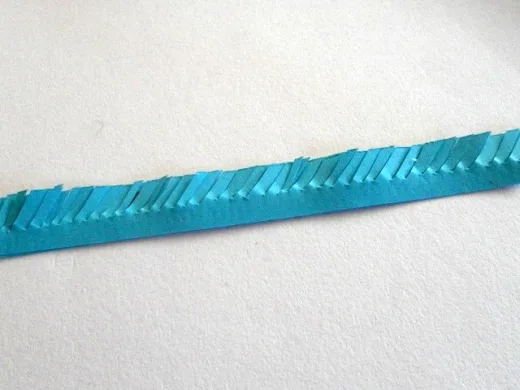
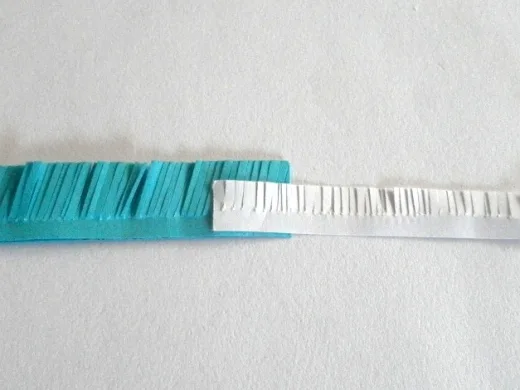
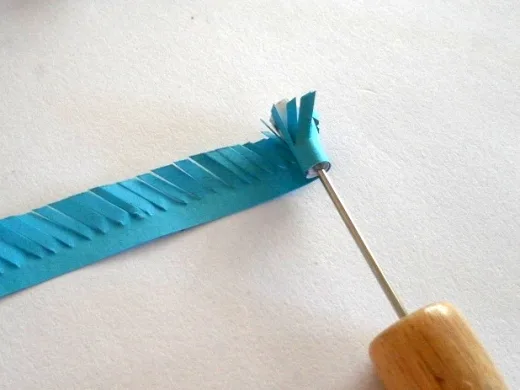
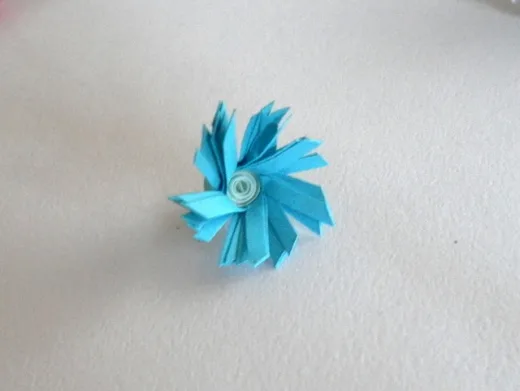
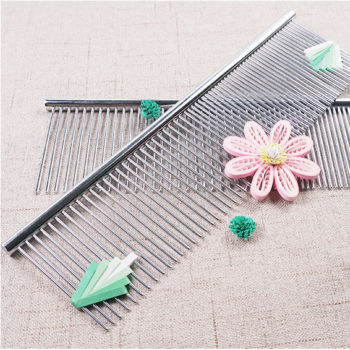
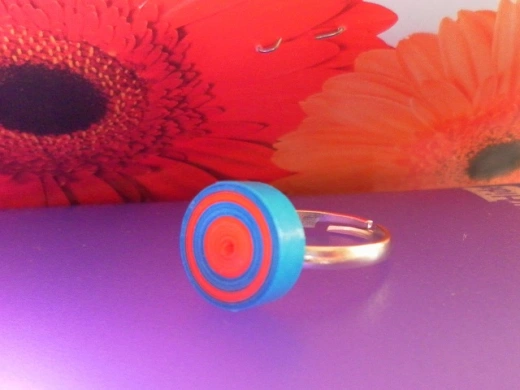
The width of the fringes and the angle of cutting the fringes affect the appearance of the flower. The paper strip can be cut at an angle when fringing. The picture on the right shows the blue paper strip fringed at an angle, while the white paper strip has right-angled cuts.
The white colour will form the centre of the flower, and the slanting blue fringe gives an interesting appearance to the flower. I have used a short strip of fringe for this flower, and its petals look spaced out. The longer the length of the fringed paper strip, the fuller the flower will look.
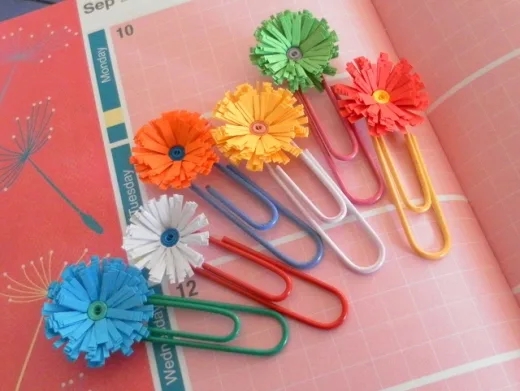
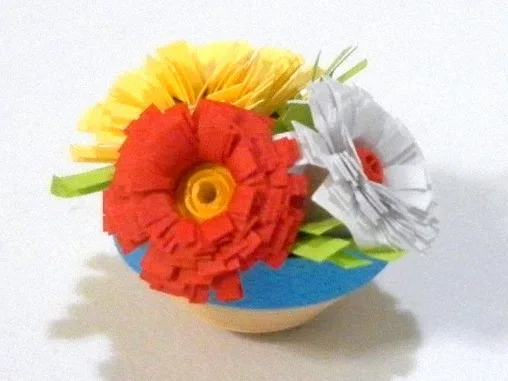
Be creative. Make a quilled flower pot for the fringed flowers. Use a combination of colours for making the flowers. Vary the width and length of the paper strips. With this technique and variations, the types of fringed flowers you can make will be endless.
© 2012 lady rain
About the author

Lady Rain lives in Australia and enjoys writing about travels, paper quilling crafts and historical events.