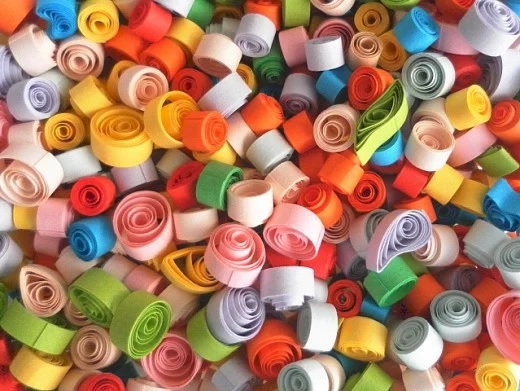
Paper quilling, also known as paper filigree, is based on the technique of rolling narrow strips of paper into coils which are then arranged to form a decorative pattern. This form of art originated in England and has been practised for many centuries. In Europe, it was first used as decorations in churches and on many religious items until the late nineteenth century.
Nowadays, paper quilling has become a hobby for people of all ages around the world. Most of the quilling materials are readily available in craft shops and online stores.
Paper quilling is easy to learn. The best thing about it is that you only need a few items to get started with this great craft activity. If you enjoy doing handmade paper crafts and making your own creative handicrafts but have never done paper quilling before, why not give paper quilling a go? Who knows, one day you could be the maker of the best paper quilling art designs in the world.
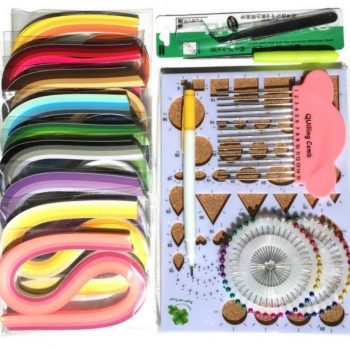
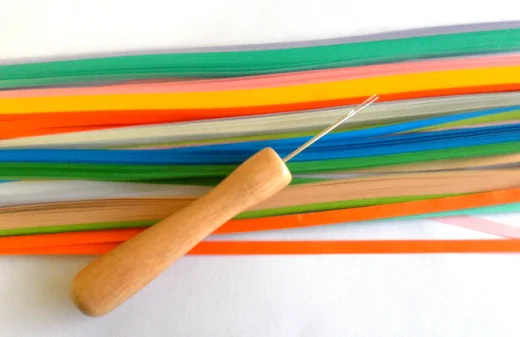
There are specific tools and materials for paper quilling. Some of the materials required in this tutorial are:
You can find strips of quilling paper in craft stores and also online from eBay and Amazon.com. They usually come in many different colours and have widths of 3mm to 5mm.
This is usually available in craft stores where you can find quilling paper. The quilling tool is used to wind the strips of paper into a coil. If you do not have a quilling tool, you can also use a toothpick, needle, or a satay stick. The quilling tool can make quilling a lot easier if you are a beginner.
Any PVA glue or transparent glue for papercraft can be used.
You will need this for applying the glue onto the quilling paper.
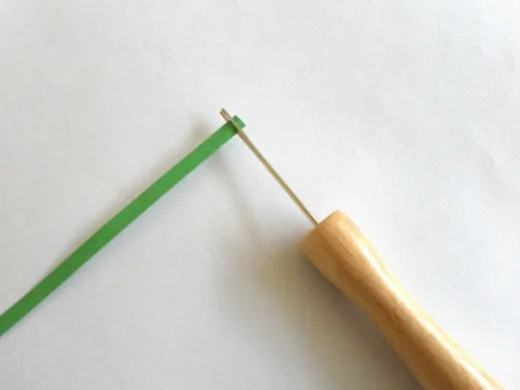
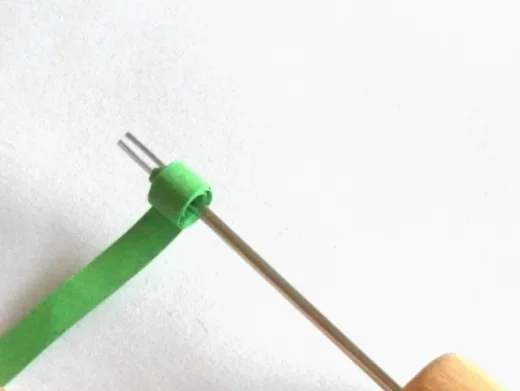
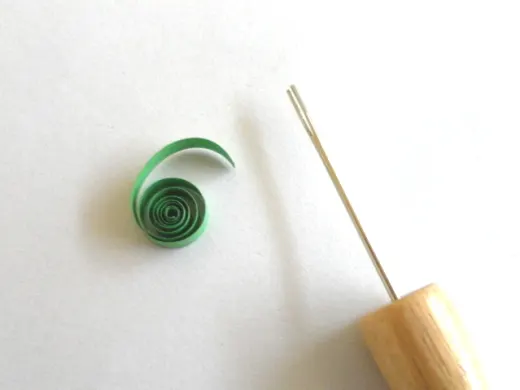
To begin, slide one end of the quilling paper into the slit of the quilling tool and roll it around the tool to form a coil. If you are using a toothpick or satay stick, press the toothpick onto the paper until the end of the paper starts to curl up slightly. Then wrap the paper around the toothpick and roll the paper into a coil.
Release the coil, and it will unwind freely. This is called an open coil.
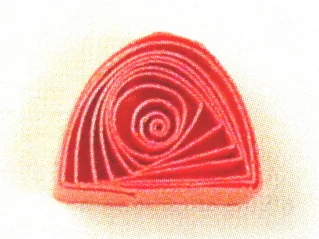
To make a closed coil, roll a paper strip in the same way as described above. Let the coil unwind. Then, using a toothpick, apply a little glue at the end of the paper strip to close the coil. This is called a closed coil.
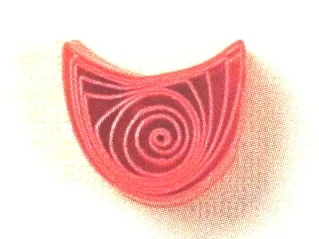
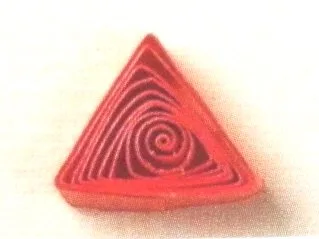
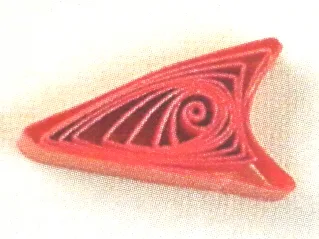
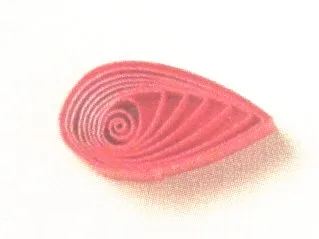
You can then use your fingers to press the closed coil into any shape you want.
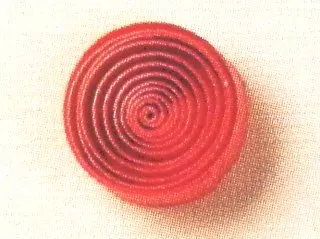
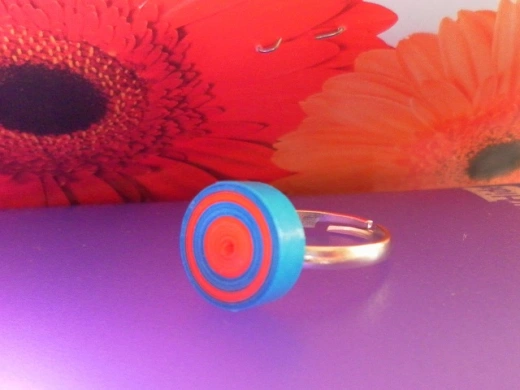
To make a tight coil, apply glue without allowing the coil to unwind.
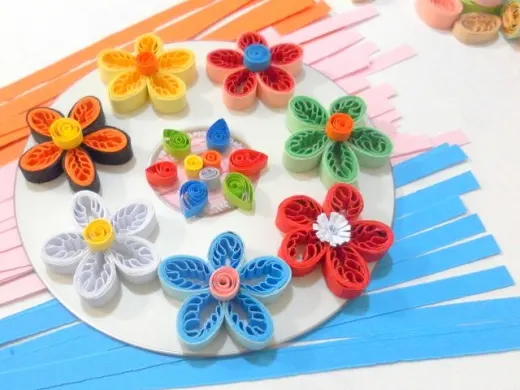
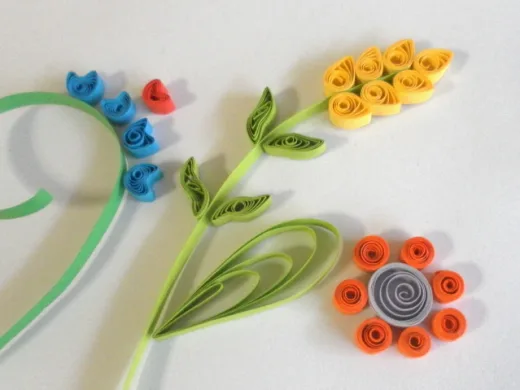
You will need a bit of practice before the coils turn out perfect. Try to make coils with different shapes and colours. When you have made enough coils, arrange them on a sheet of drawing paper to form a pattern or any design you have in mind.
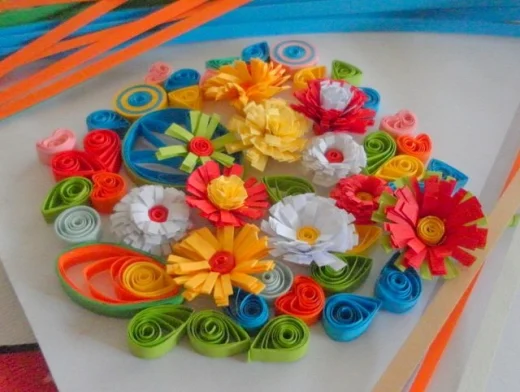
If you are happy with the pattern and would like to show it to your family and friends or have your masterpiece displayed, apply a little glue to the coils to make them stick onto the drawing paper. Let the glue dry before displaying your quilled design.
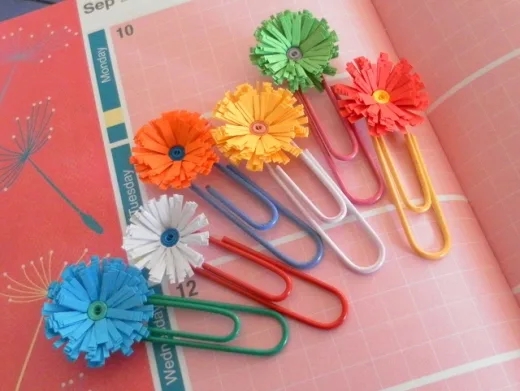
Once you have mastered the basic techniques of paper quilling, you will have hours of creative fun producing beautiful quilling designs and patterns.
Happy quilling!
The quilling board is a useful tool for making closed coils of the same size. Other tools that are used in paper quilling are tweezers, needles, and scissors.
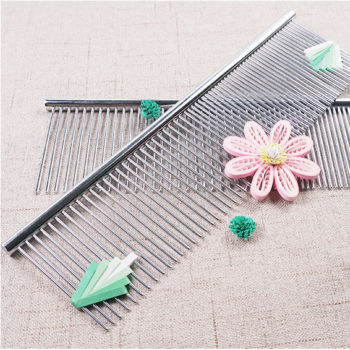
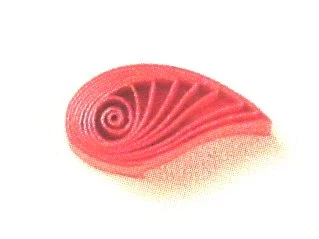
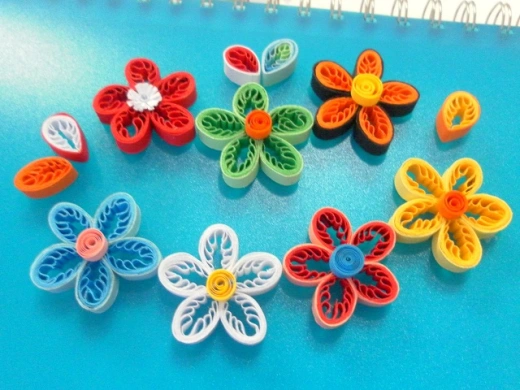
A quilling comb is used for making evenly spaced loops in a coil. Instructions on how to use a quilling comb are found in this tutorial:
© 2011 lady rain
About the author

Lady Rain lives in Australia and enjoys writing about travels, paper quilling crafts and historical events.