If you’re a home gardener who likes to grow your own crops from seeds, I am sure you have hundreds of seedlings growing every summer. Do you label each of the pots that you plant the seeds in? If you haven’t, you’re going to be really frustrated when you can’t recall what types of seeds you planted in the little pots several weeks ago. All seedlings look the same (especially tomatoes)!
When you don’t know what the seedlings are, you won’t be able to transplant them to their correct place in the garden. Different plants have different requirements, and plants that are planted in the right location will thrive better and produce the best harvests.
The most important thing you have to do when planting the seeds is to label the pots. You will need to buy lots of labels if you have many varieties of plants, and labels cost money. Not only that, but it can be a hassle to drive 15 kilometers to the local nursery to buy the labels.
Here’s how you can recycle a few plastic bottles and containers, and make your own plant tags and labels.
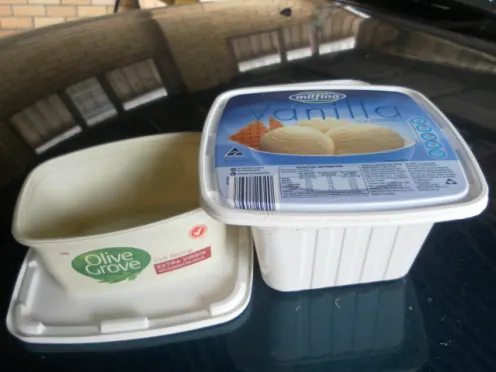
Look around your house, especially in the kitchen, garage, and even the recycling bin. You will most likely be able to find some plastic items that can be recycled to make those useful plant labels or tags. Empty ice cream tubs, takeaway containers, yogurt tubs, and margarine containers are the best plastic items that can be made into plant tags for free.
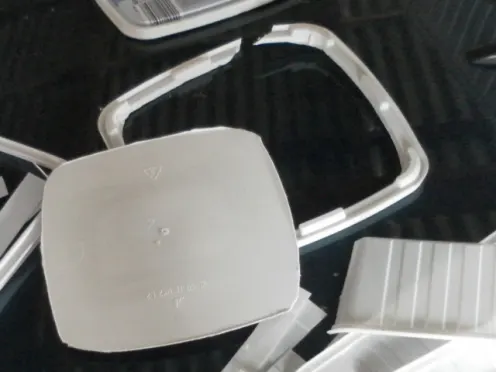
After you have salvaged those plastic items, you will need a pair of scissors to do all the cutting. Here I have chosen to start with the lid of an ice cream container. Cut away the sides of the lid so that you get a nice and flat piece of plastic. You can do the same with the ice cream container, and it will give you a few pieces of flat plastic.
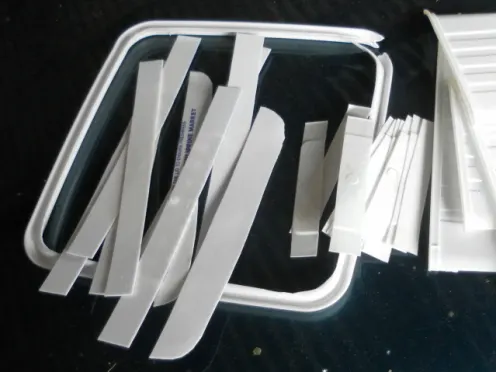
With the piece of flat plastic, cut it into strips of 1½ cm to 2 cm wide. After that, take one of the strips and trim it to 12–15 cm long or just leave it as it is, if you prefer a long plant tag for bigger pots. Cut away the corners at one end of the strip so that you get a pointed end for inserting into the soil.
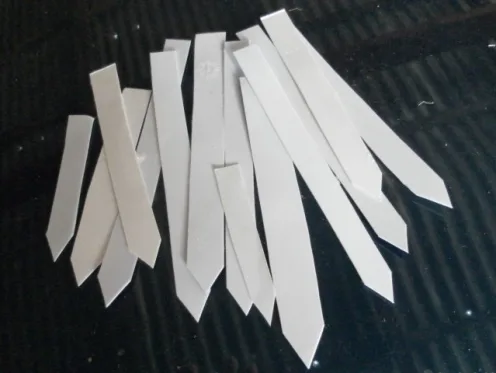
There you go, you have made your first plant tag. Now, do the same with the rest of the plastic strips and you will have a handful of plant tags to label those seedlings.
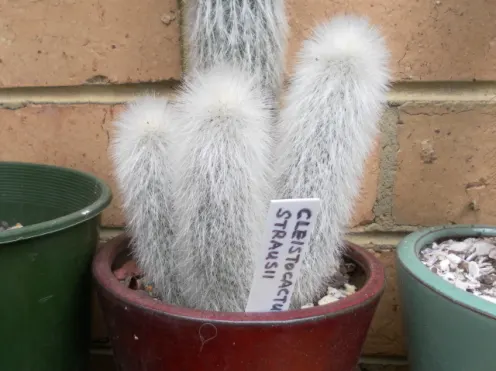
Your homemade plant tags are now ready for use in the garden. Use a permanent marker pen to write on the tags.
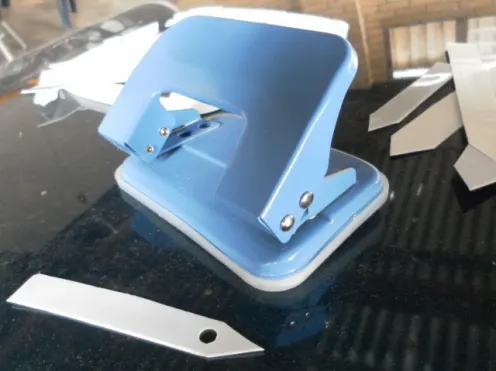
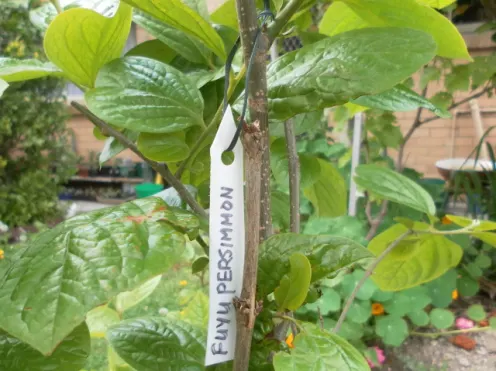
The plant tags can also be recycled again for labeling the plants that are growing bigger in the garden. Use a paper hole puncher to punch a hole near the pointed end of the tag. Insert a twist-tie or garden string through the hole and secure the plant tag to a branch of the plant.
The Rafflesia Plant – The Largest Carnivorous Flower in the World
Cephalotus Follicularis: See the Most Beautiful and Rare Carnivorous Plant
See The Largest Carnivorous Pitcher Plants Display in Borneo
Learn How to Grow the Most Beautiful Cactus Plants
© 2011 lady rain

About the author
Lady Rain lives in Australia and enjoys writing about travels, paper quilling crafts and historical events. She wrote on HubPages for 14 years.