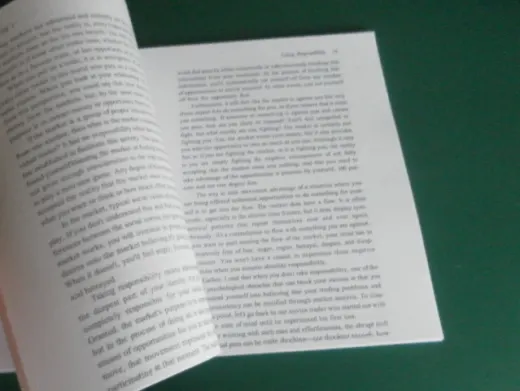
When you have several hundred sheets of printed papers or documents in big, bulky loose-leaf binders, have you ever wished they could be shrunk to compact sizes and put on the bookshelf with the rest of the books? Well, why not get rid of the binder and do some frugal bookbinding at home? It is not that difficult to bind a book, that is, if you know how to do it.
This article will teach you how to tidy up those loose pages, do your own binding and make your own homemade book with cover. You will be surprised how easy it is to learn how to bind a book at home. Your very own homemade books will look great on the bookshelf, too.
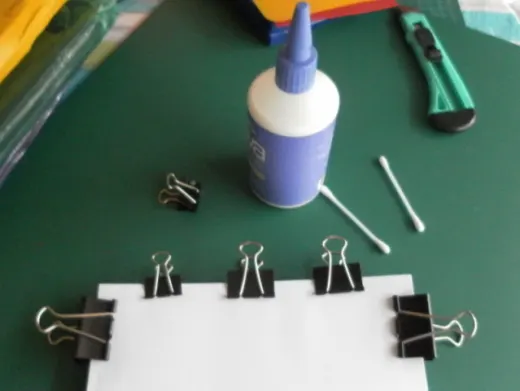
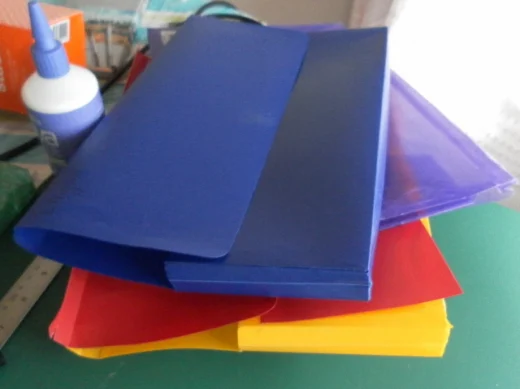
Here are the materials required for this book-binding project:
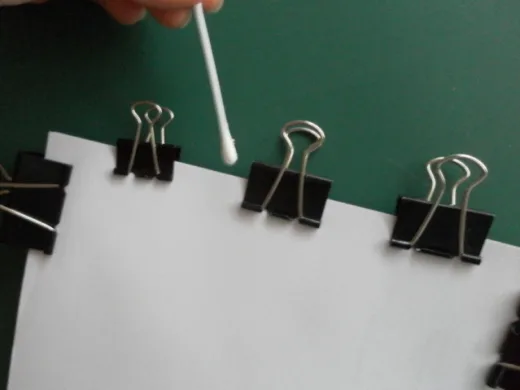
Gather all the sheets of paper together and align the pages so that no loose sheets of paper are out of place. Use paper clips to hold the pages together to form a firm spine on one side you want to bind. Apply a generous amount of glue on the spine and use a cotton bud to spread the glue evenly throughout the length of the spine. Leave the glue to dry overnight.
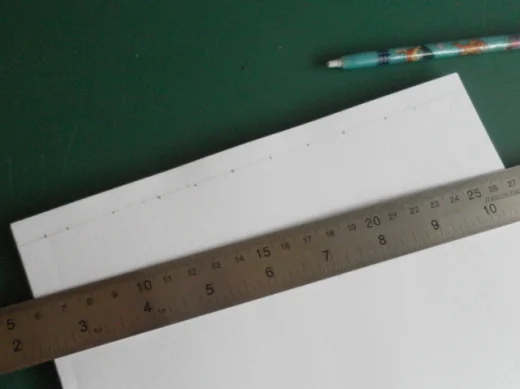
Remove the paper clips when the glue is thoroughly dried. Check that the pages stay together. Using a pencil, make a mark 1cm or less from the edge of the glued spine where a hole is to be drilled. Repeat the markings along the edge of the spine, spacing out each hole about 2cm from each other.
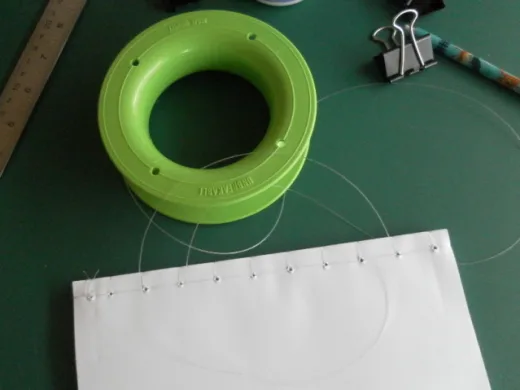
Using a hand drill with a 1mm drill bit, drill small holes through the stack of pages where the pencil markings are. If you do not know how to use the drill and you have a handyman at home let the expert do the drilling part for you. If not, get the bloke next door and his mates to help you.
Stitch the pages together by inserting a needle and nylon string through the holes. Pull the stitches tight as you do the stitching so that the pages do not become loose. Finish off by tying a firm knot and trim off the excess string.
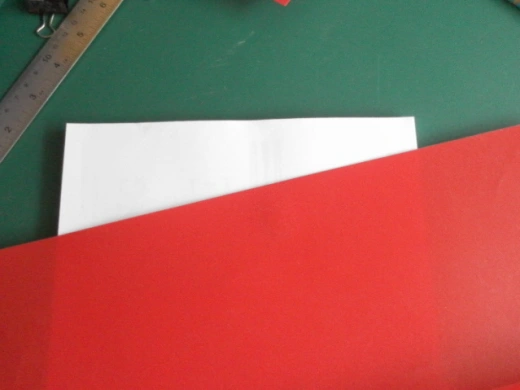
To make a cover for your book, cut out a flexible plastic sheet from an old plastic holder that is large enough to wrap around the book from back to front and covering the spine. Trim the cover to fit.
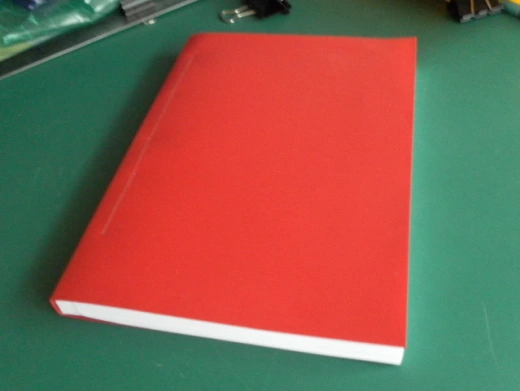
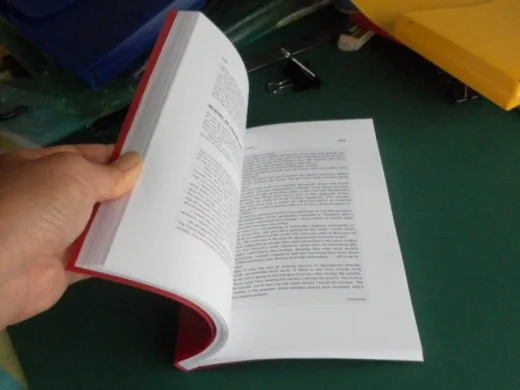
With the book inserted in the cover, drill about five holes, evenly spaced apart, on the back and front covers. These holes need to be aligned with the existing holes that are already on the spine of the book. Stitch the cover on the book by inserting the needle and nylon string through the holes on the plastic cover and all the pages. Fasten the nylon string to finish off and you have made your first homemade book!
© 2011 lady rain
About the author

Lady Rain works as a daytime stock trader and writes about crafts and travels. She spends her weekends doing papercraft models and painting.