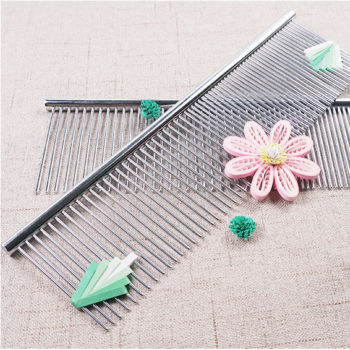
The slotted quilling tool is most often used to make paper-quilling coils, but another useful tool is the quilling comb. A quilling comb looks exactly like a wide-toothed hair pick with metal prongs. It is used for making paper coils and paper flowers that are popularly used in paper quilling art designs and scrapbook designs.
If you can’t get hold of a quilling comb and don’t have a hair pick, a normal comb is a great substitute. I have been using a baby comb. The distance between the prongs can create different-sized coils; you may want to experiment with different combs if you wish.
In This Article
Basic Coil With Loops
Another Basic Looping Method
Three Types of Coils Using Two-Directional Wrapping
Basic Coil With Loops
The quilling-comb method is a quick and easy way to make evenly shaped loops inside each coil. Coils made with a quilling comb are generally bigger than those made with a slotted quilling tool.
We will begin by making a simple coil using the comb. You will need some quilling paper and a quilling comb, or a normal comb. (See the illustrated instructions below.)
Step-by-Step Instructions
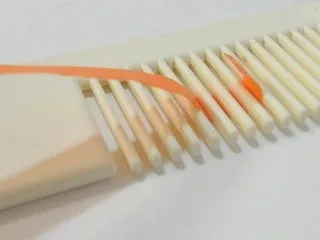
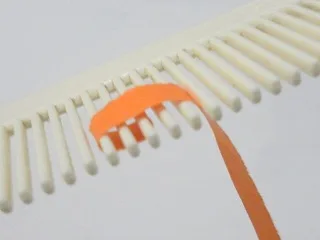
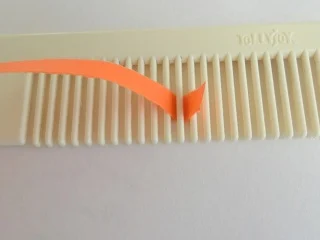
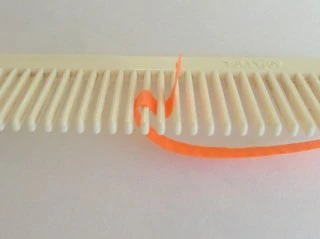
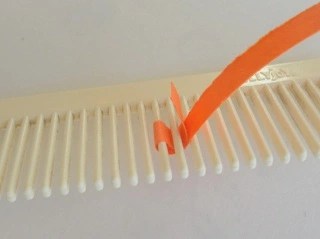
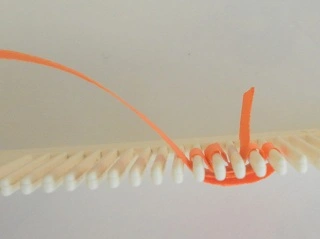
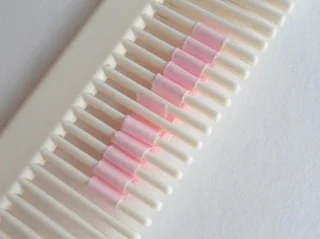
Insert a strip of quilling paper in between the prongs of the comb and wrap one end around three prongs to make a small loop.
Apply a little glue to secure the loop.
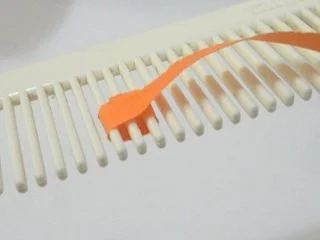
Then bring the paper strip upwards and wrap it around so that the new long includes two prongs above the first loop.
Pull the paper back to the first prong.
Continue to wrap two more prongs above the second loop.
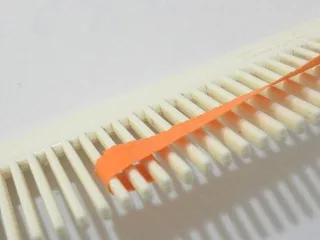
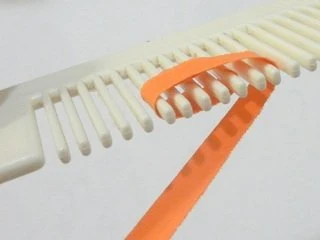
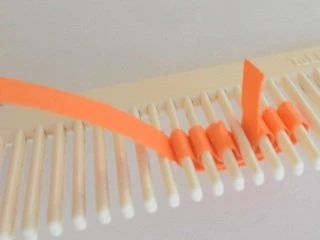
Continue wrapping in one direction until the strip of paper is all looped around the prongs.
Apply a little glue to the end of the paper to secure the coil and trim off the excess paper if necessary.
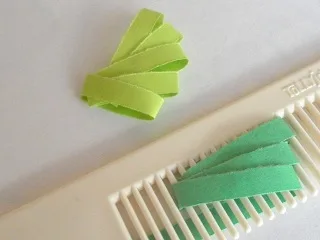
Remove the finished coil from the comb and you will have a basic looped coil.
You can adjust the number of loops by increasing or decreasing the number of wrappings around the prongs. You can press or pinch the finished paper coil with your fingers to form the shape you want.
Basic Coil With Loops: Process Gallery
This step-by-step process is illustrated below.
Insert quilling paper in between the prongs.Wrap quilling paper around three prongs of the comb.Use glue to hold end of paper.Wrap paper around the next two prongs.And around the first prong.Wrap paper around the next two prongs.Continue wrapping . . . see the loops forming.Glue end of strip and trim off excess paper. Remove from comb.A basic comb-quiled coil with loops
Another Basic Looping Method
Another way of looping the quilling paper around the comb is by making the biggest loop first and then slowly decreasing the loop sizes.
Personally, I am not a fan of this method. The designs and shapes made with this method tend to be rather sloppy looking and not delicate enough. The shapes are a lot bigger, too, and not proportional to my other quilling designs.
Alternative looping method
3 Types of Coils Using Two-Directional Wrapping
There are a few different ways to make beautiful coils with the two-directional wrapping method.
Two-Directional Wrapping Coil #1
This is an awesome way of making a great-looking coil with little loops in the centre. All you need are some quilling paper, a comb and glue.
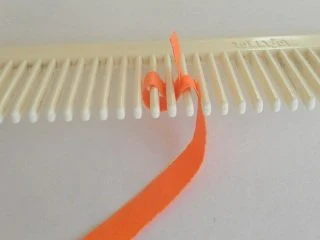
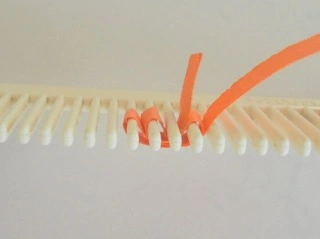
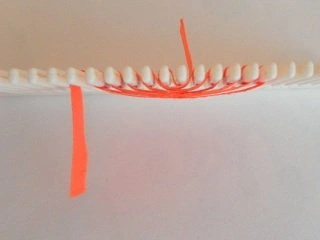
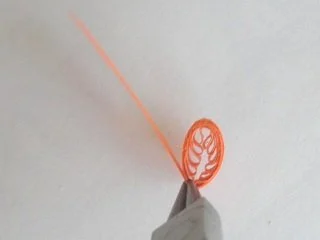
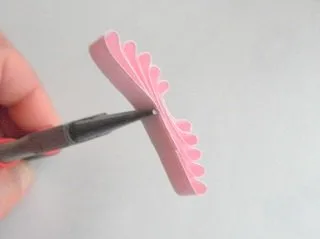
Start somewhere in the middle of the comb. Loop one end of the quilling paper partially around a prong to hold it in place as shown in the picture.
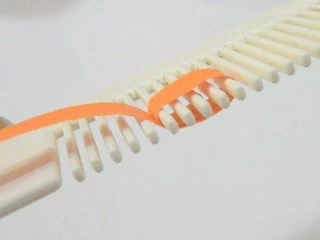
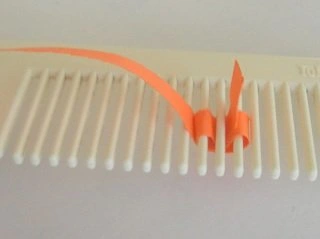
Start wrapping the paper around a prong on the left next to the middle prong.
Bring the paper under the comb and wrap the next prong to the right of the middle prong.
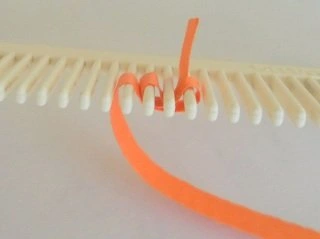
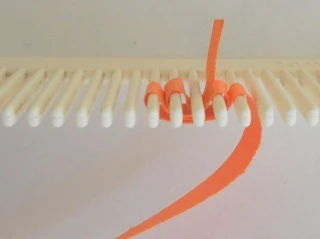
Pull the paper back to the left and wrap the prong next to the previous left loop.
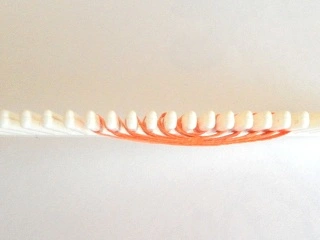
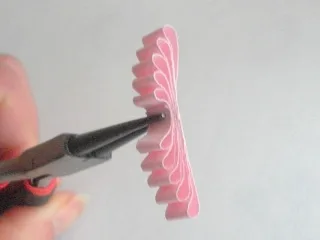
Continue wrapping until the strip of paper is twirled around the comb or you have made enough loops required.
When finished looping, apply a little glue to the end of the paper strip to hold the shape.
Trim off the excess paper especially the bit sticking up on the middle prong.
Two-Directional Wrapping Coil #1: Process Gallery
The visual guide below illustrates this process.
Insert quilling paper.Wrap quilling paper around and under a prong on the left.Bring the paper to the right.Wrap it around and under the prong on the right.Back to the left side to wrap the next prongWrap around and under the next prong.Back to the right againRepeat.Continue wrapping.More loops formingSee the loops.Finish off with a little bit of glue and trim off the excess paper that was sticking out.This is what the little loops look like.Bend the paper to enclose the little loops.Both ends of the paper meet to form a coil with tiny loops insideWrap another strip of quilling paper around the coil. Use glue to stick the loose end onto the coil.A comb-quilled coil with tiny loops
Two-Directional Wrapping Coil #2
Using the same two-directional wrapping method above, you can make a different awesome coil design without much effort.
Wrap the quilling paper around the comb following the instructions above to make the loops.
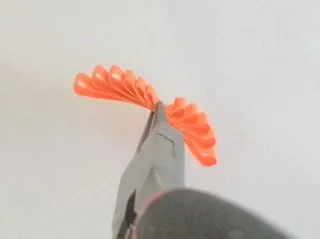
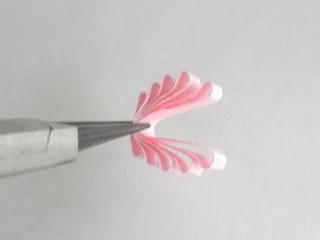
When you have finished looping the paper strip, carefully remove the paper from the comb.
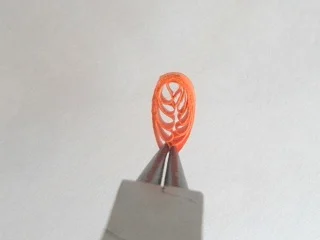
This time, bend the looped paper in the opposite direction so that all the small loops are facing out instead of being enclosed.
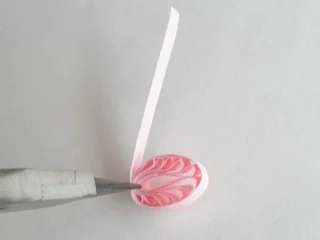
Use another strip of quilling paper to wrap around the loops. Be careful not to squash or flatten the loops when wrapping around them.
Use glue to secure the end of the paper strip. You will see a very different but beautiful design on the coil this time.
As mentioned before, you can adjust the number of loops in each coil when wrapping the paper around the comb. The coil can be pressed into a different shape with the fingers. You can use different coloured strips of quilling paper to wrap around the coil to give it a two-toned or multi-toned colour. The possibilities are endless when it comes to incorporating paper quilling designs in craft projects.
Two-Directional Wrapping Coil #3
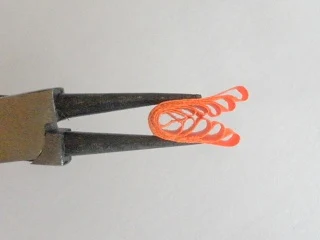
Continuing through the pictures above, carefully remove the looped paper from the comb.
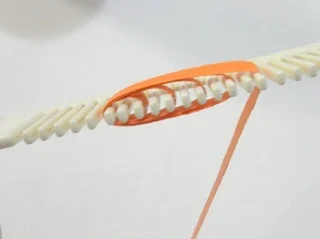
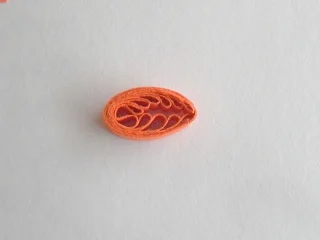
Gently bend the looped paper so that the leftmost loop touches the rightmost loop to form a closed coil. You will be able to see all the loops being enclosed on the inside of the coil.
Use another strip of quilling paper to wrap around the coil to hold the shape of the coil.
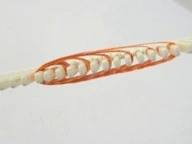
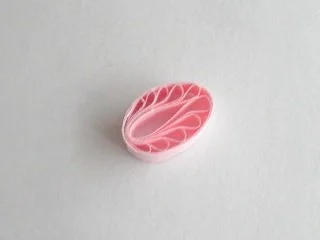
Finish wrapping the coil and apply a little glue to the end of the paper strip. You should get an oval-shaped coil with little loops in the middle.
Two-Directional Wrapping Coil #3: Process Gallery
Take a look at the photo gallery below for a visual guide.
Make tiny loops with a strip of quilling paper following the previous instructions.Looped paper is ready for the next step.Make sure the loops are facing out this time.Bend the paper so the two ends will meetWrap another strip of quilling paper around the loops.Another comb quilled coil with loops
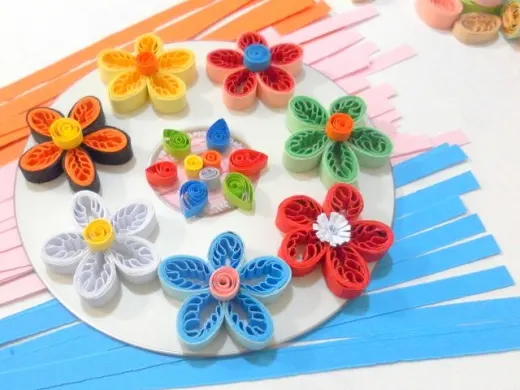
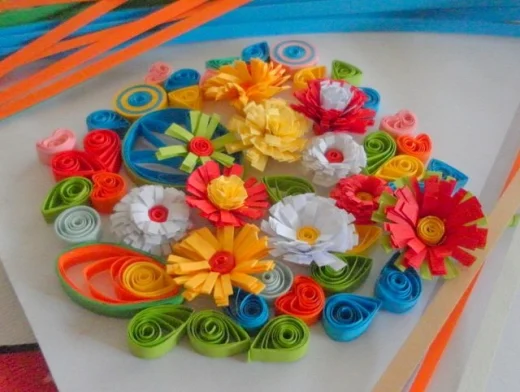
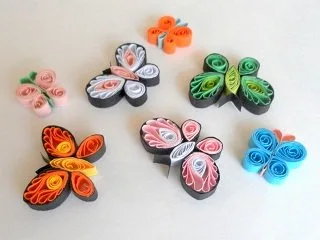
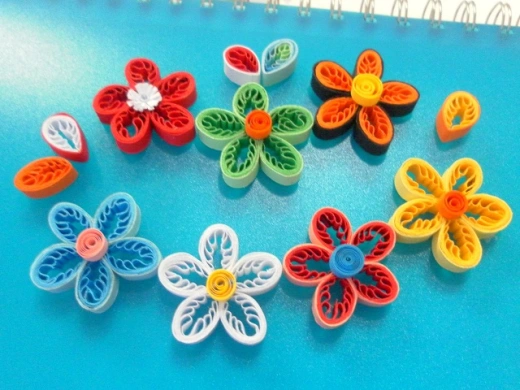
Inspiration Gallery
Here are some other ideas to inspire your own project!
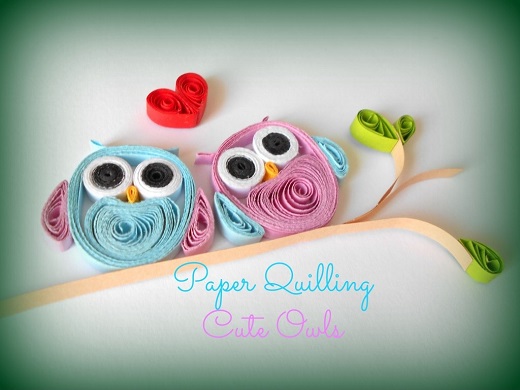
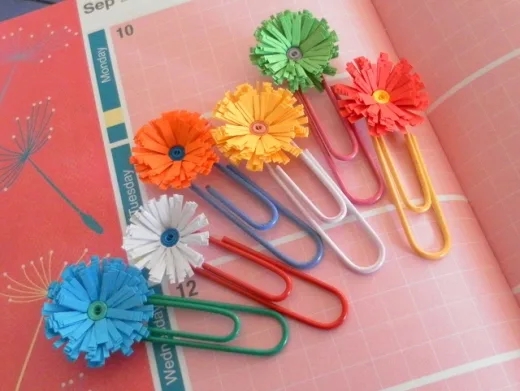
More Quilled FlowersQuilled ButterfliesCute Little Owls