This article will show you how to make a miniature daffodil flower in a pot for 3D paper quilling projects. After you have made this miniature model, with your own creativity and imagination, you will be able to create other miniature flowers, pots, and vases on your own.
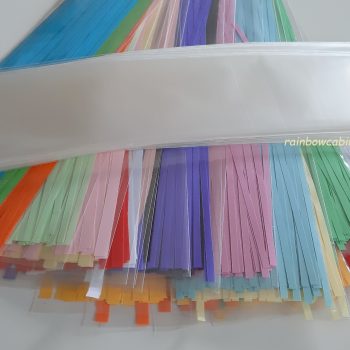
The tools and materials required for making flowers and pots are:
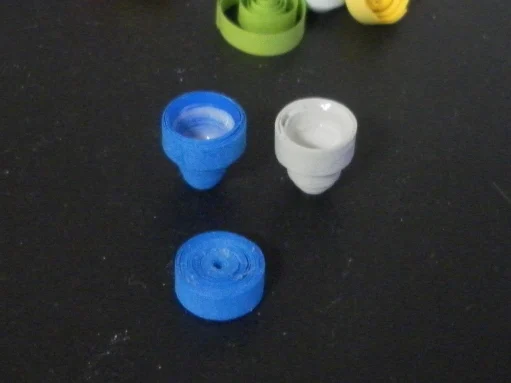

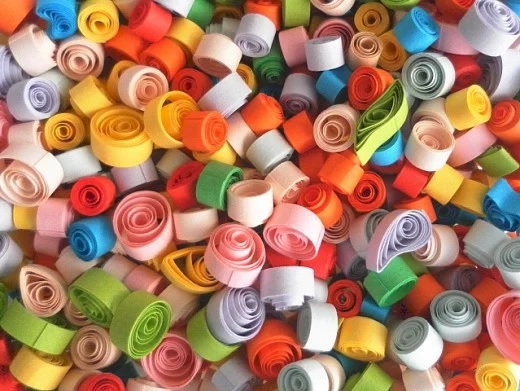
To make a miniature flower pot, you will need to glue two or three strips of quilling paper to make a long strip. Make a tight coil with a long strip of paper. Use a pencil to press into the centre of the coil until it forms the shape of a flower pot. Apply glue to the inside of the pot to strengthen it to retain its shape.
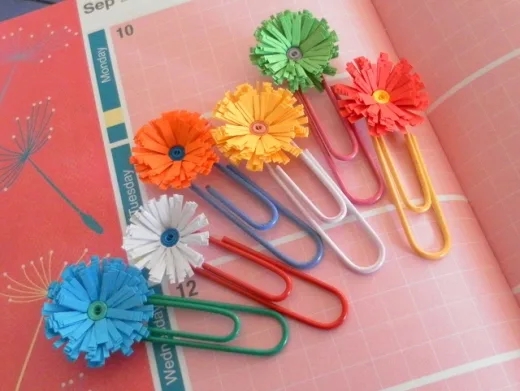
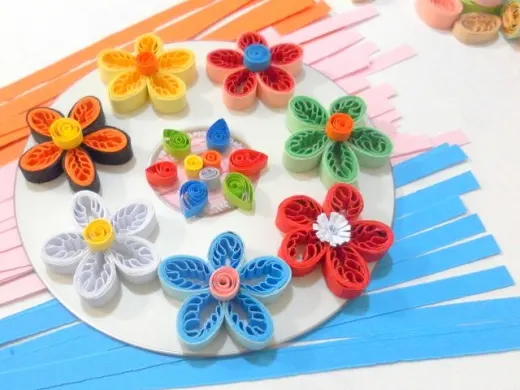
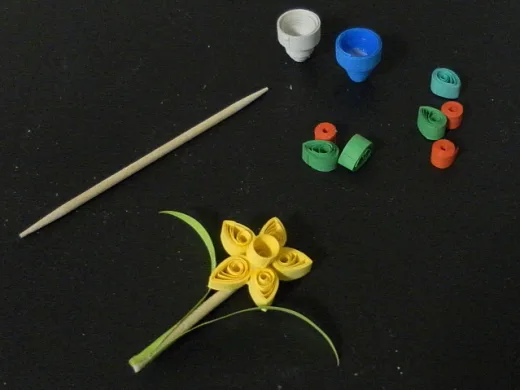
To create a miniature daffodil flower, make five yellow teardrop coils and one small tight coil. Push the centre of the small coil outwards. Arrange the teardrop coils around the small coil to form the shape of a flower. Gently glue the teardrop coils to the small coil.
Trim the toothpick to about four centimetres and glue the flower to the top of the toothpick.
Cut two green strips of paper to make the leaves. Glue the green leaves to lower end of the toothpick.
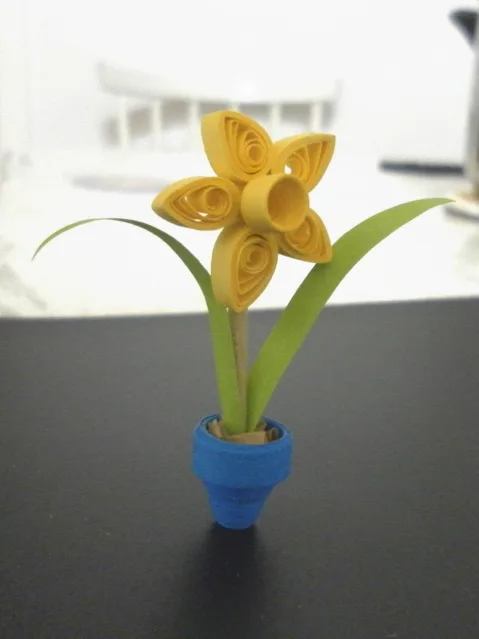
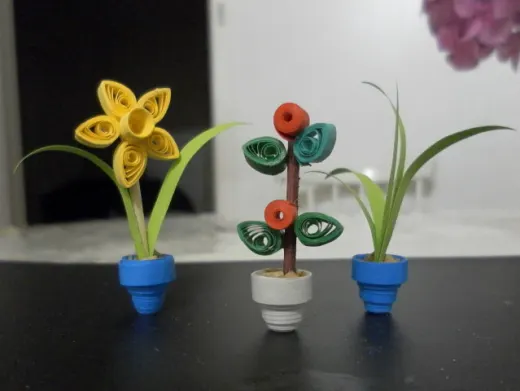
Put the flower in the pot. Line the pot with strips of brown paper and apply glue to secure the paper and flower to the pot.
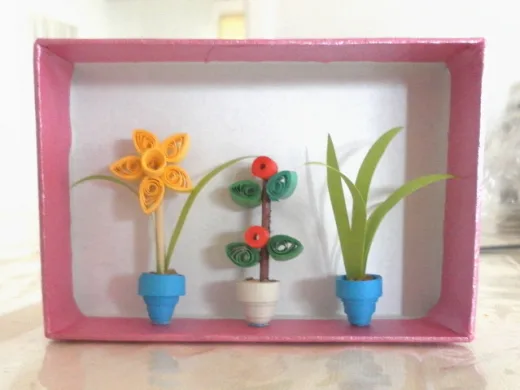
Make a few more pots and flowers. Place the pots of flowers in a display box and use Blu-tack or a glue gun to secure the items to the box.
A flower vase is can be created with two flower pots. One of the pots will need to have a hole in the middle (for putting flowers). Glue the flower pot upside down to the second pot.
© 2011 lady rain
About the author

Lady Rain lives in Australia and enjoys writing about travels, paper quilling crafts and historical events.