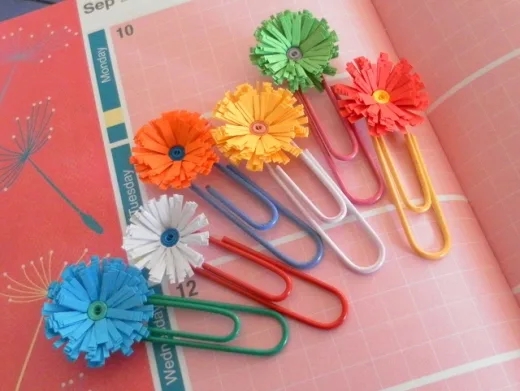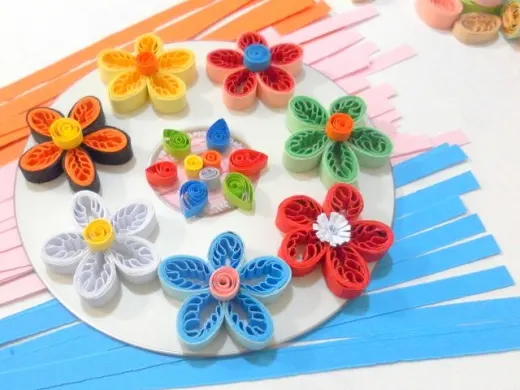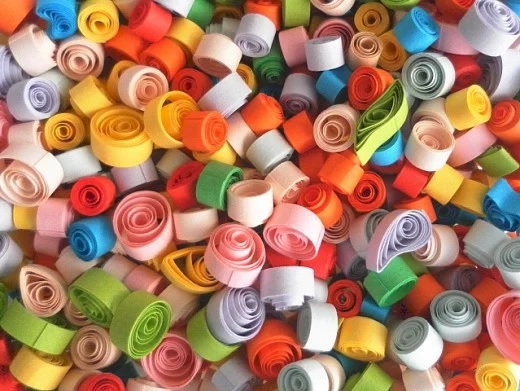
Paper quilling designs are commonly used in crafts and decorations. But there’s more to it: quilled items are now popularly used as fashion accessories like earrings, rings, and pendants. These quilled paper accessories are carefully handcrafted and they look very intricate and unique.
If you have yet to learn paper quilling, there are step-by-step instructions for basic quilling shapes in these tutorials: Basic Techniques, Shapes, and Designs and Comb Techniques, Shapes, and Designs.
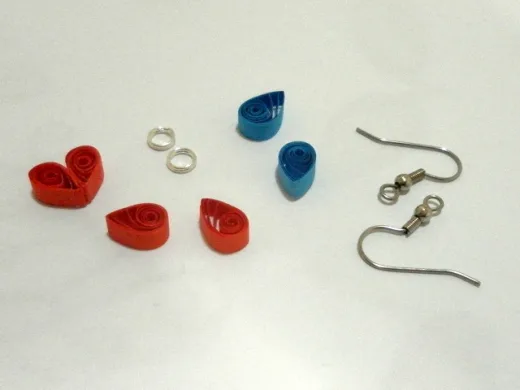
These are the tools and materials required to make one pair of earrings pictured on the right.
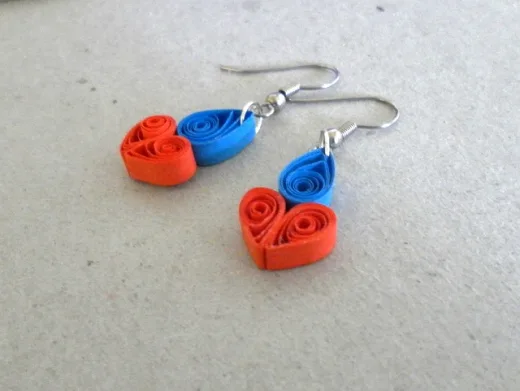
Make six closed coils with blue and red quilling paper strips. Shape each coil to form a teardrop shape.
Take two red teardrop shapes and glue them together so that they look like a red heart. Then glue a blue coil to the top of the heart. Repeat with the remaining three coils to make a similar formation.
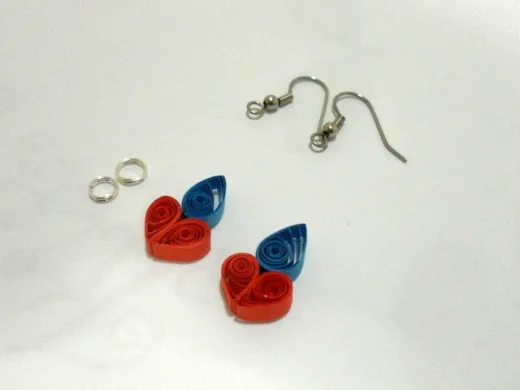
Apply clear varnish to the quilled items to strengthen them. Leave the coils to dry. Insert a jump ring to the top of each of the blue coils. Then attach the earring findings to the jump ring to make the earrings.
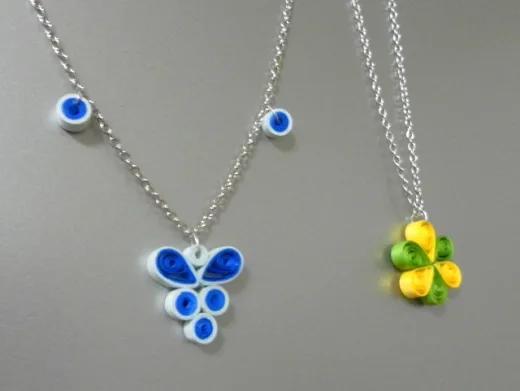
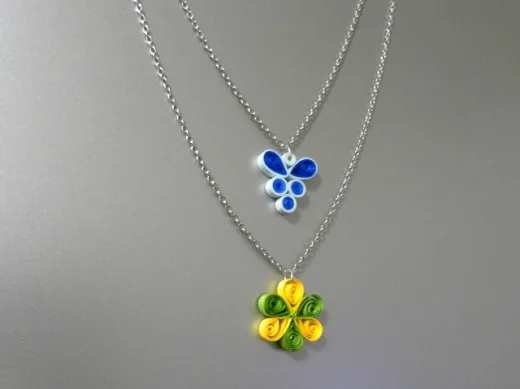
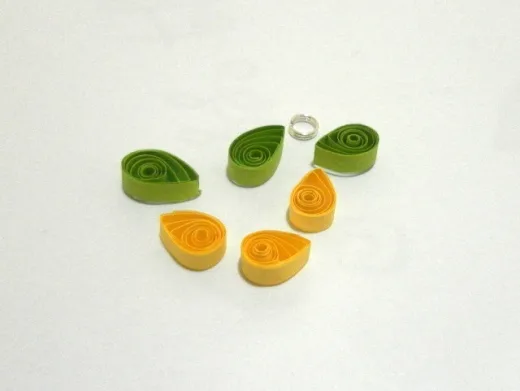
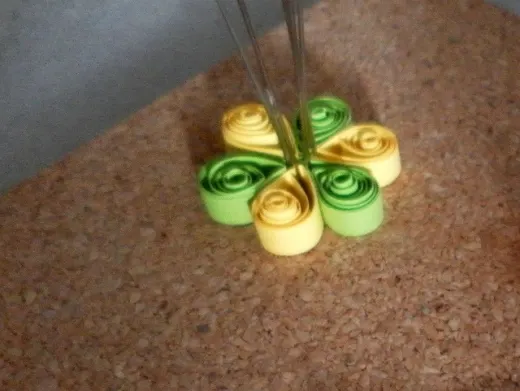
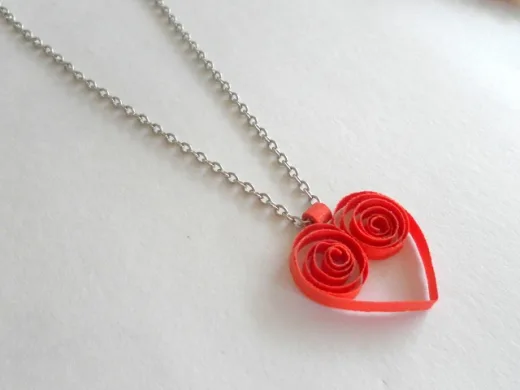
Here are the materials required to make a quilled pendant.
With the strips of quilling paper, make some closed coils of different shapes. Arrange the coils together to form a pattern for the pendant. Use pins to hold the coils in place if necessary. Apply a small amount of craft glue in between the coils so that they stick together. Apply two layers of clear varnish to the quilled piece of jewelry to strengthen it. The coating of varnish also provides a waterproof layer for the pendant. Let the varnish dry before attaching a small jump ring on one of the coils. The quilled pendant is now ready to hang on a necklace.
Materials required:
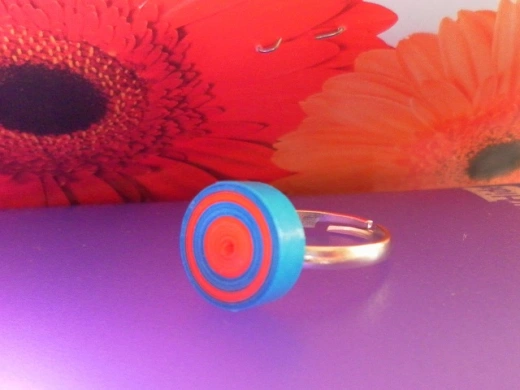
Join the five strips of quilling paper together to form a very long strip and then make a tight coil. The coil should have a diameter of about 12mm. Give the coil a coat of varnish and leave to dry. Glue the coil to the metal pad of the ring and let the glue dry thoroughly before wearing the ring.
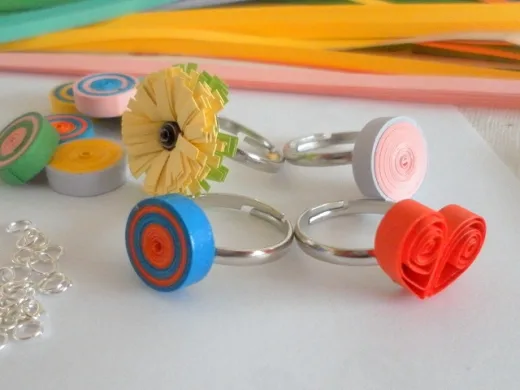
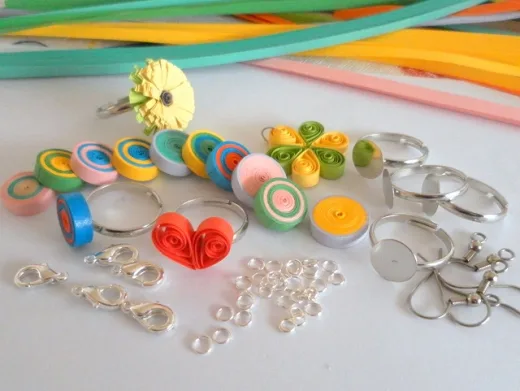

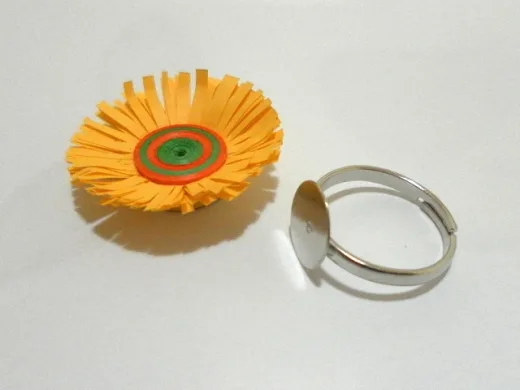
Materials required:
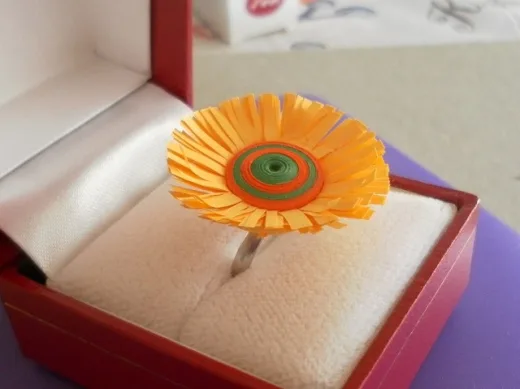
Make the coil as per the above instructions for a paper quilled ring and finish off the coiling with the strip of fringed quilling paper wrapped around the outside of the coil. Press the fringe down to form the fringed flower with a large colourful centre. Glue the fringed flower to the metal pad of the ring base and allow the glue to dry thoroughly before wearing the flower ring.
© 2012 lady rain
About the author

Lady Rain lives in Australia and enjoys writing about travels, paper quilling crafts and historical events.